2-12 (E)
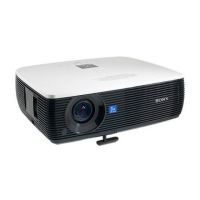
VPL-EX100
2-5-4. Saving of NVM Data
1. Connect the AC plug and set this unit to standby state.
2. Double-click QuickAccess.exe to start the application.
3. Select a target model on the Model pull-down menu.
4. Select Save on the Load/Save pull-down menu.
5. Select NVM on the 3dgm/Lut pull-down menu.
6. Click the [Next] button.
7. Select the serial port used for connecting PC on the Serial Port pull-down menu.
Upper line: Serial port number used for connecting PC
Lower line: 38400 (not selectable)
8. Click the [Next] button.
9. Select “SAVE_ALL” on the Save fi eld.
10. Check the Verify check box.
11 Click the [Browse...] button.
The fi le selection window is displayed.
12. Set the destination fi le for the obtained data.
13. Click the [Next] button.
The saving starts.
After completed, The massage “Verify Success! Reading Model Name, Serial Number, NVM Map
Version and NVM Data Version is successful.” is displayed.
14. Click the [OK] button.
Completed is displayed.
15. Disconnect the AC plug.
16. Click the [Complete] button.