31
Figure 23
Opening an Existing Project
12. Left click the Volume Up Arrow on the Virtual Keypad. Left click the CMD MZC Cmds Tab, expand the Audio Level
Commands Tab and double left click the Volume Up Command for the Zone being programmed.
13. Right click the Volume Up Arrow and then highlight and left click Punch Key’s Commands to make the Volume Up
Command available to all sources. Left click Yes in the pop-up. Repeat for Volume down.
14. To program mute, right click the inside section of the Volume Knob. In the pop-up, highlight and left click the Mute
(Preamp) Key. This will program Zone and Whole House Mute for all Sources.
15. Right click the MODE Power Button. In the pop-up highlight and left click Zone Power Off Key. This will program Zone
and Whole House Off for all Sources.
16. To program Hard Keys by Source, left click a source in the Source List. Left click the CMD Library Tab, select a Brand
and Device from the pull downs and double left click the appropriate commands for the Hard Keys being pro-
grammed. Repeat for all sources.
17. To create and program Virtual Buttons, left click a source in the Source List. Right click inside the Virtual Button List
Window. Highlight and left click Add Multiple New Menu Items. Type the names of the Virtual Buttons to be created in
the Enter Item Name block and add them to Item Names by left clicking the >> Button. When finished, left click OK.
18. Left click the Virtual Button in the Virtual Button List. Left click the CMD Library Tab, select a Brand and Device from the
pull downs and double left click the appropriate commands for the Virtual Buttons being programmed. Repeat for all
sources.
19. Download the project to the MZC and test all functions. Make changes as needed using the previous steps.
For more in-depth description of MODE programming, see the following sections.
ADDING AN IPOD, MODE BASE AND MODE ADAPTER TO AN
EXISTING PROJECT
With EZ-Tools running, open the project that the MODE is
going to be added to.
Open Project
1. In the Menu Bar, select File.
2. In the pull-down, highlight and left click Open.
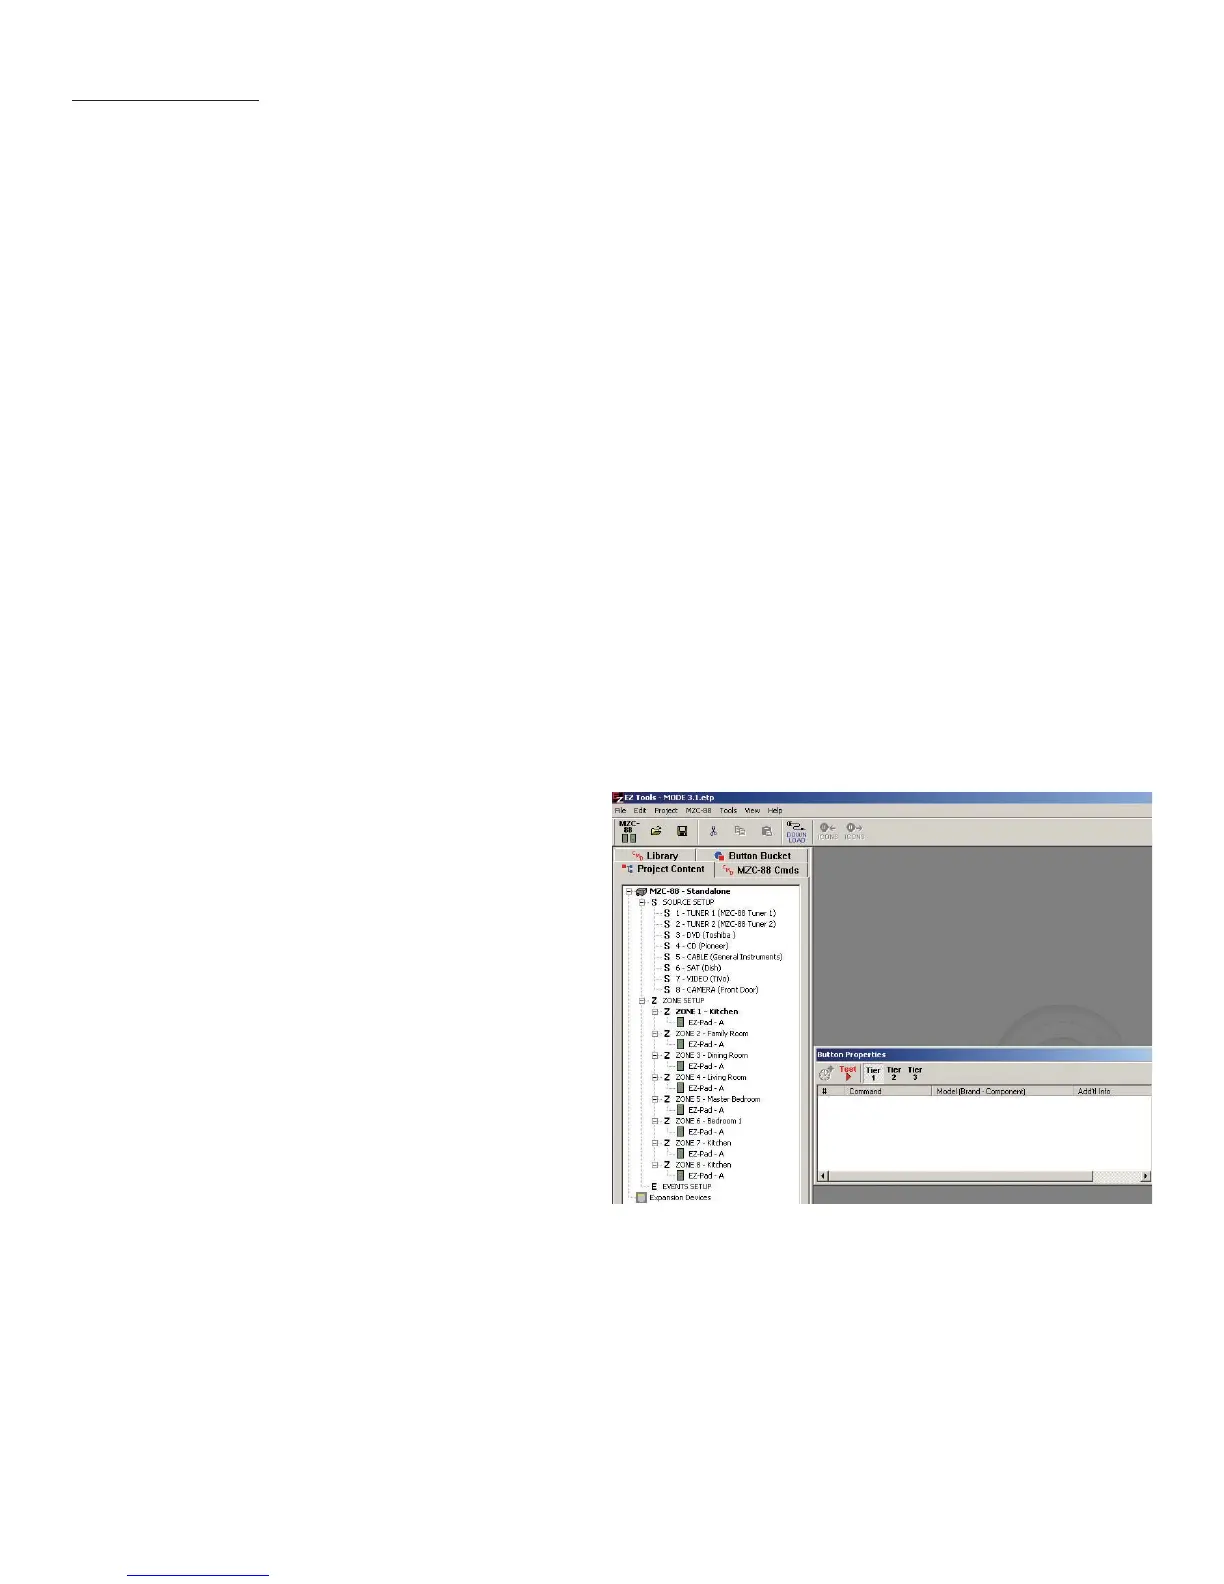
3. In the Open Window, highlight and left click the proj-
ect to be modified. The project will open to the default
screen as shown in Figure 23.
Source Setup
4. If adding iPod(s) using MODE Base(s) and MODE
Adapter(s), with the Project Content Tab selected, left
click Source Setup. The MZC Setup Window will appear.
5. Left click the pull-down arrow for the source that is
to change to iPod. (For the example Source 5 will be
used.) The MZC Source List will open. Highlight and left
click iPod. Source 5 will change to iPod. The Source
Assignments Tab will also change, now featuring addi-
tional options for Source 5. (Refer to Figure 24)
PROGRAMMING
6. In the Description block, Type in a name for the iPod, such as NANO, 30G VIDEO, etc.
7. In the Address block, if the iPod being added to Source 5 is the only iPod being added using MODE Base and Adapter,
leave the Address set to ‘0’. If adding additional iPods, Bases and Adapters, set each to a different Address.
 Loading...