18
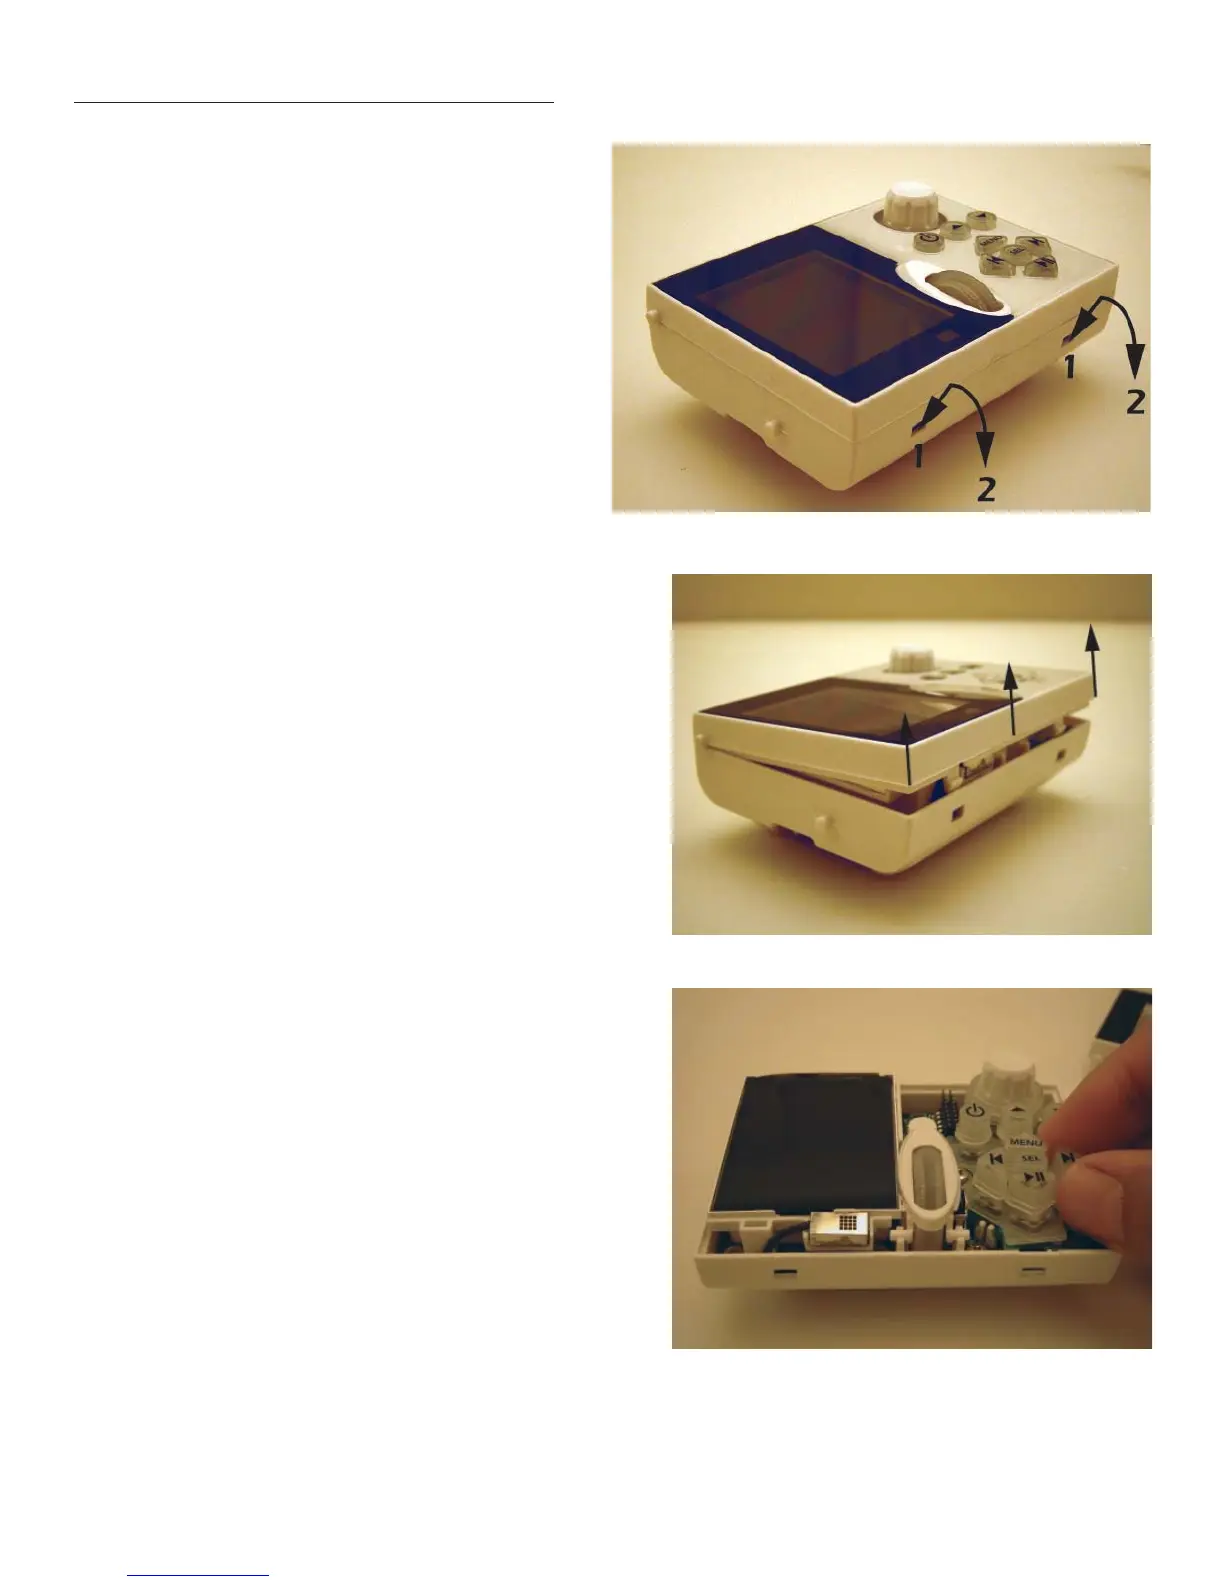
Figure 14
Faceplate Release Tabs
Figure 15
Removing The Faceplate
Figure 16
Changing Keycaps
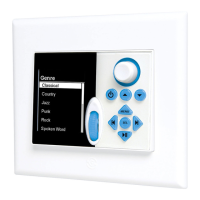
MODE 3.1 HARD BUTTON CONFIGURATION
As received from the factory, MODE Keypads have a pre-
installed set of buttons that match the default button con-
fi guration in EZ-Tools. This default may not match the system
being installed. MODE Keypads come with a set of alter-
nate buttons. The hard button keycaps can be changed
on the keypads and in EZ-Tools to match the product being
installed. To change the hard button keycaps:
1. With the keypad disconnected from the system, care-
fully insert a small fl at head screwdriver into the Face-
plate Release Tabs Slots (1) as shown in Figure 14.
With the screwdriver inserted, slowly twist the screw-
driver and pull down in the direction shown (2) until the
Faceplate Tabs release from the body.
2. With both tabs released, carefully pull the bottom of
the faceplate up and away from the keypad as shown
in Figure 15 until it stops moving freely. Carefully pull the
top of the faceplate clear of the keypad to remove.
Do not touch, pinch, poke or otherwise contact the
fl ex board circuit connected to the top of the LCD.
Damage to the fl ex board will disable the LCD.
3. With the faceplate fully removed, the hard button
keycaps cans be changed. Carefully pinch the top
of the keycap and slowly pull it straight up and off the
rubber membrane as shown in Figure 16. Try not to pull
the membrane off the green circuit board. If the mem-
brane does come loose, be sure to replace it to its nor-
mal position, seated fl at on the green circuit board. If
the membrane is not properly seated, the keycaps will
not fi t properly through the openings in the faceplate
and the keypad will not function.
4. Using the included alternate set of keycaps, make
changes as needed.
5. With all keycaps in place, replace the faceplate in
reverse process to step 2. Carefully align the top of
the faceplate with the keypad body as they appear
in Figure 15. Slowly press the bottom of the faceplate
until the keycaps begin to push through their open-
ings. Visually inspect the keycaps to confi rm that they
are properly centered in the faceplate openings. With
the keycaps in place, press the bottom corners of the
faceplate until it snaps into place.
6. Press all buttons to confi rm free play.
 Loading...