39
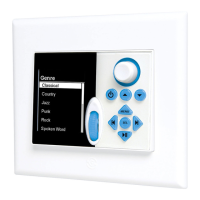
10. If adding multiple Virtual Buttons, right click inside the
Virtual Button List Window, highlight and left click Add
Multiple New Menu Items. In the New Source Menu Items
Window, type in the fi rst function name in the Enter Item
Name Block. Either left click the >> Button or press the
return key on the PC keyboard to add the function to
the Item Names List. (Refer to Figure 35) To remove items
from the ‘Add New’ list, highlight the entry and left click
the << Button. When all functions have been added to
the Item Names List, left click OK. To remove items from
the Virtual Button List, right click the item, then highlight
and left click Delete Item.
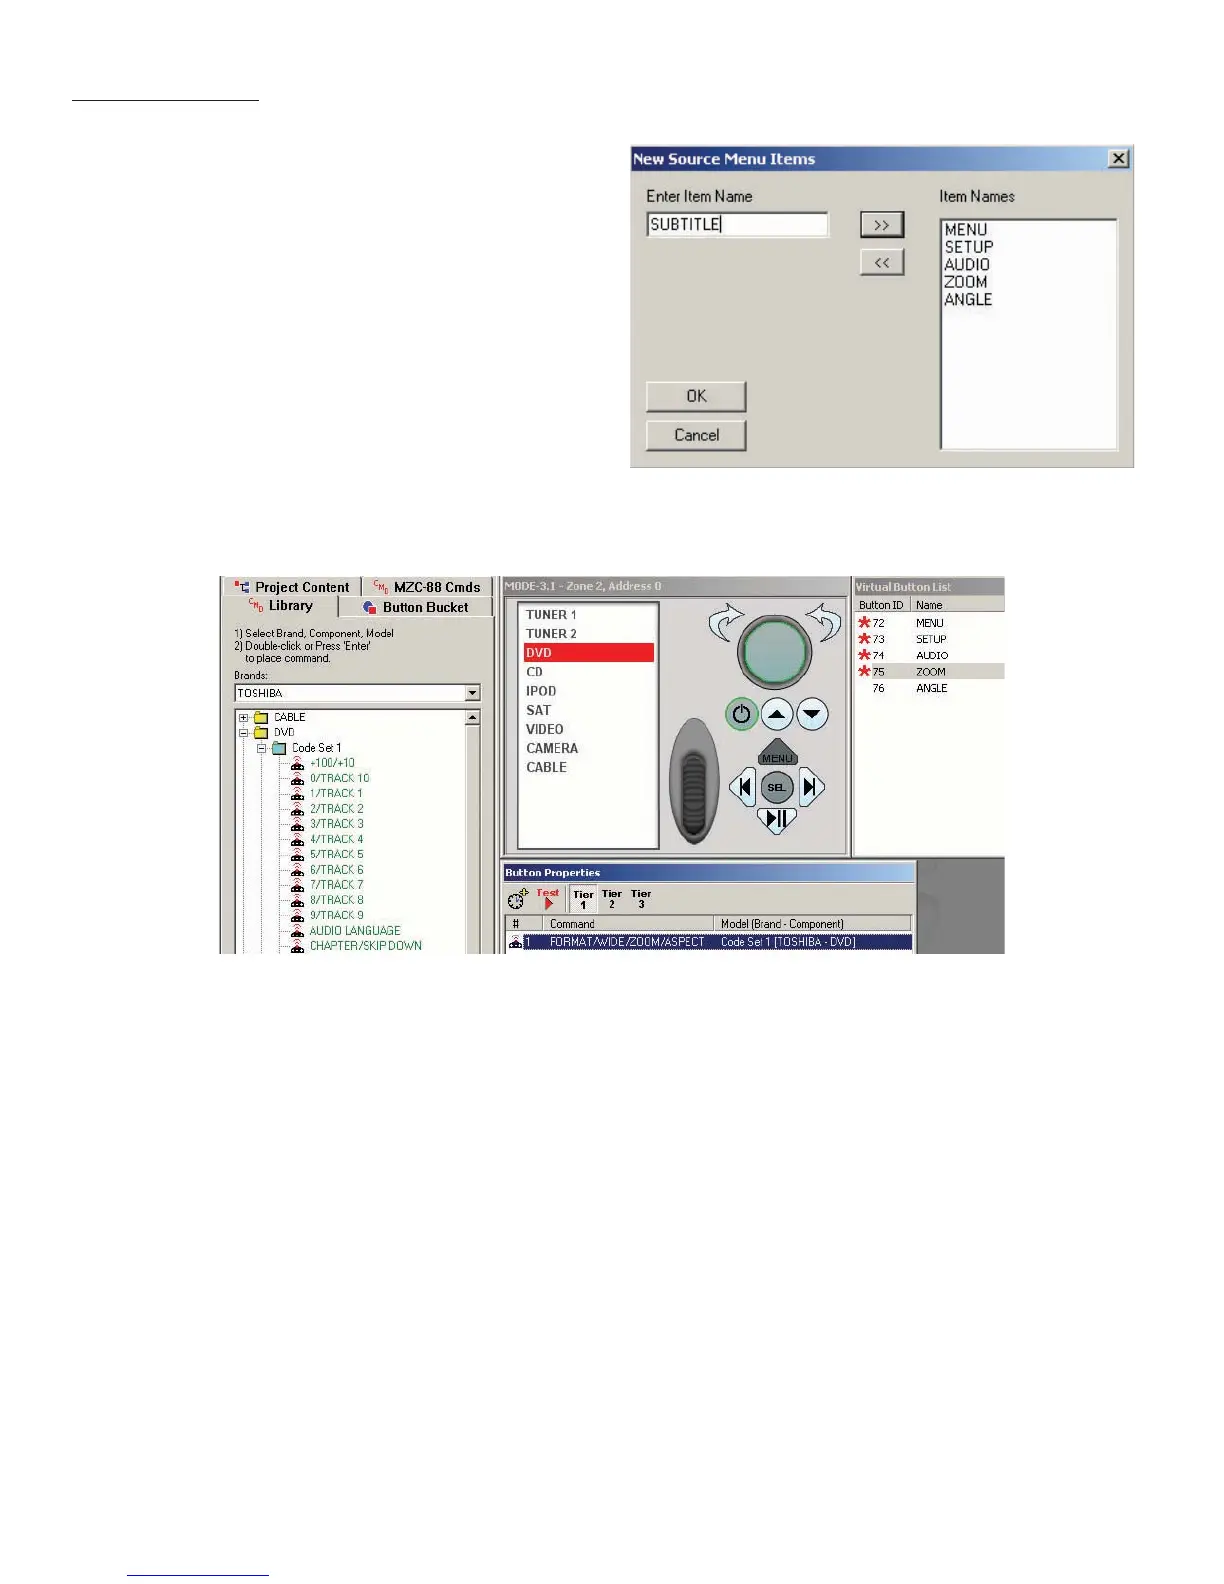
11. To associate IR or RS232 commands to the Virtual Buttons,
if not already open, left click the CMD Library Tab. Select
the Brand and Device being programmed as described
in Step 1 above.
Figure 35
Creating DVD/CD Virtual Buttons
Figure 36
Placing IR Commands On Virtual Buttons
12. Left click the Virtual Button to be programmed. Double left click the IR or RS232 command in the CMD Library. A red
asterisk will appear next to the function in the Virtual Button List to indicate an associated command or macro. The
command will appear in the Button Properties Window. (Refer to Figure 36) Repeat for all Virtual Buttons.
Macros
13. Virtual Buttons can be programmed to execute macros using standard EZ-Tools programming method. Left click the
Virtual Button to be confi gured as a macro. Double left click a command from the CMD Library. It will appear in the
Button Properties Window. Navigate the CMD Library to fi nd the next command to be added to the macro. Double left
click the command. Repeat until all commands for the macro have been programmed.
Delays
14. Delays can be added between commands in a macro by left clicking the Clock Icon in the Button Properties Win-
dow. If adding a delay to an existing macro, it will appear at the bottom of the Command List in the Button Properties
Window. Left click and drag the delay to the desired location between commands. A red line will appear between
commands to act as a guide as to where the delay will be placed. To adjust the duration of the delay, double left click
the delay in the Command List. The Delay Properties Window will appear. Either type in the duration from 0.1 to 20.0
seconds or use the arrow up/down buttons to set. Left click OK to enter.
15. Repeat the previous steps to program MODE for all other sources using the appropriate Brand/Device commands for
each source from the CMD Library. For commands not found in the Library, refer to MZC Installation Instructions, sec-
tions: Learning IR Commands, and RS232 Commands (MZC-88).
PROGRAMMING
 Loading...