Waukesha Cherry-Burrell Maintenance
10/2012 95-03087 Page 23
This icon indicates a link to a maintenance video available online or in the CD version of this manual.
To access the PDF online, go to:
http://www.spx.com/en/assets/pdf/95-03087_w70mixproofv_wcb.pdf,
or for a CD version, contact your local distributor and ask for CD-1802.
Removing Valve from
System
WARNING: Before removing the actuator/valve stem
assembly from the valve body, drain all product lines
connected to the body.
NOTE: If the valve has a control module
with a solenoid, the air and electric must
remain ON until the valve is properly
disassembled.
1. Clean, rinse, and drain the pipe system elements attached to
the valve. Remove or block the fluid and gas lines to prevent
material from entering the pipe system elements attached to
the valve. If present, disconnect the flush water supply con-
nection. If supplied, seat lifts can be used to check for pres-
surization.
NOTE: On seat lifting model valves,
clearly mark on the other stem and
adjusting threads where the bottom
edges of the adjusting sleeve and
adjusting nut align to ensure proper
resetting of seat movements after
disassembly.
2. Disconnect the external flush if used.
3. Disconnect the electrical supply and lock out all power.
4. Supply air to the open valve.
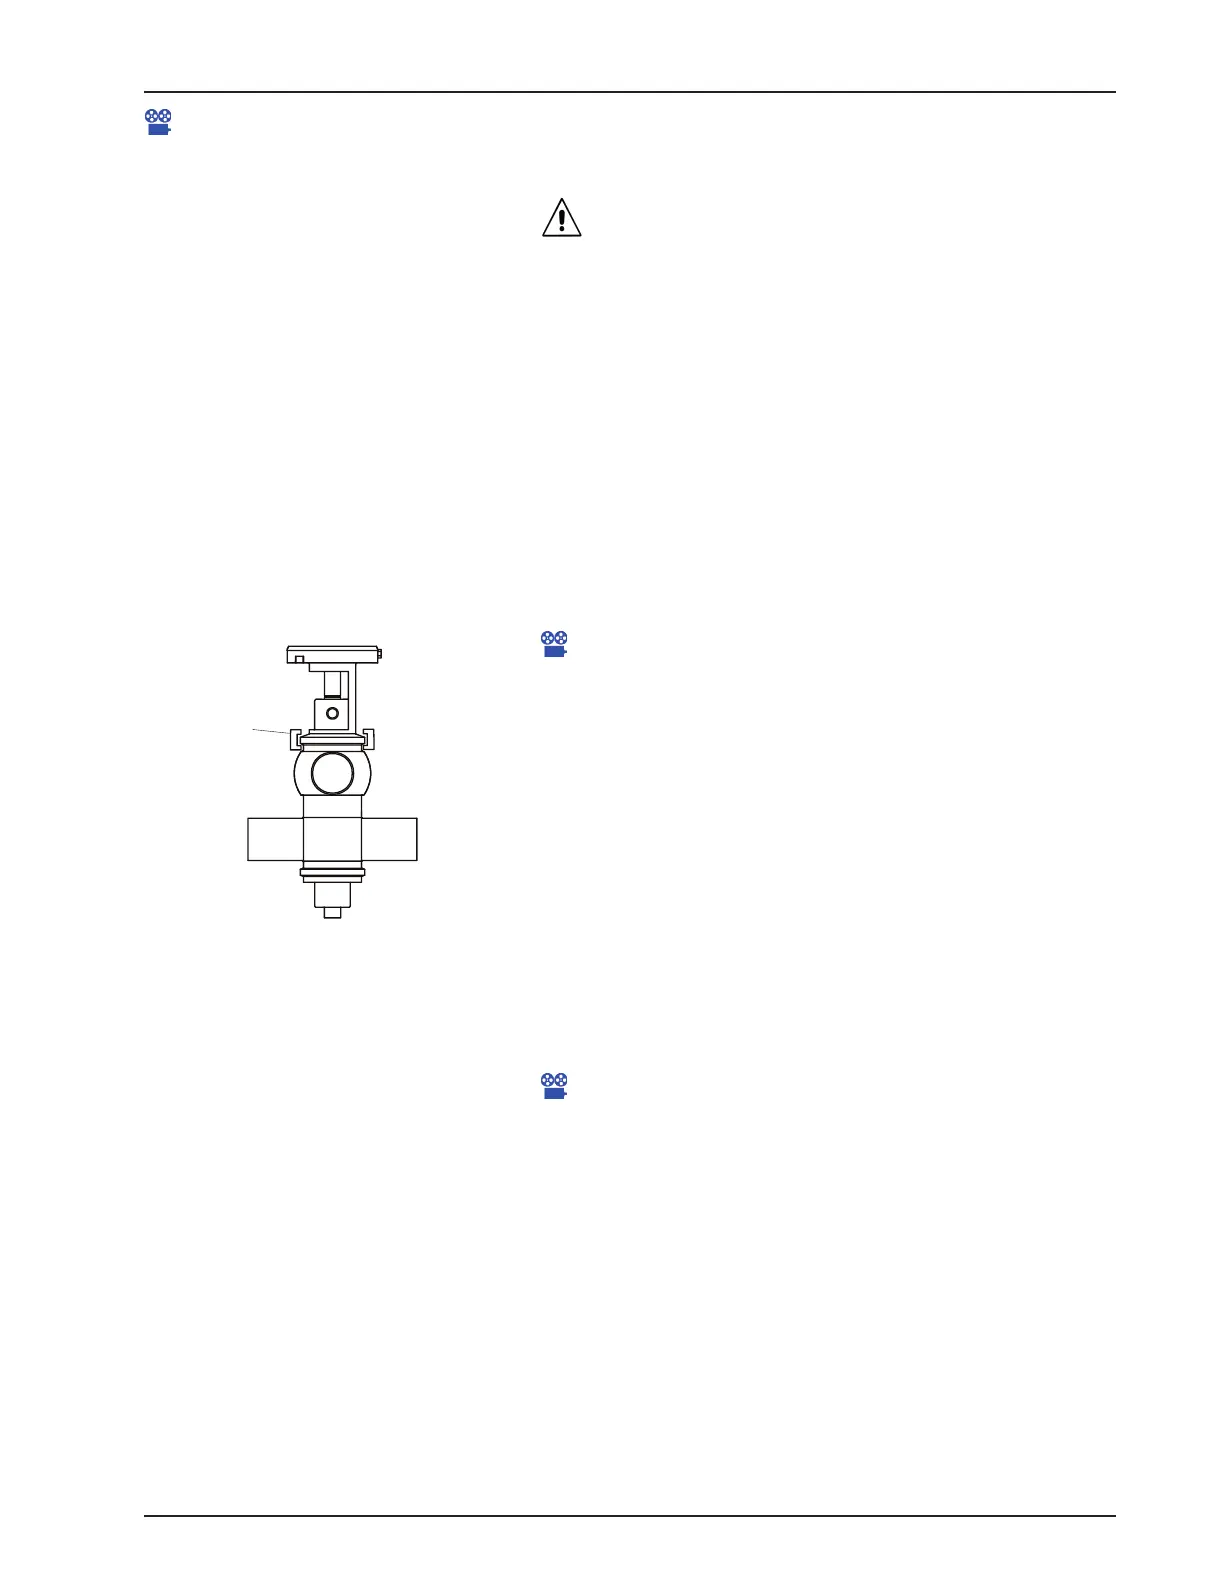
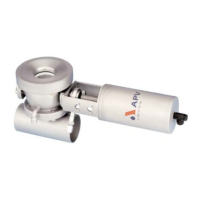
5. Remove the clamp between the yoke and the adapter (Figure
18, item A).
Maintenance Video 1: Remove valve from body
6. Remove the air pressure to cycle the valve closed, lifting the
valve approximately 3/8" (9.5 mm) out of the body. Shut off
and disconnect the air supply.
7. Disconnect and lock out electrical power to the valve.
8. Lift the complete valve actuator
and stems out of the valve
body, being careful not to damage the stems or internals.
9. Move the valve to a work station.
10. Re-install in reverse order. Keep in mind that air must be
ap
plied to cycle the valve open and lower the valve insert
approximately 3/8'', in order to completely reseat the valve in
the body. Re-fasten the clamp between the yoke and the
adapter, then remove the air pressure to cycle the valve
closed.
Maintenance Video 2: Re-install valve into body
Figure 18 - Location of Adapter Clamp
A