Maintenance Waukesha Cherry-Burrell
Page 24 95-03087 10/2012
Disassembly of Valve
Stems
Disassembly of the valve stems is required for seat ring replace-
ment. (For ”Reassembly of Valve Stems‚" turn to page 31.)
NOTE: Seals, seal grooves, and contact surfaces are precision
parts and must not be damaged.
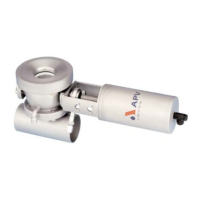
1. Lower stem removal: Using an open end wrench, remove the
lower stem (Figure 19, item A) from the actuator by turning it
counter-clockwise.
Maintenance Video 3: Remove lower stem
NOTE: (For seat lifting valves) Before disassembly, note the
position of the upper and lower seat lifting adjustment nuts. See
Figure 17.
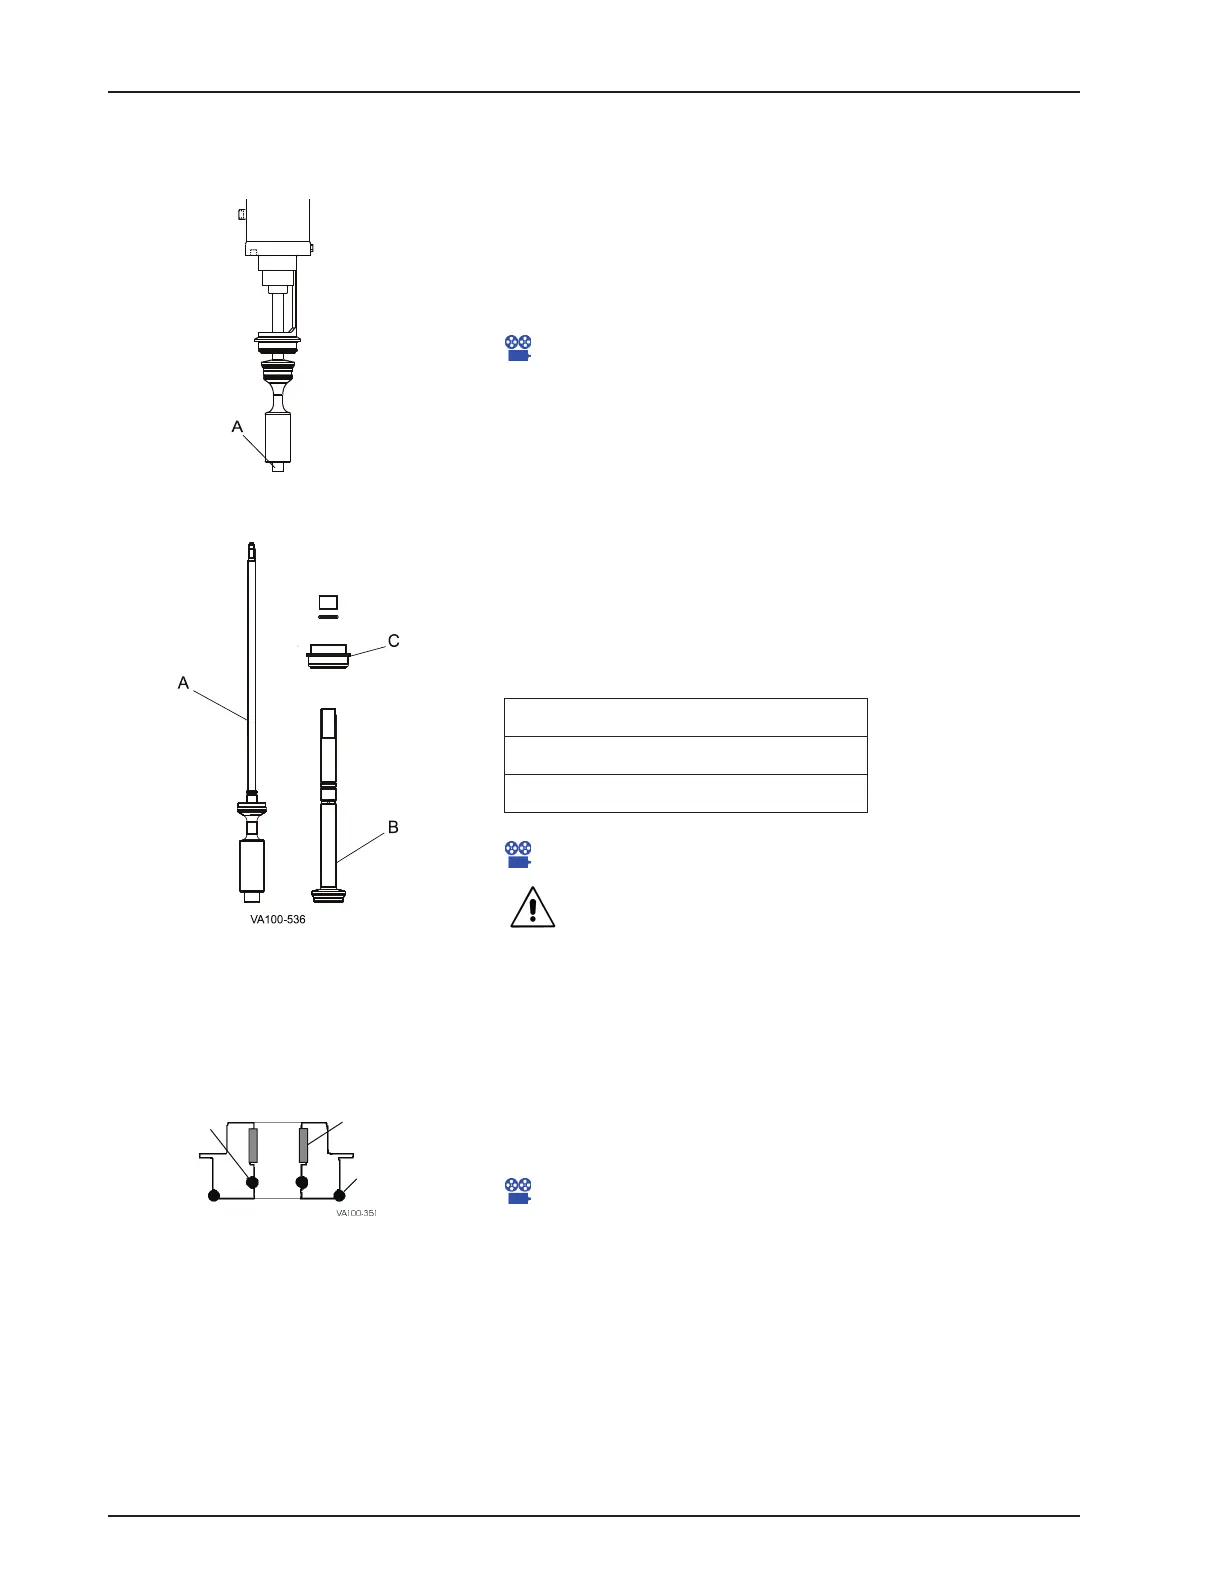
2. Upper stem removal: Hold the adjusting sleeve stationary
with a spanner wrench, turn the stem (Figure 20, item B)
counter-clockwise, and remove it from the actuator. If the
adapter (Figure 20, item C) comes out of the yoke, handle it
with care.
Table 7: Call-out table for Figure 20
A = Lower Stem
B = Upper Stem
C = Top Adapter (Bonnet)
Maintenance Video 5: Remove upper stem
WARNING:
Do not pressurize the actuator with the stems
removed, as internal o-ring damage will result.
Adapter Bearings and O-
rings
Inner O-ring and Bearing Replacement
1. Remove the valve stem assembly from the actuator and slide
the adapter off the outer stem.
2. Remove and replace the o-ring (Figure 21, item A) inside the
adapter. For the flush/steam barrier adapters, see Figure 4
on page 13 and Figure 7 on page 14, respectively.
Maintenance Video 7: Adapter o-rings and bearing removal
and replacement
3. Check the split bearing (Figure 21, item B) inside the adapter
by feeling the amount protruding from the adapter wall. If the
bearing is flush with the wall, replace the bearing.
4. Place a screwdriver behind the bearing and pry it away from
the wall of the adapter. A needle-nose pliers can be used to
grip the bearing for removal. Be careful not to scratch or dam-
age the metal surfaces.
Figure 19 - Valve Stem Removal
Figure 20 - Stem Removal
Figure 21 - Standard Top Adapter
C
 Loading...