PXS-710D Section 2
33
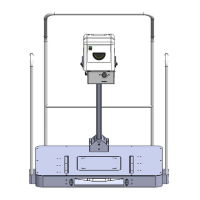
2.4 CALIBRATION SET-UP
Connect the mAs meter to the phone jack (J3) located on the top back plate
of the Control/Generator Assy. Place the kVp meter (Unfors model 514L) in
the X-Ray field @ 30” SID, and run calibration procedure.
Connect an Oscilloscope to TP7 and TP8 (GND) on the Control Board 950132.
2.5 TUBE POTENTIAL (kVp) and Beam Current (mA)
2.5.1 MICRO-CONTROLLER OPERATIONAL MODES:
Manual Operation Mode
Calibration Mode
2.5.2 MANUAL OPERATION
This is the default mode of operation, which normally appears
immediately after the Power On Self Test (POST).
To adjust kV output, use the kV Up and kV Down keys.
To select mAs setting, use the mAs Up and mAs Down Keys.
2.5.3 CALIBRATION MODE (W/OPTIONAL SR-115-RC)
To enter the Calibration Mode, Connect the Remote Control SR-115-RC.
Turn the unit ON and press “
kV Up”
, “
Reset”
, and “
mAs Up”
simultaneously and hold for approximately 10 seconds during the POST
condition. The display will show 710, wait for the ‘Chirp’ and then
release the keys.
Successful entrance into the calibration mode will result in the following
displays - kVp: “710”, mAs: “1.00” (or whatever the current firmware
version is e.g.; “2.10”). Hold “
kV Up”
, “
Reset”
, and “
mAs Up”
for
approximately 4 seconds to enter the calibration mode.