11-38 Pretrip inspection and maintenance
Repeat this procedure until the water is free of
dirt, scale, and debris.
CAUTION
If the radiator lines are clogged or the coolant is
badly contaminated, bring your vehicle to an
authorized Sterling service facility.
8. Make sure the radiator petcock and engine drain
plug are securely fitted.
9. Tilt the cab.
10. Add coolant in the correct mixing ratio up to the
brim of the pressure cap opening. Pour the cool-
ant slowly to prevent air from mixing with it.
11. Check that the coolant level at the pressure cap
opening does not go down. Install the pressure
cap and lock it into place (turn it clockwise until it
is tight and insert the spring fastener).
CAUTION
If air is not completely removed from the cool-
ing system, this may lead to reduced cooling
efficiency and engine parts failure. After replac-
ing the coolant, drive the vehicle and then check
the coolant level.
12. Lower the cab.
13. Fill the surge tank with coolant in the correct
mixing ratio to the “FULL” mark. Install the surge
tank cap and make sure it is tight.
14. Start the engine and keep it running at a speed
slightly higher than normal idle. This will remove
air from the cooling system. When the engine
reaches normal operating temperature, allow
the engine to idle for 10 minutes longer before
shutting it down.
15. When the engine has cooled, open the pressure
cap and, if the coolant level is too low, add cool-
ant until it reaches the top of the pressure cap
opening.
CAUTION
Tighten the pressure cap before operating the
engine. If the cap is loose, coolant will overflow
as the engine temperature rises.
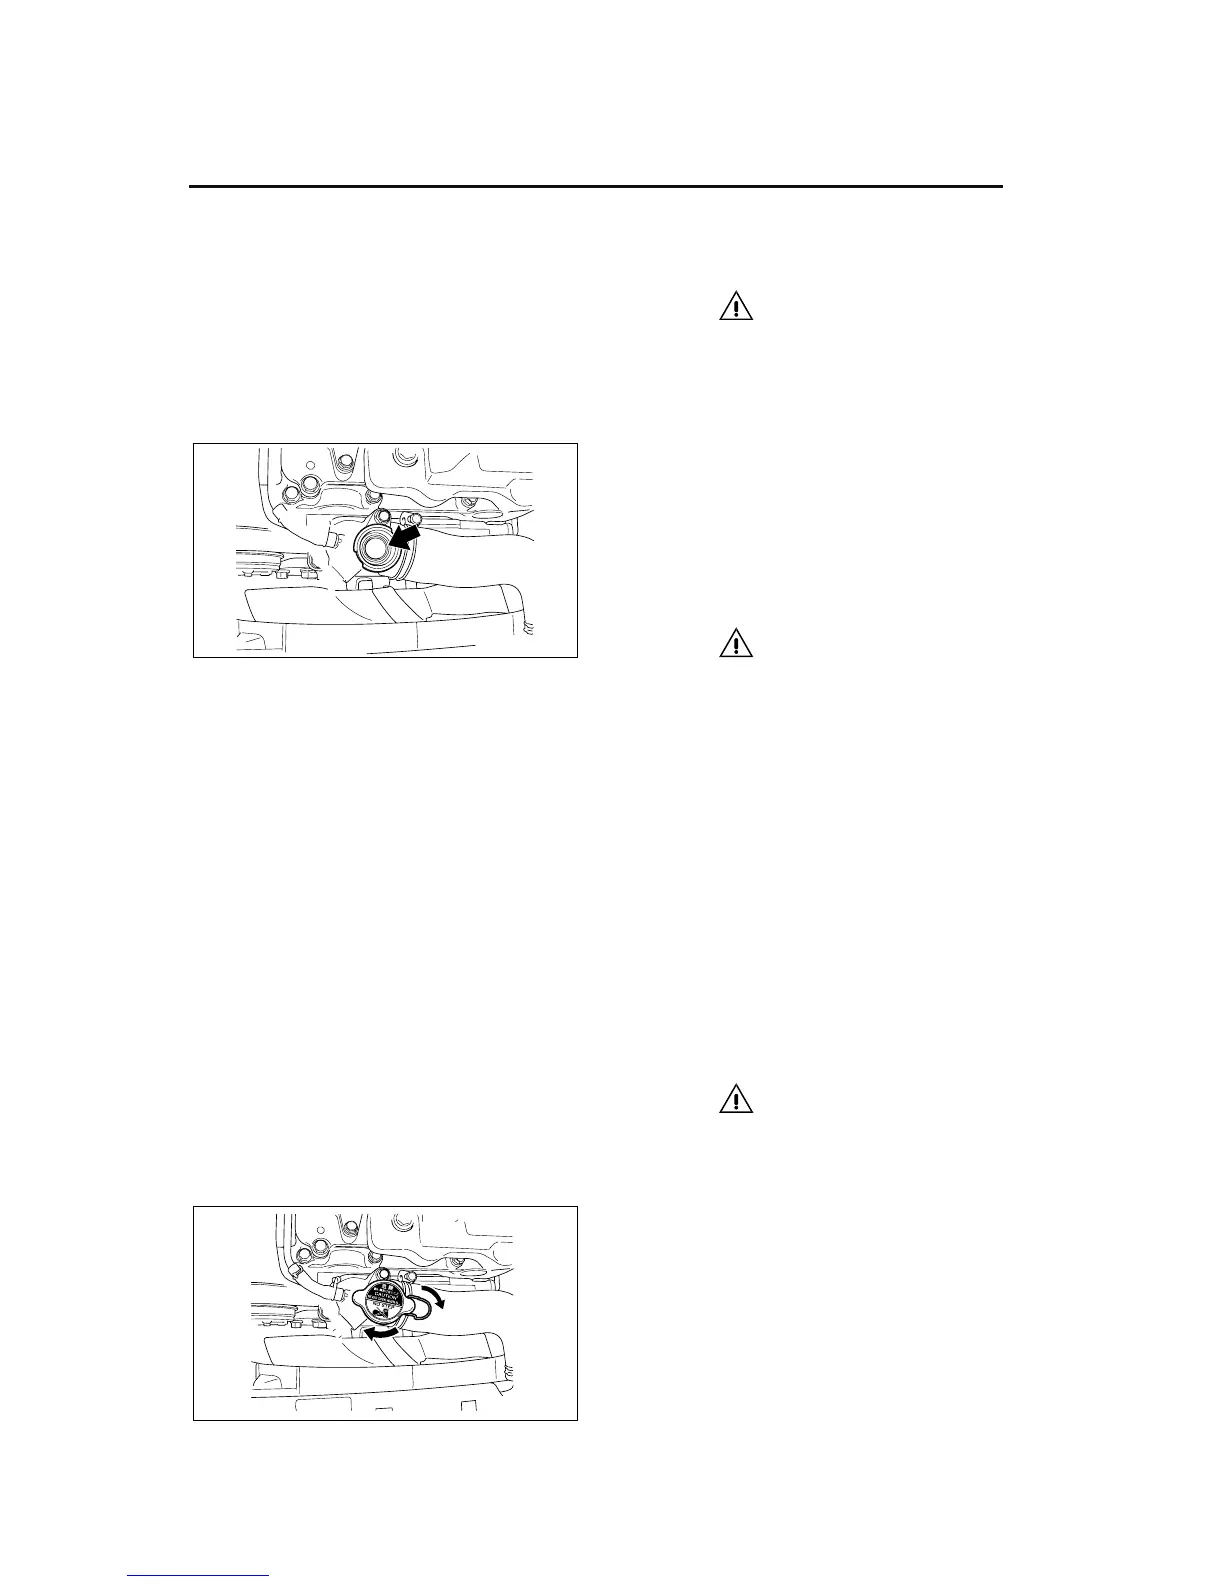
16. Screw the pressure cap down tightly. Turn it
clockwise.
Press in the spring fastener to lock the pressure
cap.
17. Run the engine a few more minutes to make
sure that there are no coolant leaks.
18. Make sure that the coolant level in the reservoir
tank is in the specified range. Add coolant if nec-
essary.
Z12450
Z12076