20 GS 461
– If the cut-off chain cannot be
tensioned,
: Place guide bar (1) into the
second hole (arrow), then repeat
tensioning operation
– Reassemble remaining parts in
reverse order
4.5 Cut-off chain
The following damage to the cut-off
chain can be repaired. The following
assembly steps are the same for all
repairs.
– Drive link cracked
– Rivet cracked
– Segment broken off
– Remove cut-off chain
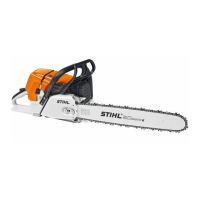
If a drive link is cracked, both
neighboring tie straps (1) must
always be unriveted.
1
2411RA018 TG
2411RA061 TG
1 1
: Clamp die (1) 5805 757 7106 in
vise and insert cut-off chain with
the tie straps to be unriveted
: Push insert (2) 5805 757 9500 as
far as it will go over the
segments (3) of the tie straps to
be unriveted and break away
segments (3)
: Insert cut-off chain into the die (1)
5805 757 7106 so that the drive
links (2) make contact on both
sides (arrows)
– Unrivet tie straps with
STIHL NG 4 or NG 7 – see
Instruction Manual STIHL NG 4
or NG 7
2411RA066 TG
3
2
1
2411RA071 TG
1
22
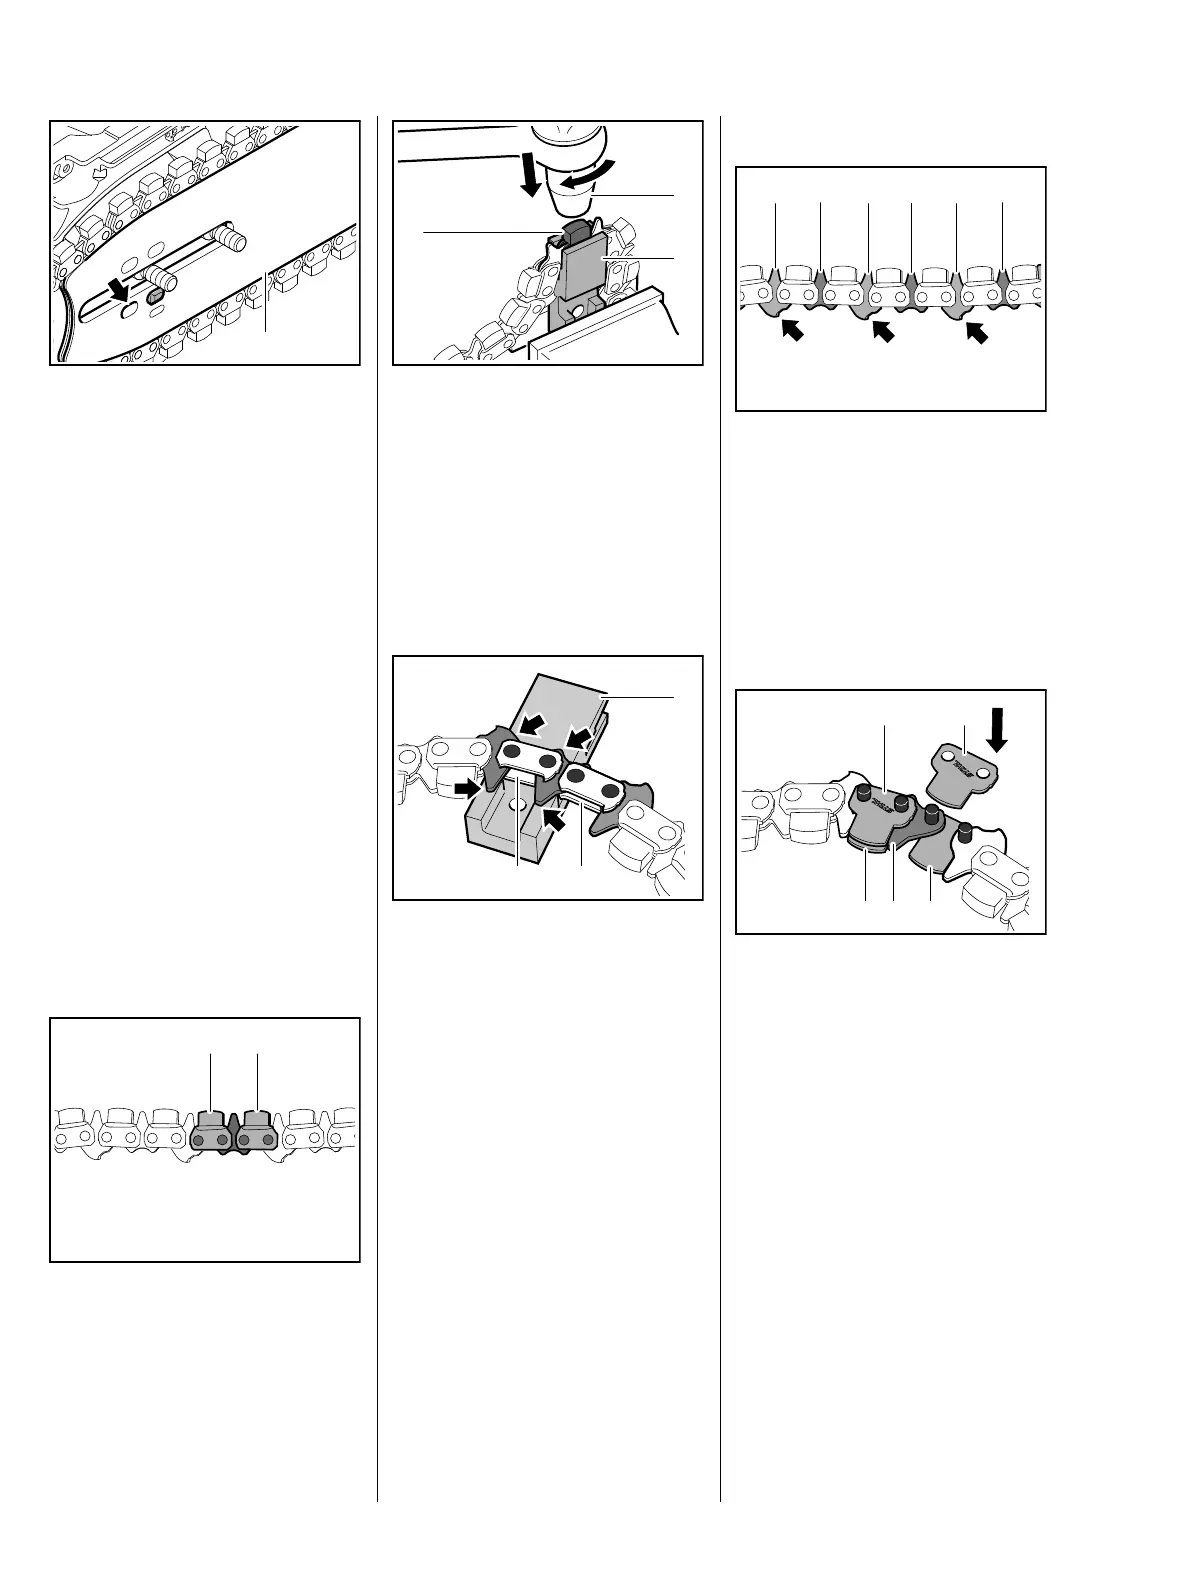
Installation
With the drive links (1) and (2),
always make sure that they
alternate – drive links that are the
same must not be installed one after
the other.
The lugs (arrows) of the drive
links (1) must face the same
direction.
: Twist lock links loose (1), twist
lock links rolled (2) and assemble
drive link (3) so that the "STIHL"
embossing is visible, then rivet
with STIHL NG 5 or NG 7 (roll in
just like saw chain with "spinner
insert A" and "thrust screw A,
B")
– see Instruction Manual STIHL
NG 5 or NG 7
– Adapt newly inserted chain link to
the dimensions of the others
– Mount cut-off chain
2411RA073 TG
1
2
1
2
1
2
2411RA131 TG
1
3 22
1

 Loading...