ISP Immersive Sound Processor
25
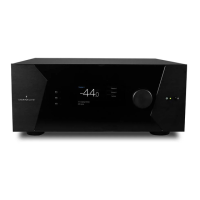
7. Initiate Calibration
Press DIRAC (A) to ready the ISP for calibration.
A popup describing the process will be shown
in the web UI. Verify that you are calibrating the
correct theater or zone based on the correct
prole. If not, cancel and return to step 4. Once
veried, click Start New Calibration.
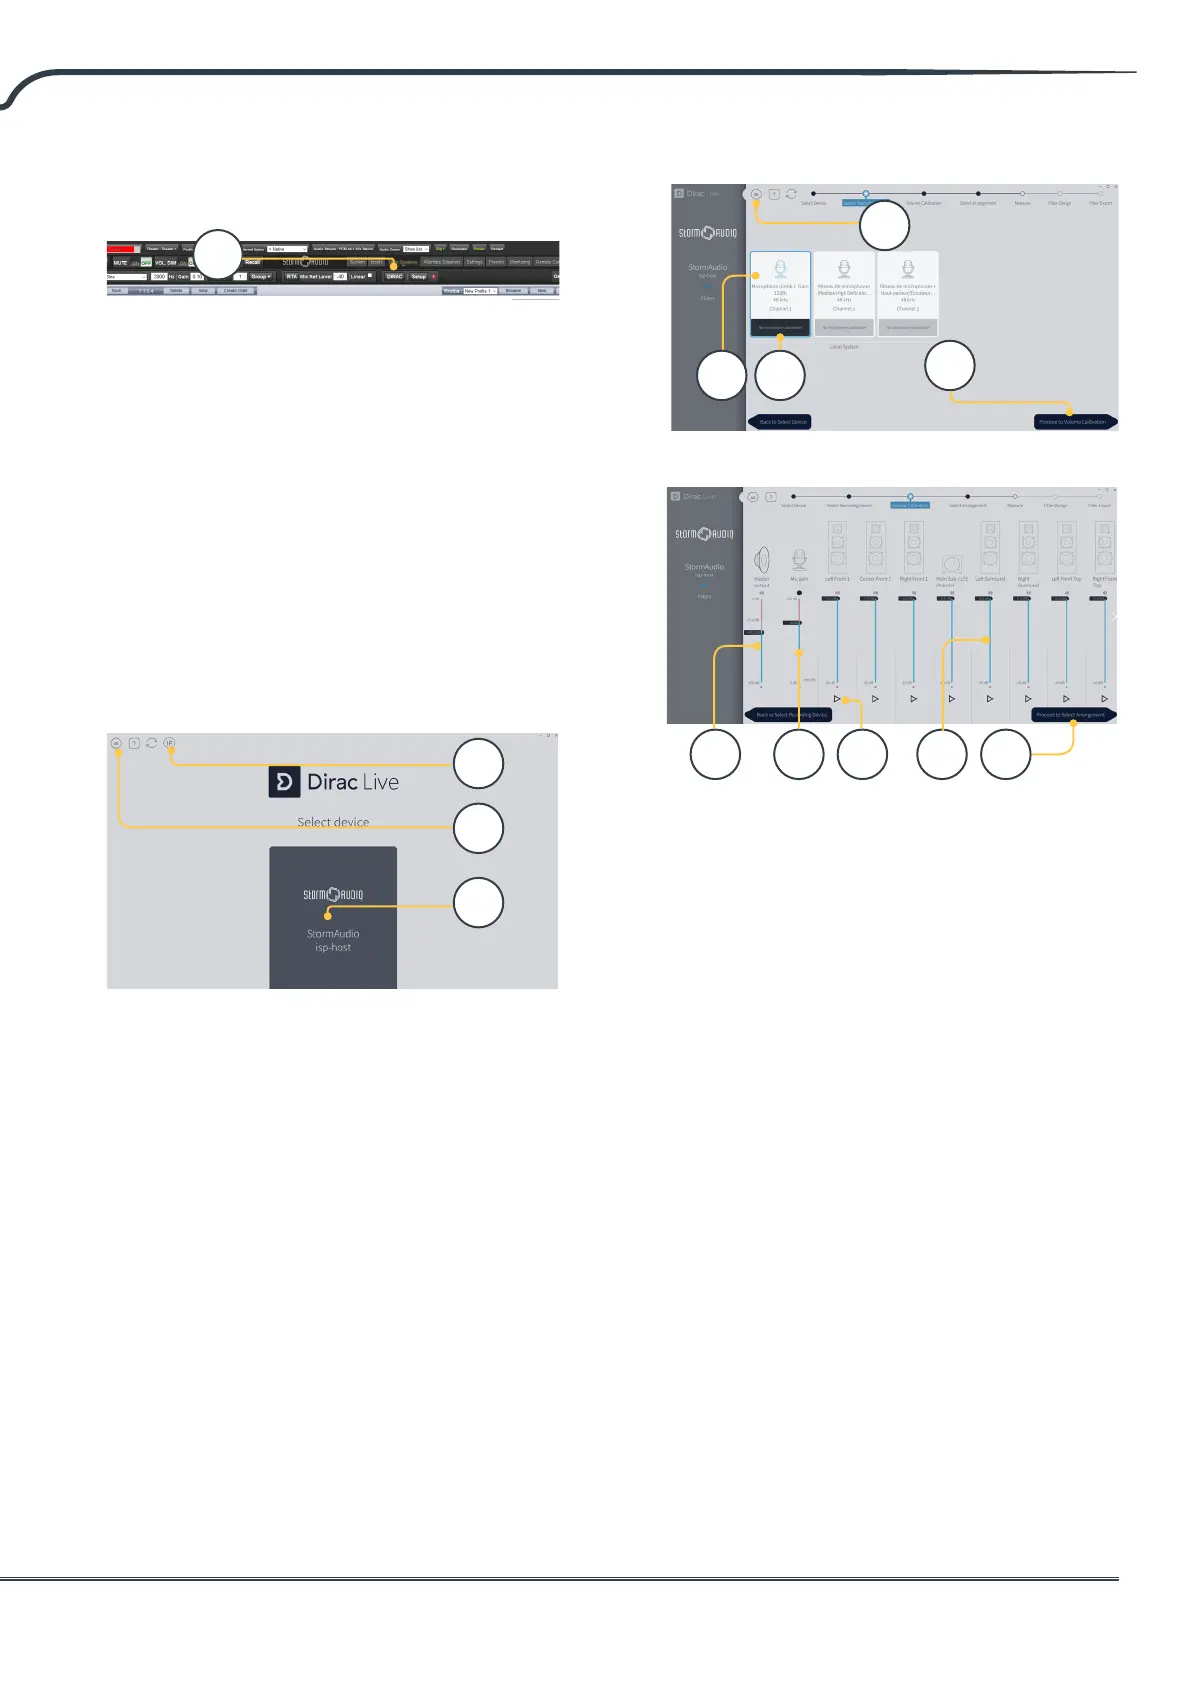
8. Return to / Open Dirac Live
Calibration Tool Soware
Open the Dirac Live soware on your laptop
and enter your Dirac Account dredentials (A).
It will scan the network and automatically nd
the ISP ready for calibration (B). If it does not,
manually enter the IP address of the ISP (C).
Select the device to calibrate.
9. Congure Microphone
Choose the Recording Device UMIK-1 (A). Load
the microphone calibration le (B) downloaded
in step “3. Prepare Calibration Hardware” on
page 24. Use “...90degree.txt“ when placing
the microphone in an upward facing direction.
It is wise to save the project (C) along each step
of the calibration in order to make recovery
from interruptions easier. Also, measurements
can be reused in order to regenerate a new
lter design following adjustments to the target
curve. Click Proceed to Volume adjustments
(D).
10. Set Levels
Now that the microphone is connected, ensure
that the room is quiet. Adjust the input gain to
100% (B). Set the output volume (A) to a low
level (-40dB for example). Start the test noise
by pressing the PLAY button (C) on the rst
channel and adjust the volume to reach the
green area in the channel’s meter. For each
channel, activate the test noise and correct the
channel volume using the corresponding slider
(D) so that the meter reaches the green area.
Note that all channels are automatically listed
and subwoofers are automatically identied.
Remember that it is important that multi-way
speakers and subwoofers have already been
individually aligned and grouped therefore will
appear as one loudspeaker. Click Proceed to
Select Arrangement (E).
A
A B
C
D
B A C D E
A
C
B