US-11
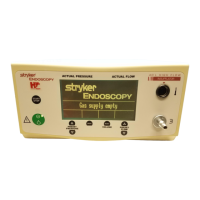
2-8 Testing Overpressure Alarm
1. Attach a tube and an air-filled syringe to insufflation tube
connection (Fig. 2-5-1).
2. Use the syringe to slowly generate a pressure of 15 mm Hg.
3. Slowly increase pressure to 21 mm Hg and press the Start/
Stop key.
4. An alarm is sounded after approx. 5 seconds and
Overpressure is displayed.
5. Select gas flow level 2.
6. The bleeder (relief) system is activated after approx. 5
seconds (time and pressure value can be changed in the
user menu).
7. The bleeder system relieves the pressure; alarm and
Overpressure warning symbol are turned off.
8. Press the Start/Stop key and remove test tools and
resources.
Adjustment
Replace low-pressure unit.
2-9 Testing Blockage Alarm
1. Connect insufflation tube and close off the end of the tube.
2. Press the Start/Stop key.
3. An alarm is sounded after approx. 5 seconds and
Blockage is displayed. The acoustic warning signal can be
deactivated in the user menu.
4. Open the insufflation tube connection; the alarm is turned
off.
5. Press the Start/Stop key.
Adjustment
Return device to factory.
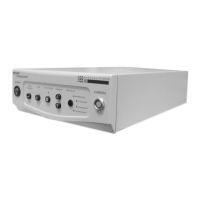
2-10 Testing Gas Heater
1. Connect a heater tube to insufflation tube and gas heater
connection.
2. The display depicts HEATING. The tube is being pre-
warmed.
3. Unplug the gas heater. The display HEATING disappears.
4. Remove heater tube.
5. Turn off device.
Adjustment
Replace HPL board or cable to HPL.
2 Function Test