13
Connecting a Light Cable
To activate ENV mode, an AIM SafeLight cable (0233-050-300) must be
connected to the light source. White Light mode and IRIS mode will function
when other Stryker light cables are connected.
Power o the light source (or place it in Standby mode and
disable ENV mode and IRIS mode) before connecting or
removing the light cable or endoscope.
Keep ngers away from the light cable connection as the clamp
may inadvertently deploy and cause injury.
The light cable connection on the light source emits a Class1M
laser when ENV mode is activated. To assure proper and safe
laser application, connect only the AIM SafeLight cable to the
light source. Do not attempt to use any other ber optic light
cables with ENV mode.
Do not operate the light source in ENV mode with an AIM
SafeLight cable that is cut or damaged. If the AIM SafeLight
cable breaks during operation, place the light source in Standby
mode and disable ENV mode, then replace the cable.
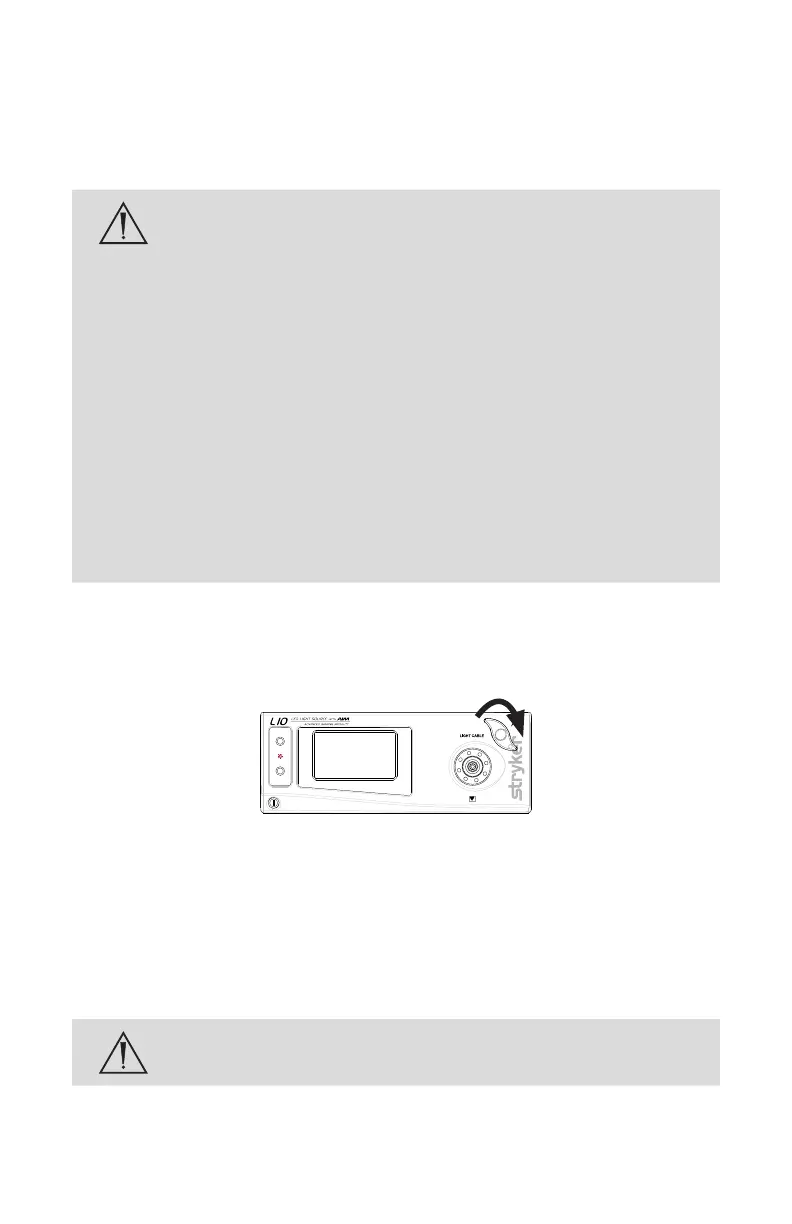
1. Make sure the light source is powered o, or place it in Standby mode
and disable ENV mode.
2. Lock open the clamp in the light cable connection by turning the jaw
handle clockwise until it stops.
3. Insert a clean, dry light cable into the cable connection until the jaw
clamps the cable in place. Pull gently on the cable to test that it is securely
seated in the cable connection.
4. Connect an endoscope to the opposite end of the light cable.
Note: A scope adapter may be required to connect the cable to the
endoscope. See the light cable user manual for more detail.
Before each use, check the outer surface of the endoscope to
ensure there are no rough surfaces, sharp edges, or protrusions.
Note: To remove the light cable, place the light source in Standby mode and
disable ENV mode. Then, turn the jaw handle clockwise until the latch opens.