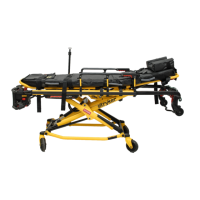
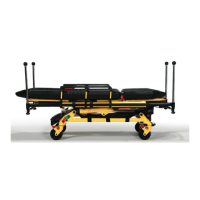
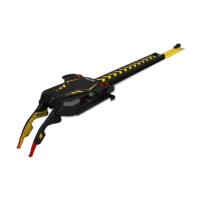
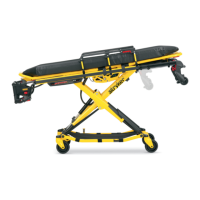
TTaabbllee 11 –– IInnccuubbaattoorr aaddaappttoorr aanndd rreeqquuiirreedd ttoooollss ffoorr iinnssttaallllaattiioonn
Incubator adaptor Required tools Page
AAiirrbboorrnnee™ side-by-side
• 5/32" Allen wrench
• 3/16" Allen wrench
• 1/2" socket and ratchet
Installing the Airborne infant transport
incubator adaptor in the side by side
configuration
(page 33)
DDrraaggeerr®
• 5/32" Allen wrench
• 3/16" Allen wrench
Installing the Drager infant transport
incubator adaptor
(page 34)
AAiirrbboorrnnee™ stackable
• 1/2" socket and ratchet
Installing the Airborne infant transport
incubator adaptor in the stackable
configuration
(page 35)
No adaptor option (airsled or
equivalent configuration)
• 1/2" socket and ratchet
Installing the no adaptor option airsled
transport incubator with a sled
receptacle
(page 36)
IInnssttaalllliinngg tthhee AAiirrbboorrnnee iinnffaanntt ttrraannssppoorrtt iinnccuubbaattoorr aaddaappttoorr iinn tthhee ssiiddee bbyy ssiiddee
ccoonnffiigguurraattiioonn
WWAARRNNIINNGG
• Do not install these incubator adaptors on any other Stryker cot or on any cot from another manufacturer. These
incubator adaptors are for use only on the PPoowweerr--PPRROO IT cot.
• Always make sure that the incubator adaptor is properly installed on the cot and the incubator is securely fastened to the
incubator adaptor before use.
Before you install an incubator adaptor on the PPoowweerr--PPRROO IT cot, read and understand this manual and the manual that
was supplied with the incubator adaptor.
To install the incubator adaptor (Figure 14):
1. Push down on the latch tab (A) to release the latch tab (B).
2. Pull down on the latch tab (B) and open each of the latches on the four corners of the incubator.
3. Place the AAiirrbboorrnnee™ incubator into the incubator adaptor on the cot. Make sure that you place all four corners of the
incubator into the incubator adaptor.
4. Insert each latch into its slot on the incubator adaptor.
5. Push up the latch tab (B) to secure the latches.
6516-209-001 Rev D.0 33 EN
 Loading...

