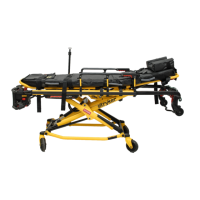
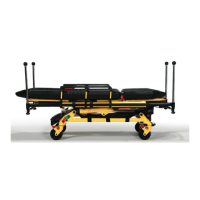
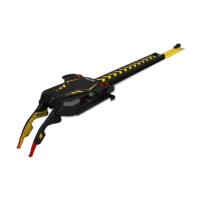
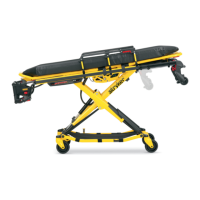
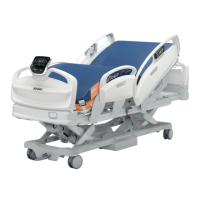
FFiigguurree 1144 –– AAiirrbboorrnnee™™ ssiiddee--bbyy--ssiiddee iinnccuubbaattoorr
FFiigguurree 1155 –– LLaattcchh ttaabbss -- ssiiddee vviieeww
IInnssttaalllliinngg tthhee DDrraaggeerr iinnffaanntt ttrraannssppoorrtt iinnccuubbaattoorr aaddaappttoorr
WWAARRNNIINNGG
• Do not install these incubator adaptors on any other Stryker cot or on any cot from another manufacturer. These
incubator adaptors are for use only on the PPoowweerr--PPRROO IT cot.
• Always make sure that the incubator adaptor is properly installed on the cot and the incubator is securely fastened to the
incubator adaptor before use.
• Stryker is not responsible for specification changes to the DDrraaggeerr® (or AAiirr--SShhiieellddss® Series) incubators.
Before you install an incubator on the PPoowweerr--PPRROO IT cot, read and understand this manual and the manual that was
supplied with the incubator.
To install the incubator adaptor (
Installing the Drager infant transport incubator adaptor
(page 34)):
1. Pull the red latch handle (A) on the incubator adaptor and move it to the right until the slot in the handle catches with the
shoulder bolt (B) on the incubator adaptor.
2. Place the incubator on the incubator adaptor. Align the holes in the incubator with the four pins (C) on the incubator
adaptor. Only two of the four pins are shown.
3. Move the latch handle (A) to the left to release it. The handle retracts and the latches secure the incubator.
4. Inspect all four locking points. Make sure that the latches are secure and not obstructed by anything, such as hoses or
wires.
EN 34 6516-209-001 Rev D.0
 Loading...

