14 OCH0006F08/13/2024
CEILAIR
®
CW & DX IOM
1.5 GENERAL DESIGN
CAUTION
When the air conditioner operates in cooling mode the return air intake and discharge (supply) must be
free of obstructions. Ensure panels are secure and latched into position.
CAUTION
After interconnecting piping is installed, the piping system must be cleaned. If solvents/cleaning
solutions are used, ensure they are completely flushed from the piping before connecting it to the unit.
Failure to do so will result in equipment problems.
CAUTION
When installing and filling a chilled water or water/glycol loop, all air must be bled from the piping system.
CAUTION
Do not use chloride-based water conditioning additives in the condensate drain pans. They cause
corrosion to occur on the coil fins.
CAUTION
When transporting and installing the A/C unit, it must be kept in its normal, horizontally-installed position.
If the unit is not kept level and horizontal, damage to the compressor(s) will result.
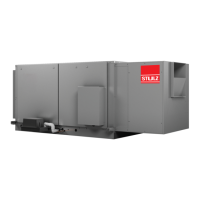
1.5 General Design
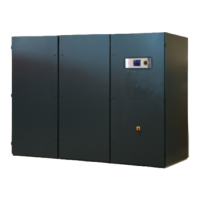
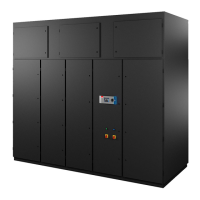
The CeilAir unit is housed in an aluminum frame cabinet and is rated for indoor use. Removable panels are
located on the front and rear of the cabinet for easy access to all components. See Figure 3. Additional
access may be obtained to some components through the bottom of the unit on spot cooler configurations.
The unit has an electric box inside the cabinet with a removable panel for accessing the electrical
components. Operator controls may be conveniently located on a wall within the space to be conditioned.
NOTE Design Variations
Customer specified, non-standard features or design variations may not be described in this manual.
Refer to the installation and electrical drawings supplied with your unit for details on additional features.
In some cases, an addendum to this manual may also be included to further describe the features.
1.5.1 Electric Box Access
Electrical components are protected in an enclosure located in the cabinet behind an access panel. Before
opening the access panel, turn off power at the main power service disconnect switch. This removes power
from the E
2
controller (if present) and shuts the unit off.