52 OCH0006F08/13/2024
CEILAIR
®
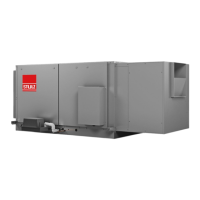
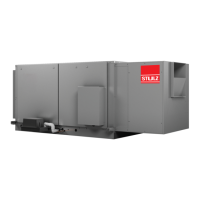
CW & DX IOM
2.8.7 REFRIGERANT CHARGING PROCEDURES
7. After two hours release the pressure. Turn on the vacuum pump and complete the process of evacuating
the system, this time with a goal of achieving a 500 micron vacuum or less. Close the vacuum pump
isolation valve. When you can hold the vacuum at 500 microns or lower for at least two hours with no
significant rise in pressure, the system is ready to charge.
8. Replace the Schrader valve cores if you removed them during the evacuation steps. You may now
introduce the refrigerant charge through the Schrader valves.
2.8.7 Refrigerant Charging Procedures
R407C and R410A refrigerant must be weighed in when performing the charge. Refer to section 2.8.5 to
calculate the minimum amount of refrigerant needed for your system.
When charging a system with a blended refrigerant, maintaining the composition of the refrigerant is
essential. To ensure correct composition, introduce the refrigerant (R407C or R410A) into the system in
liquid form rather than vapor form. Cylinders which are not provided with dip tubes should be inverted to allow
only liquid refrigerant to charge the system. Keeping the temperature of the cylinder below 85 °F will help
maintain the correct refrigerant composition while the cylinder is emptied.
WARNING
If refrigerant gas is released in an enclosed area, it may accumulate in low areas and near the floor,
displacing available oxygen. If a major leak occurs, there is a risk of asphyxiation. In such case,
immediately evacuate personnel and ventilate the area. Personnel should remain away from the area until
it is determined safe.
2.8.7.1 Initial System Charge
Follow the instructions below to charge systems using R407C or R410A refrigerant. The initial charge will be
performed by introducing liquid refrigerant (R407C or R410A) to the discharge side of the compressor or an
available liquid line port with the A/C unit turned Off.
1. Break the vacuum by supplying liquid refrigerant (R407C or R410A) to the discharge port near the
compressor until the pressure is equalized. This holding charge allows the low pressure switch to “hold,”
enabling the compressor to operate throughout the process of charging the system.
2.8.7.2 Fine Tuning the System Charge
Once the initial charge is completed, additional refrigerant will need to be added with the unit running.
CAUTION
An adequate heat load must be supplied to ensure a proper charge.
2. Disconnect the refrigerant cylinder from the discharge side of the compressor and connect it to the
suction side.
3. Start the A/C system and use the system controller to lower the room temperature setpoint 35 °F
below actual room temperature, thus ensuring cooling remains on as the unit is charged.