24 Manual BBB4_ENG_01_2016_991301
2
Apply a liquid penetrant to the shaft where it contacts the keyed hollow bore.
Allow time for the liquid to penetrate between the shaft and the wall of the keyed
hollow bore.
3
Oncethepenetranthassettledadequately,carefullyremovetheBBB4fromthe
driven shaft.
Removal of BBB4 with Shrink Disc
Beforestartingunitremovalprocess,ensurethatelectricalpowertounithas
been safely locked out and that electrical connections to the unit have been
disconnected.
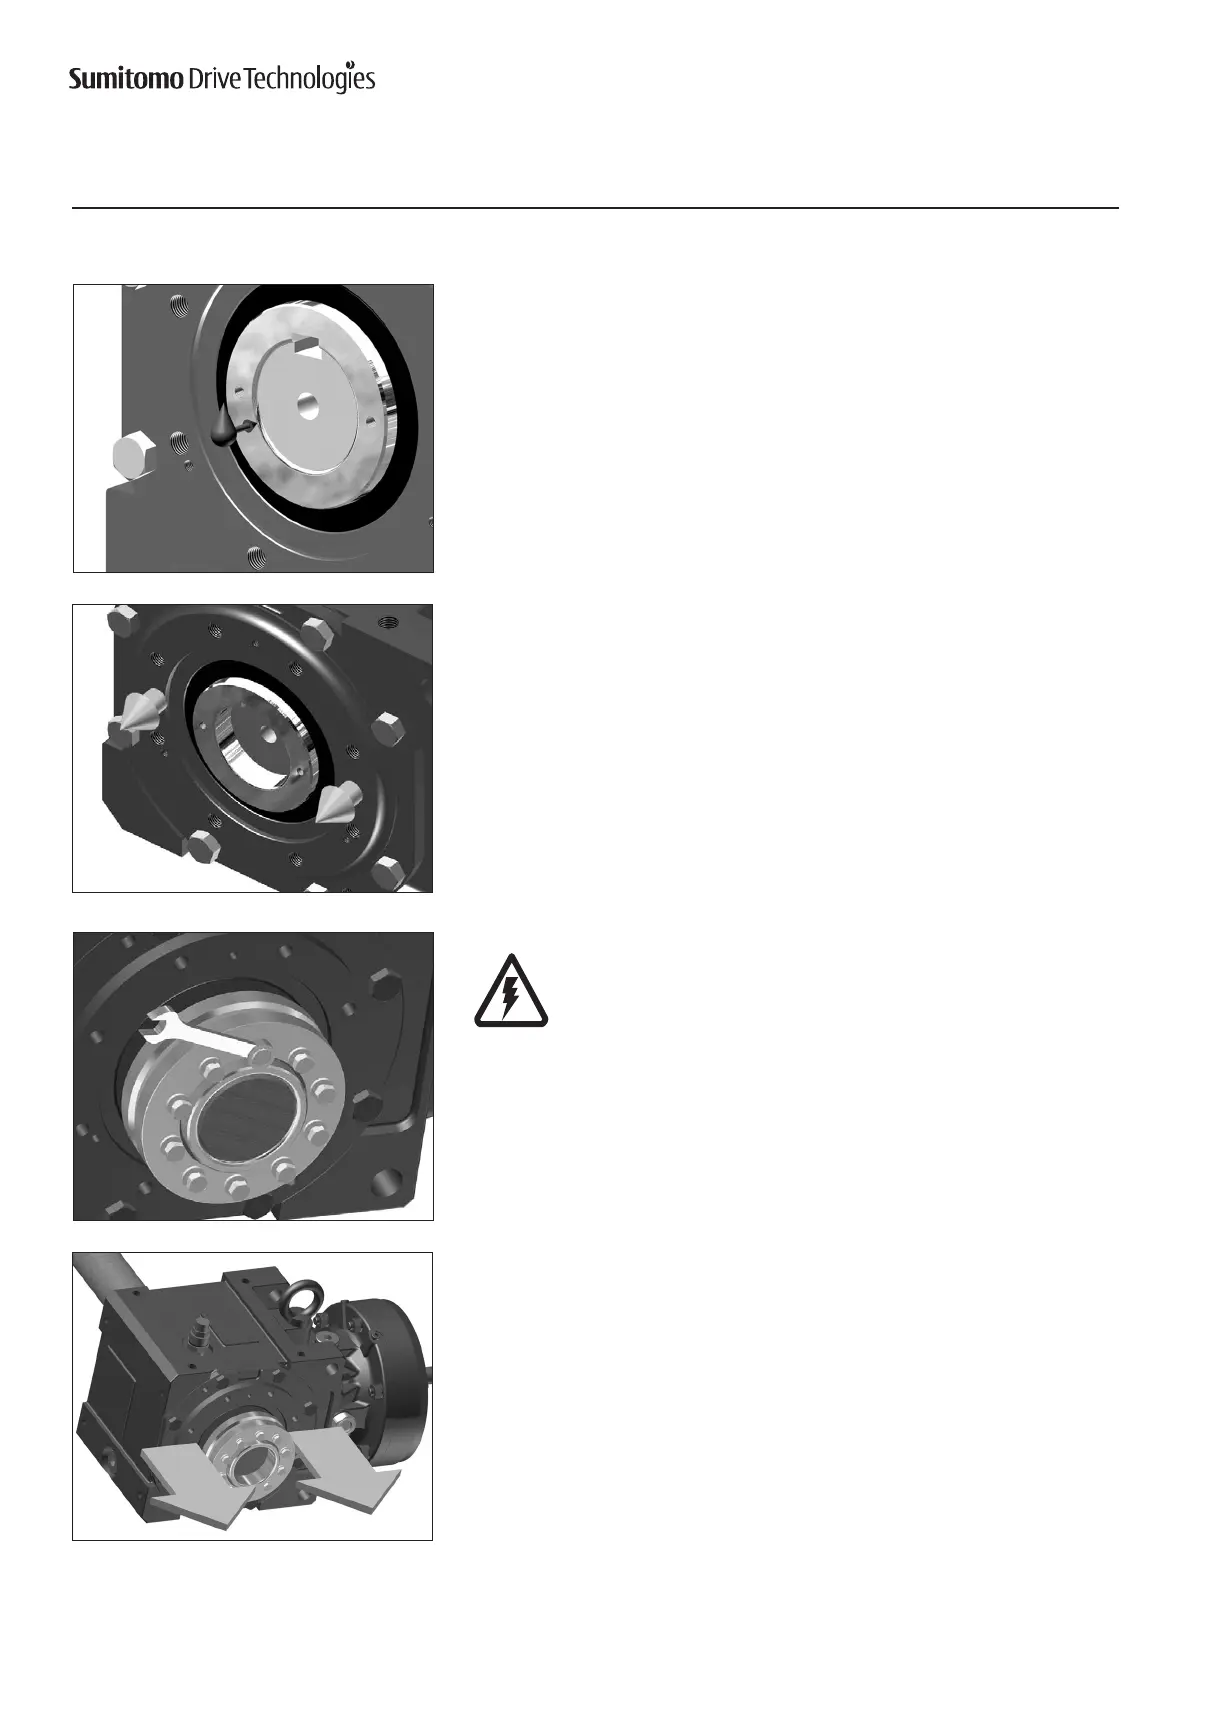
1
Remove the safety cover and apply liquid penetrant to the shrink disc bolts and
shaft/bore allowing adequate time for proper penetration.
Loosen the locking bolts on the shrink disc.
Complete bolt removal should not be required.
Tapping the shrink disc flanges with a rubber dead blow hammer may be required if
any fretting corrosion has occurred.
2
Remove the gearbox from the shaft.
Ifshaftremovalisdicult,ajigsuchastheoneshownintheRemovalofBBB4with
Taper-Grip Bushing section may be used to ease the removal process. Sumitomo
doesnotsupplytheremovaljig.Thisinformationissuppliedforreference
only.
Removal from Driven Shaft, continued
Removal of BBB4 with Shrink Disc