Page 68
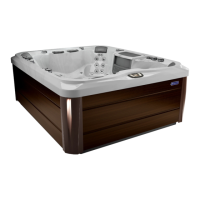
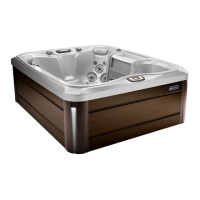
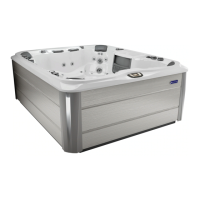
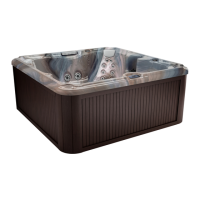
880 SERIES
Procedure:
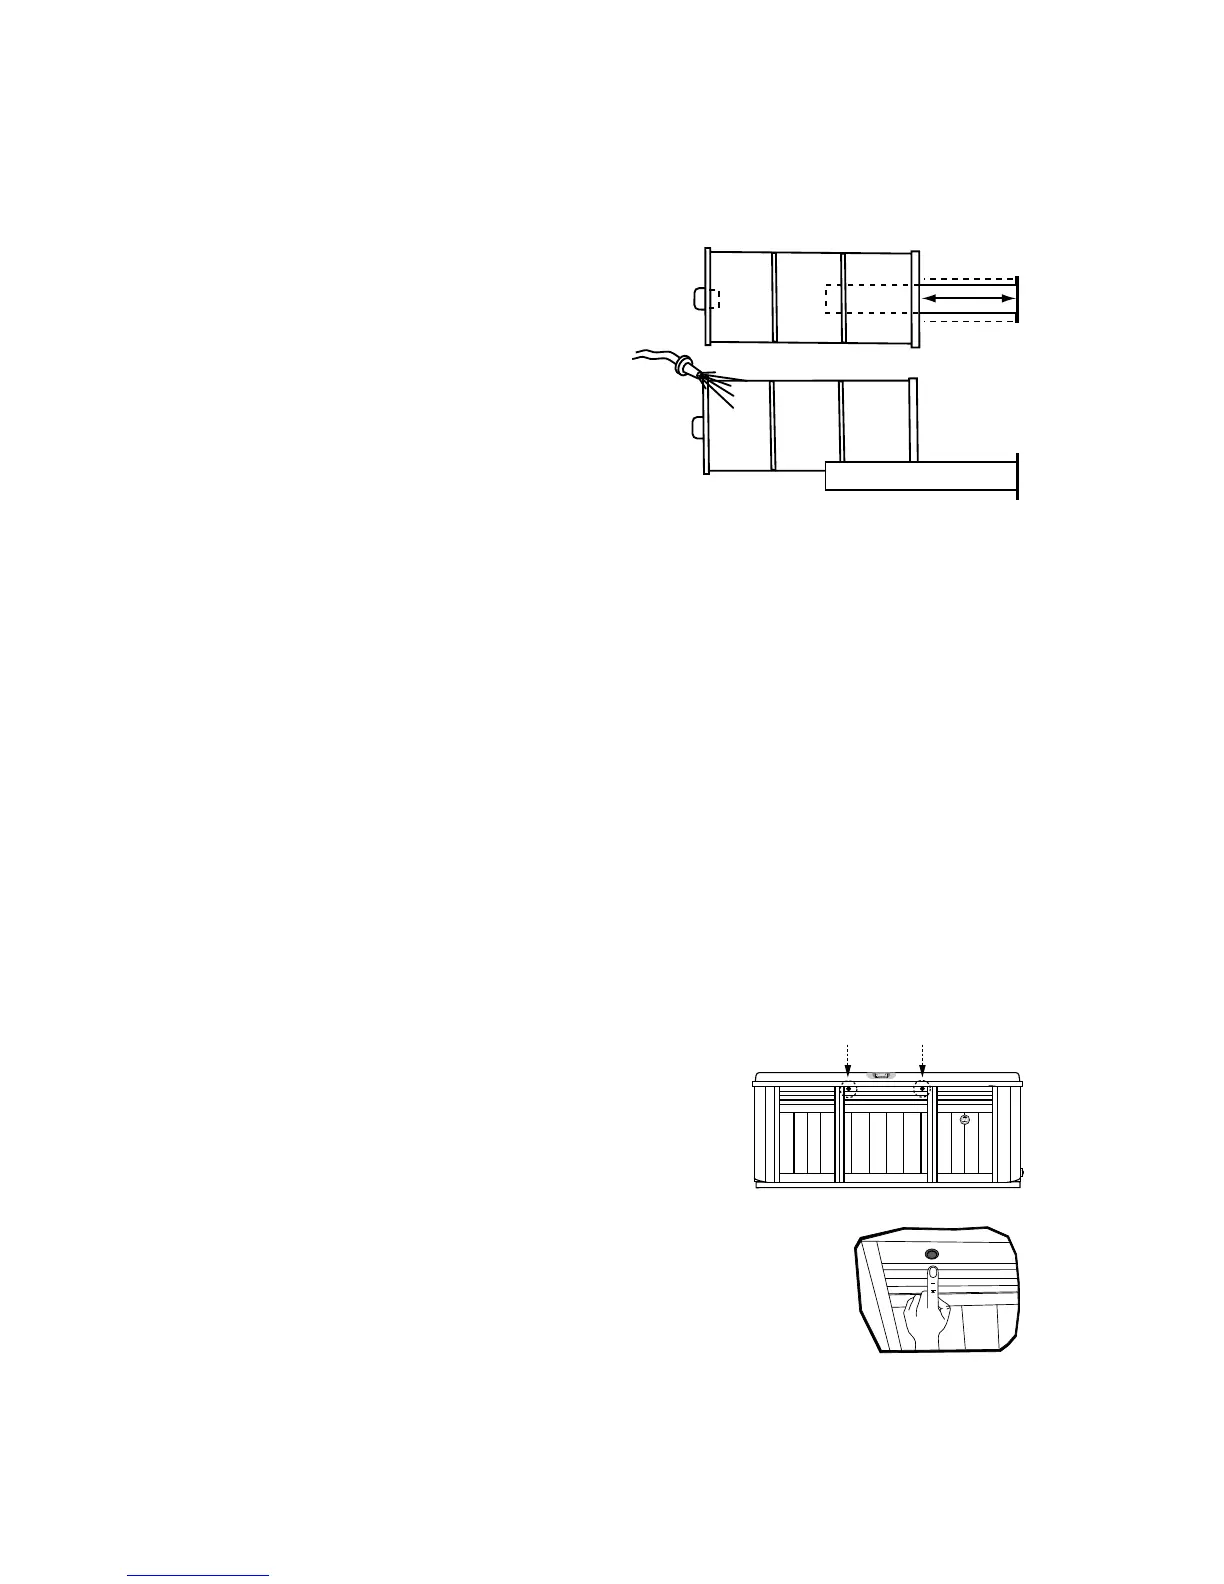
1. Grasp center lter insert end cap (2) in hand and pull outward from
pleated cartridge (1). If lter insert (2) is 6 months old, throw it away
and purchase new one. DO NOT install new insert at this time.
2. Rinse debris from all outer lter
(1) pleats using a garden hose
and high-pressure nozzle. Repeat
process until all lter pleats are
clean. Then rinse debris from
inside of lter (1). If chemical
cleaners are used, follow
manufacturers instructions.
Lightly rise lter insert (2) and
place in clean location. *DO
NOT use chemical cleaners or high-pressure nozzle on insert (2) or
it may be damaged, come apart or allow impurities to re-enter the
water, increasing the risk of contracting a waterborne illness (e.g. an
infection bacteria or virus) and/or respiratory ailments.
3. Install lter insert (2) into outer pleated lter (1) by gently sliding
inward until a slight resistance is felt approximately 1/4" from bottom.
Lightly tap insert end with palm of hand to “snap” in place. Insert is
properly installed when end cap rests “ush” against outer lter end
cap.
4. Install Filter assembly back into spa by performing step 2 in reverse
order. Tighten lter nut so it just touches the lter face. DO NOT
OVERTIGHTEN!
5. Turn power to spa back on.
Replacement lter cartridges may be purchased from your Sundance
Spas dealer.
13.2 Quick Release Door (Except Maxxus
and Aspen Models)
The Quick Release Door provides easy access
to the equipment bay and components without
having to unscrew the panel. To remove the
Quick Release Door follow the steps below:
1. Locate the two Quick Release Door buttons on the
top corners of the center panel, Figure A.
2. Press the buttons to release the panel from the spa
frame, Figure B.
1
2
Top
1
2*
SENTRY
SPA CONTROLLER
102
°
Figure A
Figure B