16
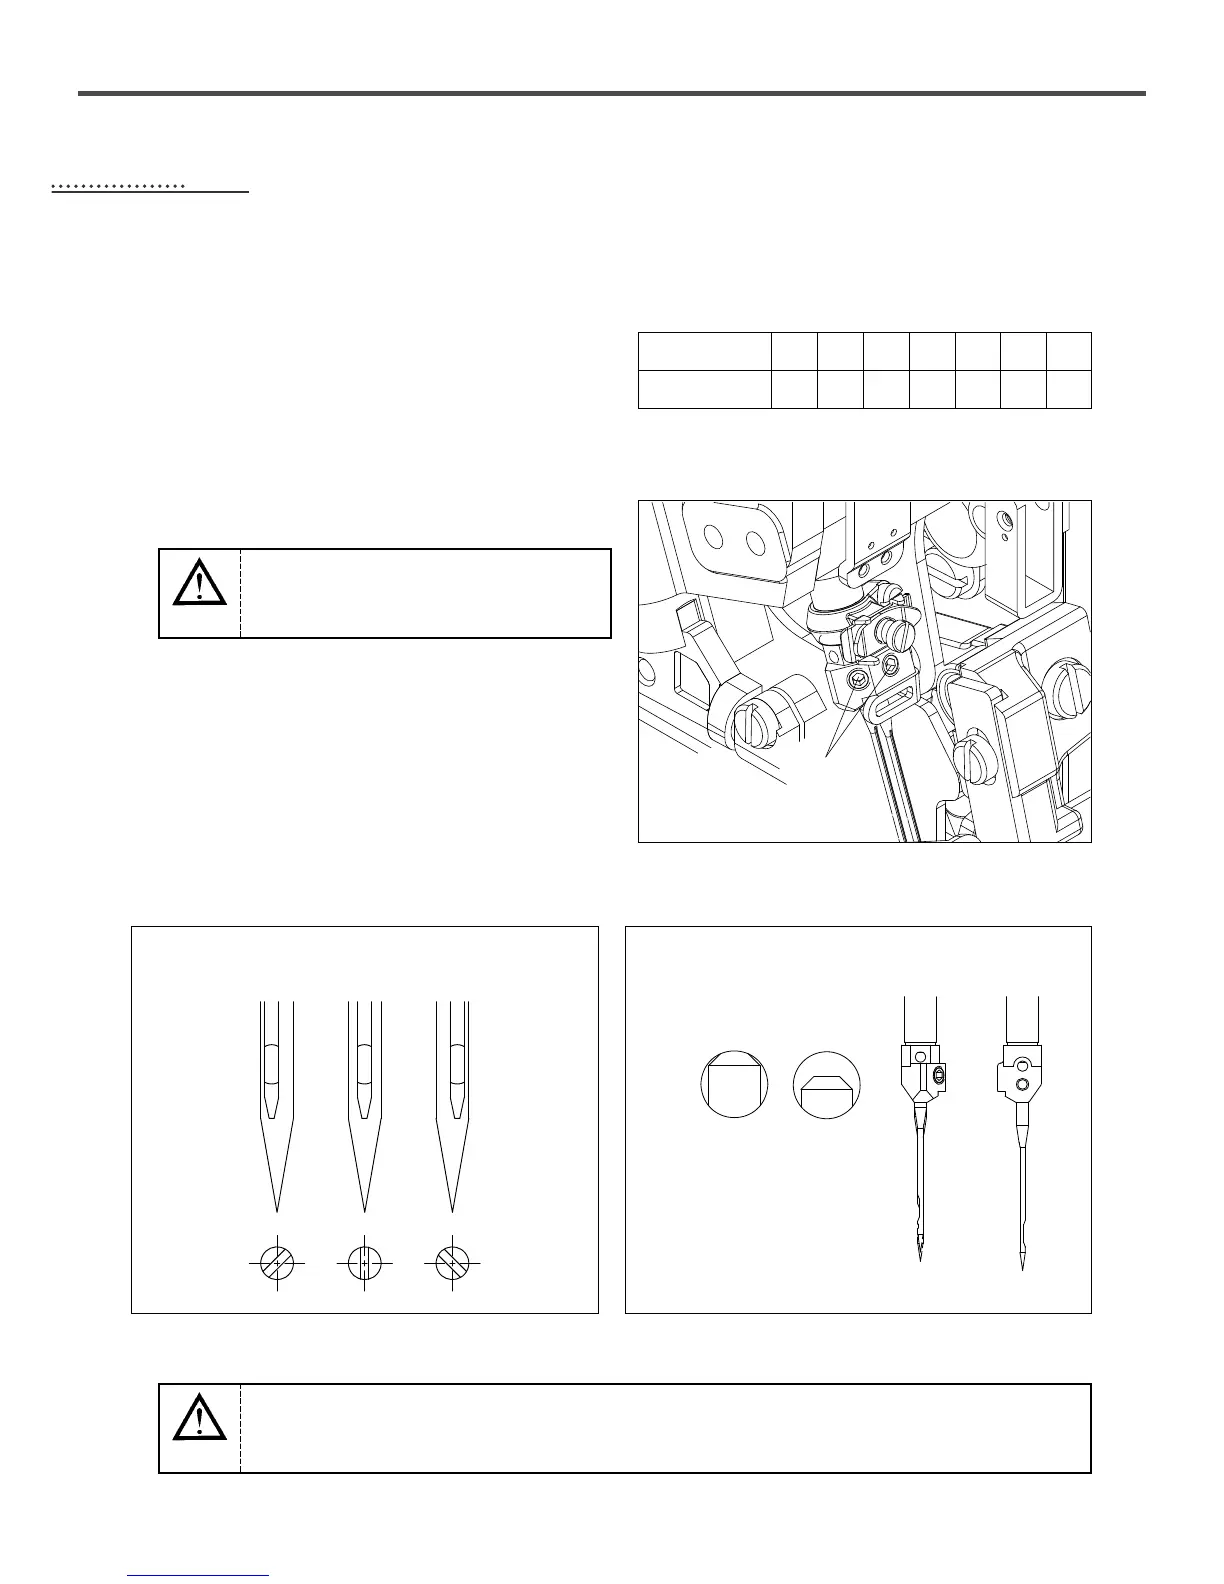
2) NEEDLE REPLACEMENT
Loosen the screw① like figure12 and figure13 to change the
needle.
Check that the indentation(Scart) of the needle is turned to the
back of the sewing machine and insert the needle then tighten
the screw①.
[Figure 13]
1) NEEDLE
This sewing machine uses the DC×27 sized needle
Select the proper needle according to the thickness and type of
the sewing materials because of the various size of needle.
Japanese size 9 10 11 12 13 14 21
Metric size 65 70 75 80 85 90 130
[Figure 15][Figure 14]
77
STANDARD ADJUSTMENTS
××○
Check the OFF-status condition of a
power switch before setting the needle.
Warning
Do not remove the needle set screw① completely when changing the needle.
Caution
①
×○
 Loading...