Page | 26
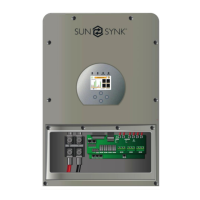
Inverter Model 8kW 10kW 12kW
PV Input Voltage
450V (140V~1000V)
PV Array MPPT Voltage Range
140V~800V
No. of MPP Trackers 2
No. of Strings per MPP Tracker 1+1 2+1 2+1
4.8.2. PV Module Wiring
1) Switch the Grid Supply Main Switch (AC) OFF.
2) Switch the DC isolator OFF.
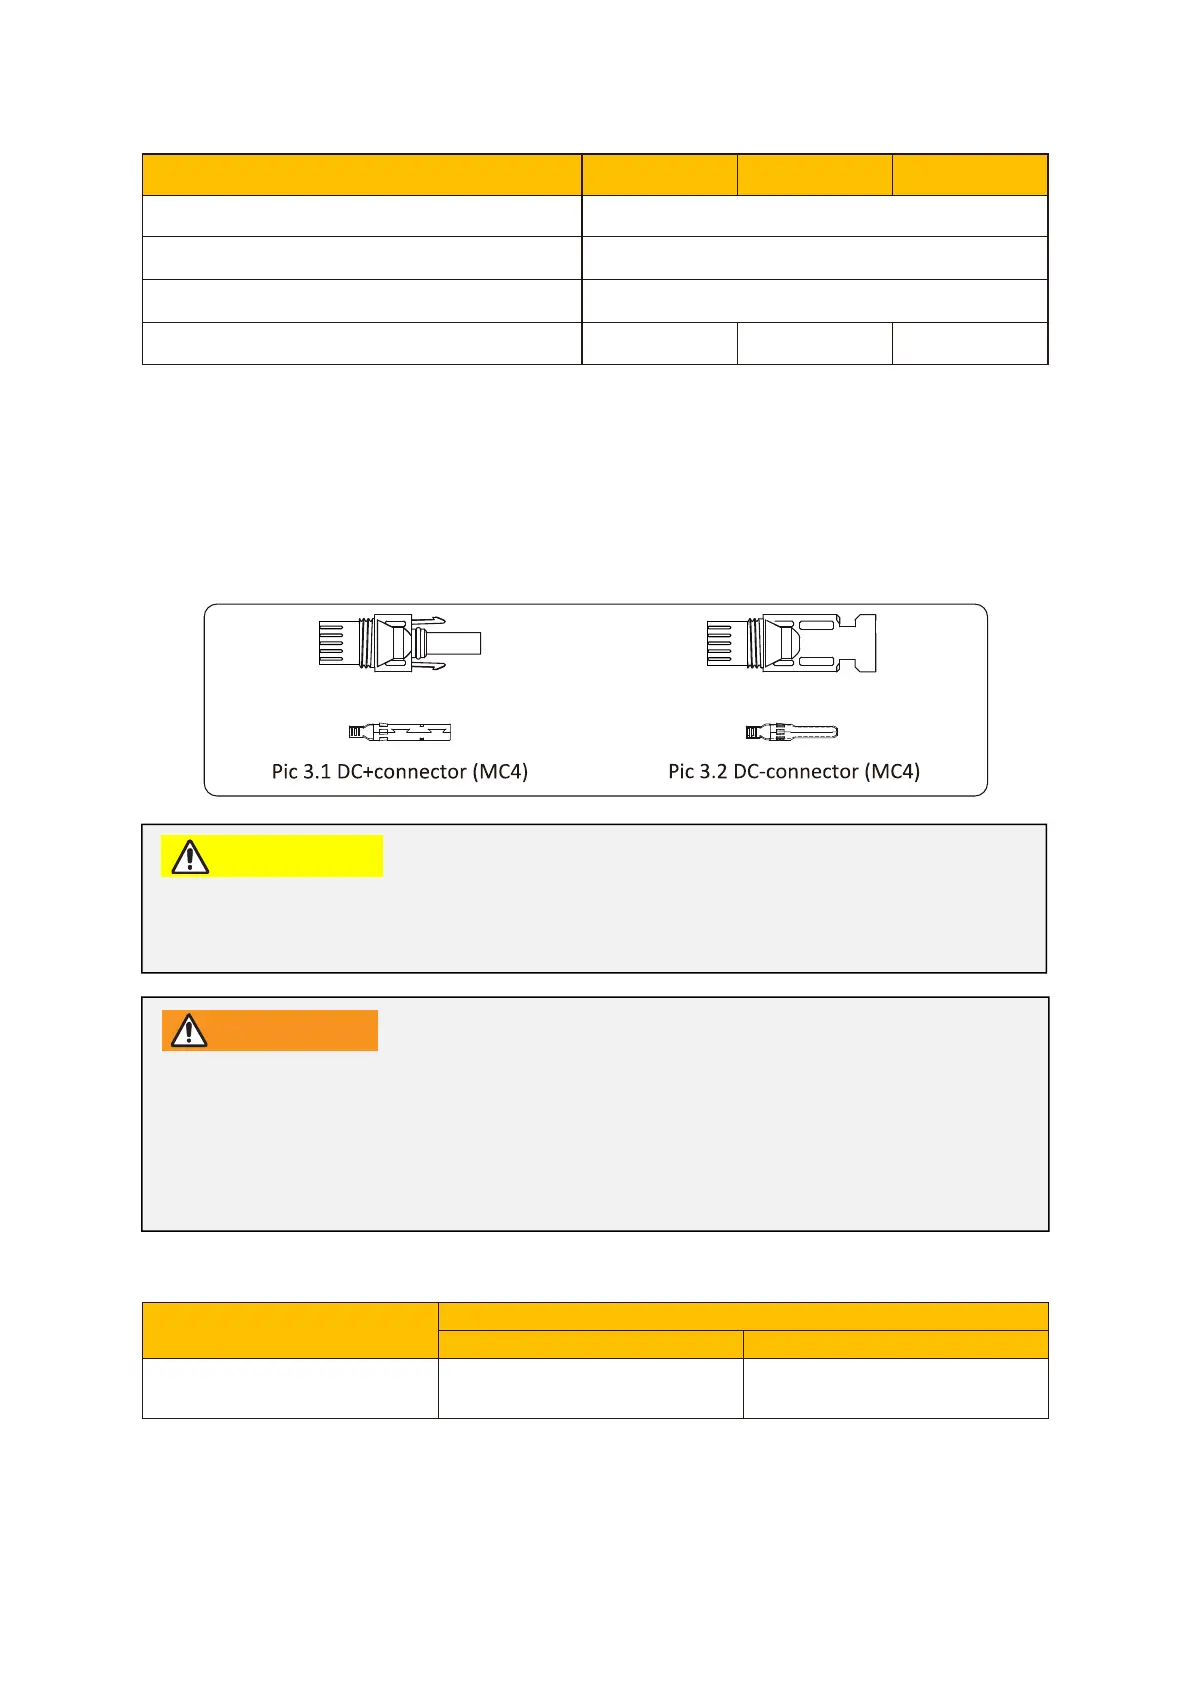
3) Assemble PV input connector to the inverter.
Please utilise an approved DC cable for PV system.
Cable type
Industry generic PV cable
4.0~6.0 (12~10 AWG)
4.0 (12 AWG)
The correct steps in assembling the DC connector are explained below:
Before connection, please ensure the polarity of the output voltage of PV
array matched the DC+ and DC- symbols.
CAUTION
Please do not connect the PV array positive and negative pole to the gound.
This can seriously damage the inverter.
Before connecting the inverter, please make sure the PV array open-circuit
voltage is within the maximum limit of the inverter.
WARNING