rev. 08.15.2006.
3-28
used to define an acceptable torque range for an application
Enable/Disable Alarm: This is a convenient way to get rid of the alarm messaging when the customer purchased this
option and fine-tune the tester for a specific application. Setting it 0 or 1 will disable or enable the alarm screen.
On-Torque Low: This variable is used to setup the low torque limit in “on-torque” applications (application, precision
application, strip, etc modes)
On-Torque High: This variable is used to setup the high torque limit in “on-torque” applications (application, precision
application, strip, etc modes)
Off-Torque Low: This variable is used to change the low torque limit in “off-torque” applications (release, precision
release, multiple release, etc modes)
Off-Torque High: This variable is used to configure the highest acceptable torque value in “off-torque” applications
(release, precision release, multiple release, etc modes)
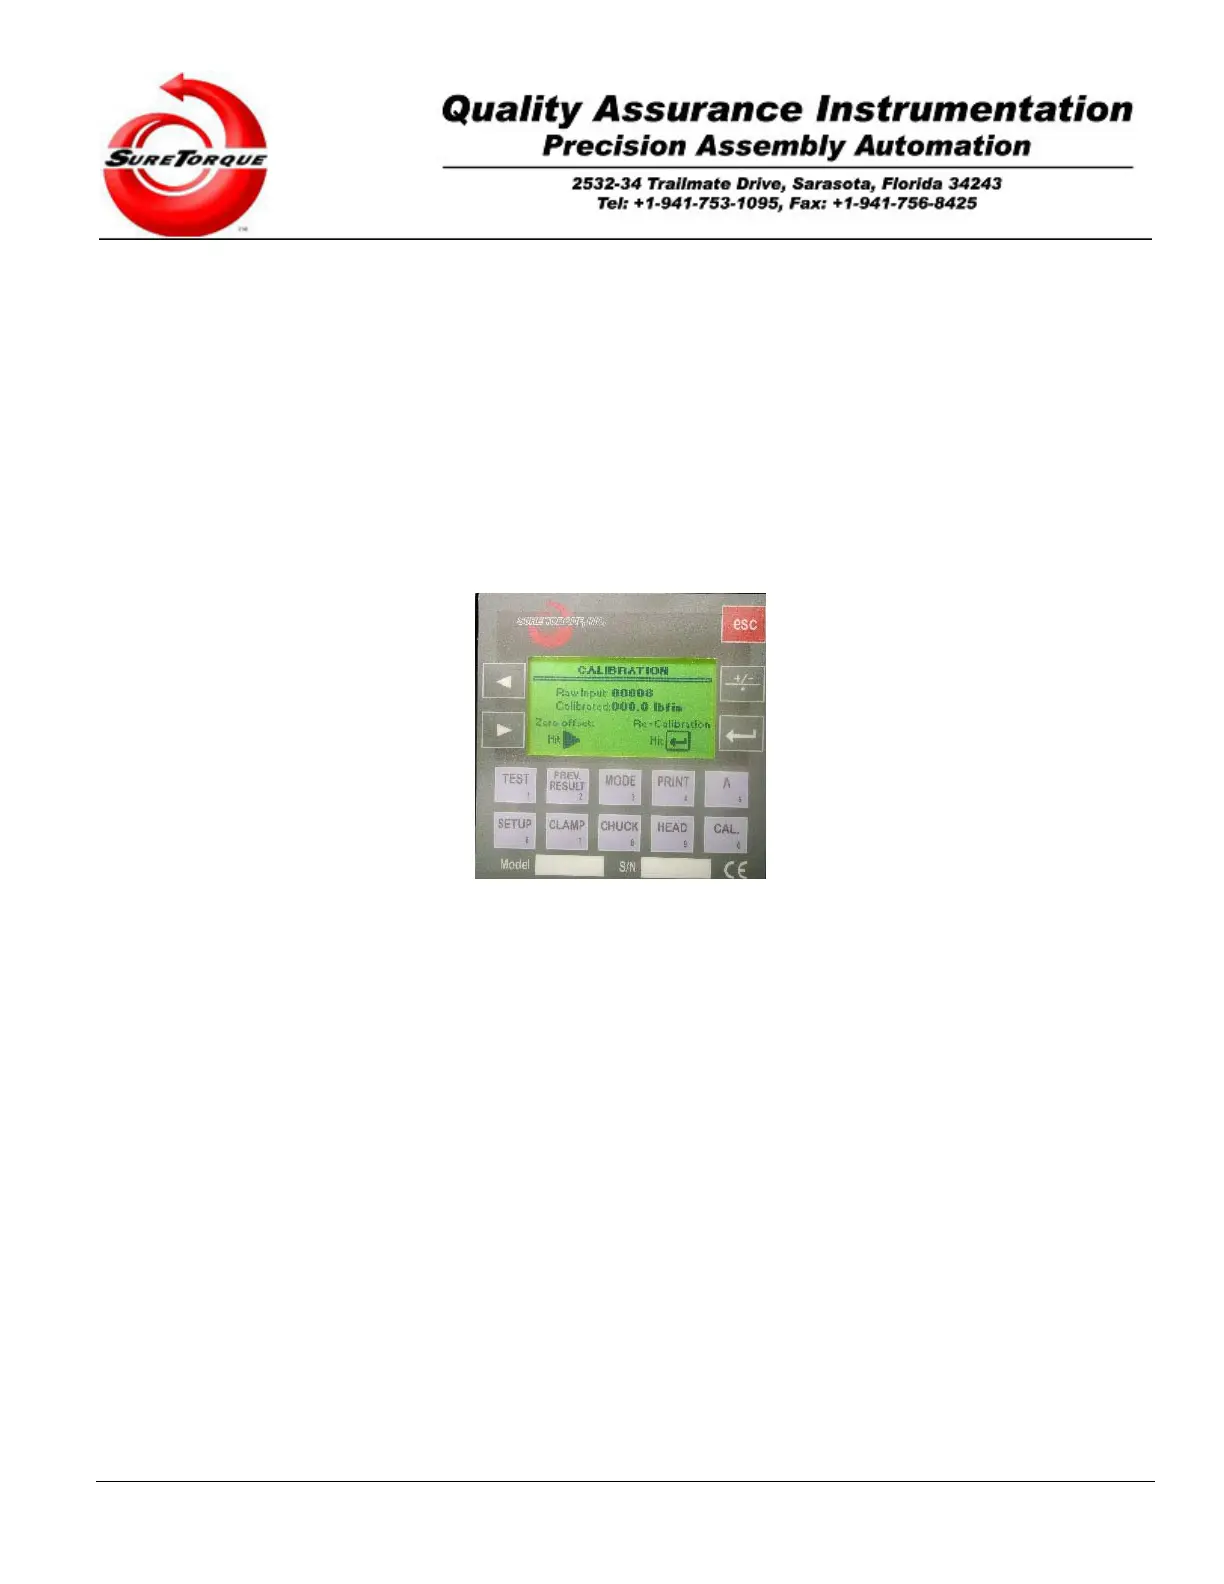
3.2.2.8. Calibration
Select the Calibration using the arrow buttons on the main navigation screen, then hit ENTER. The following
screen will appear:
Make sure the reading is 000.x if there is no torque applied to the chuck. If the reading is not 000.x, (where x is
based on qualification requirements), it is probably a good idea to recalibrate the torque tester. Recalibration is done
preferably with a dead weight calibration kit. The frequency of the recalibrations should be based on company
recalibration specifications. When the torque tester is used properly, it is the best to re-calibrate it in every six months.
Through the calibration screen the zero offset drift may be zeroed out, and with the calibration procedure the gain can
be readjusted. Of course when the required accuracy is in the 1-5 lbfin range you probably do not need to recalibrate
the torque tester for years. If the reading is other than it is required by your specifications, follow the procedure below
- steps 1 through 10- to make sure that the calibration gain has not changed. (x is the smaller the torque tester is the
more accurate).
A password is required to recalibrate the torque tester when the password protection is enabled. The default
password is: 1113)
In the calibration mode the signal of the transducer is directly connected to the display for continuous observation
and calibration of the ST-LAB instrument. The actual certified system calibration with accurate weights is done in this
mode. If you have purchased the optional verification kit (strongly recommended), follow these steps to verify the
unit’s calibration:
1. Adjust the container clamps.
2. Using 5/16-18 hand knobs, install the weight roller assembly (roller side up), on the highest hole-pattern
on the vertical plate.
3. Remove the existing collet – if there is one.
4. Remove the left clamp assembly.
5. Slide back the right clamp assembly all the way to the right.
6. Install the desired test pulley into the chuck.
7. Raise the roller assembly to align the test pulley with the roller assembly. The top of the rollers should
be in level with the middle of the pulley.
8. Attach the wire to the test pulley with the loop at the end of the wire set over the head of the socket screw