4. FUEL SYSTEM
4-11
FUEL TANK
Fuel unit removal
Open the seat.
Remove the luggage box (6 bolts and 1 screw).
Remove rear carrier (3 bolts).
Remove rear bracket (2 bolts).
Remove the rear central cover (4 screws).
Remove the left and right pedals (1 bolt).
Remove the left and right covers (4 bolts).
Remove the central cover (6 screws).
Remove the left & right body covers and the
central upper cover (4 screws and 2 bolts).
Remove pedal (4 bolts and 4 screws).
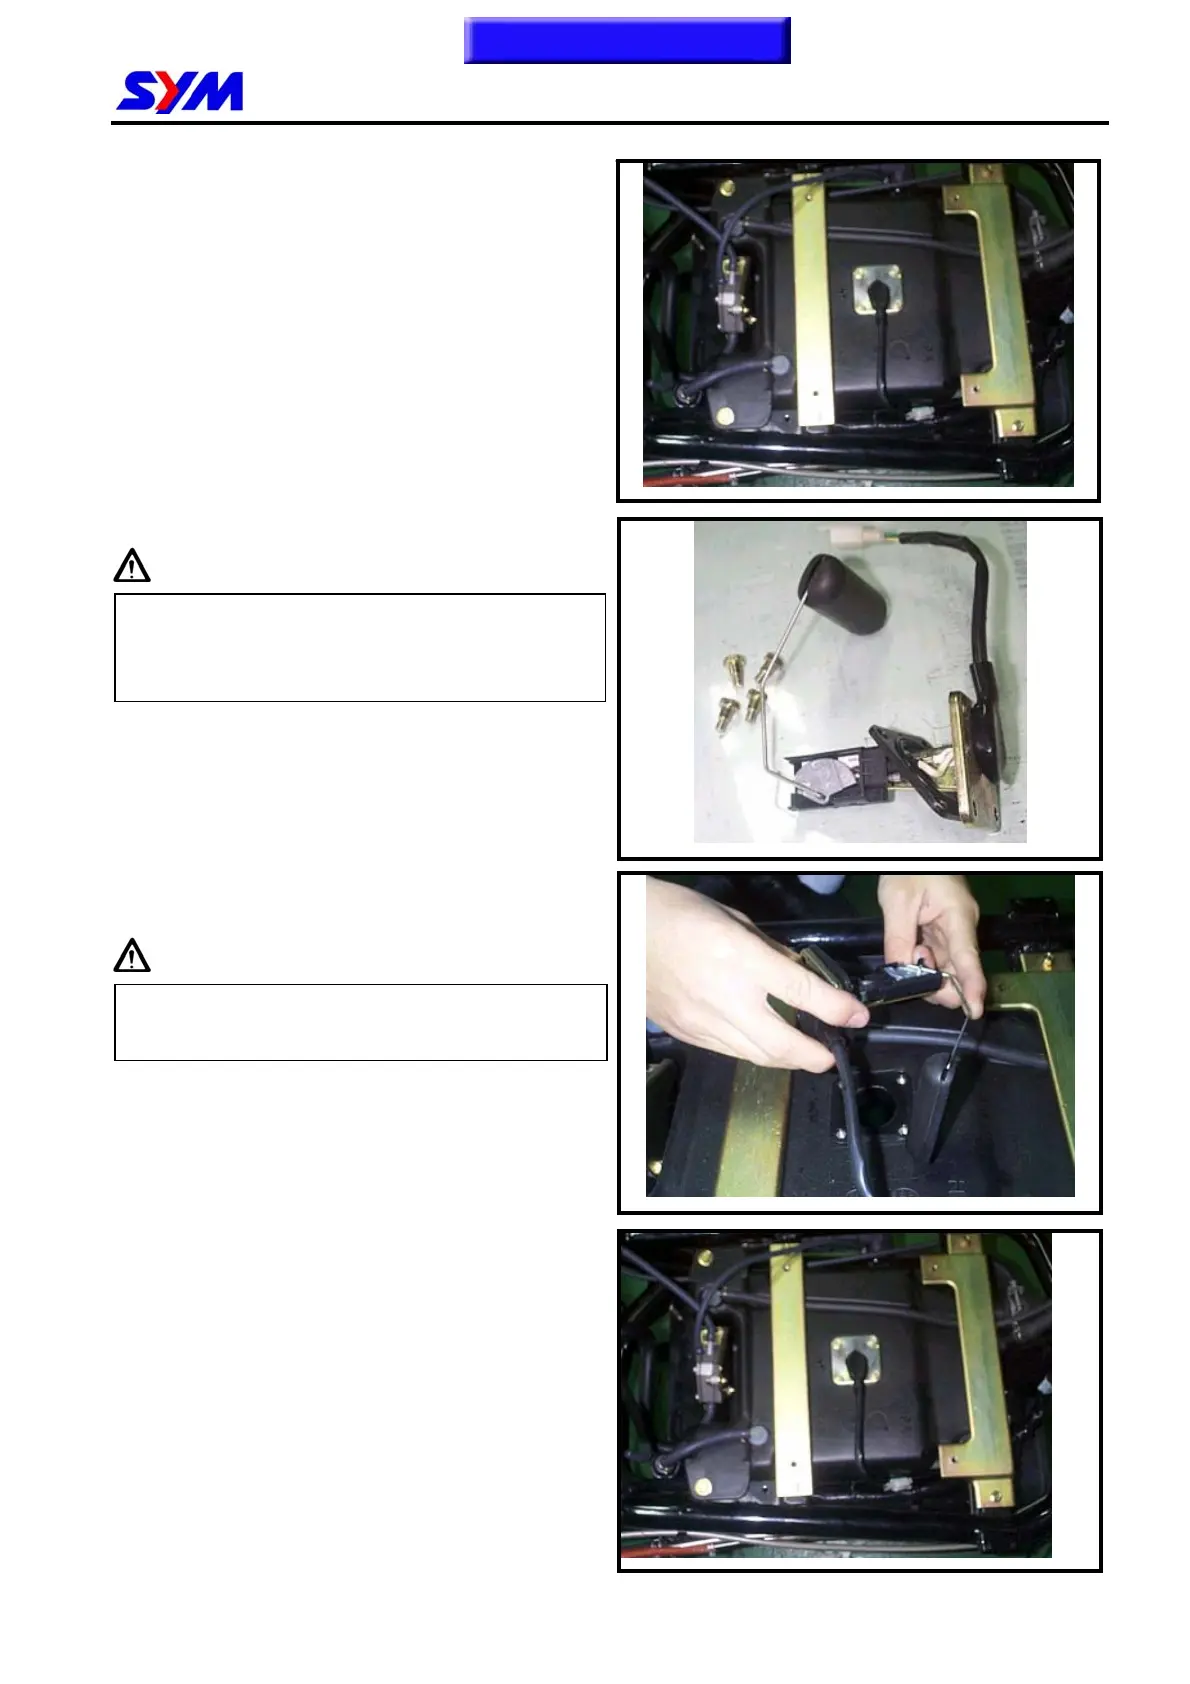
Disconnect fuel unit connector.
Remove fuel unit (4 screws).
Caution
․Do not bend the float arm of fuel unit
.
․Do not fill out too much fuel to fuel tank.
Fuel unit inspection (Refer to electrical equipment
17-15).
Fuel unit installation
Install the gauge in the reverse order of removal.
Caution
Do not forget to install the gasket of fuel unit or
damage it.
Fuel tank removal
Open the seat.
Remove the luggage box (6 bolts and 1 screw).
Remove the rear central cover (4 screws).
Remove the left and right pedals (1 bolt).
Remove the left and right covers (4 bolts).
Remove the central cover (6 screws).
Remove pedal (4 bolts and 4 screws).
Disconnect fuel unit connector.
Remove fuel unit (4 screws).
Remove fuel pump (2 bolts).
Remove fuel tank bracket (4 bolts).
Remove vacuum tube and fuel filter.
Remove fuel tank
Installation
Install the tank in the reverse order of removal.
To this chapter contents
 Loading...