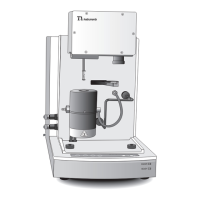
TGA 2950 EGA Furnace Option
TA I
NSTRUMENTS
TGA 2950 D–15
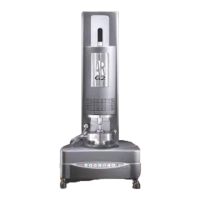
4. Loosen the bottom two mounting screws
using the 3/32-inch ball driver supplied with
the TGA 2950 EGA. See Figure D.6.
5. Unplug and remove the EGA furnace arm/
base from the instrument cabinet.
6. Unplug the AIR COOL line from the bottom
of the furnace arm/base.
When you remove the AIR COOL line, do not let it
slip back into the instrument cabinet.
7. Place a drip pan to the left of the instrument
to catch the coolant that will leak from the
hose connections when the EGA furnace is
removed.
8. Lay the furnace assembly down on the left
side of the instrument so that the hose
connections are positioned over the drip
pan. Then carefully snip the wire ties and
disconnect the cooling water lines from the
housing. (A small amount of cooling water
will drain out into the pan when the hoses
are disconnected.)
The furnace is now completely free from the
instrument.
NOTE:
 Loading...