42
Model PH90Operating Procedures
080221
Daily Closing Procedures
THIS PROCEDURE MUST BE PERFORMED
ONCE EVERY 24 HOURS.
The function of the Heat Treatment Cycle is to destroy
bacteria by raising the temperature of the mix in the
freezing cylinder and the hopper to a specified
temperature for a specified period of time, and then
bringing the temperature back down low enough to
retard spoilage.
The Heat Treatment Cycle will start at the time
designated in the Auto Heat Time.
DO NOT draw product or attempt to
disassemble the unit during the HEAT cycle. The
product is hot and under extreme pressure.
Important: The level of mix in the mix hopper must be
above the mix low probe. (The mix low light must not
be on.)
Shake Side
Note: If the CLEAN MANUALLY light is flashing, do
not add mix. The machine must be disassembled and
brush cleaned within 24 hours.
Both sides of the freezer must be in the AUTO mode
before the HEAT cycle may be started.
AUTO :MODE: AUTO
OK :MIX: OK
40.0F HOPPER 40.0F
BRUSH CLEAN ON: MM/DD
Figure 69
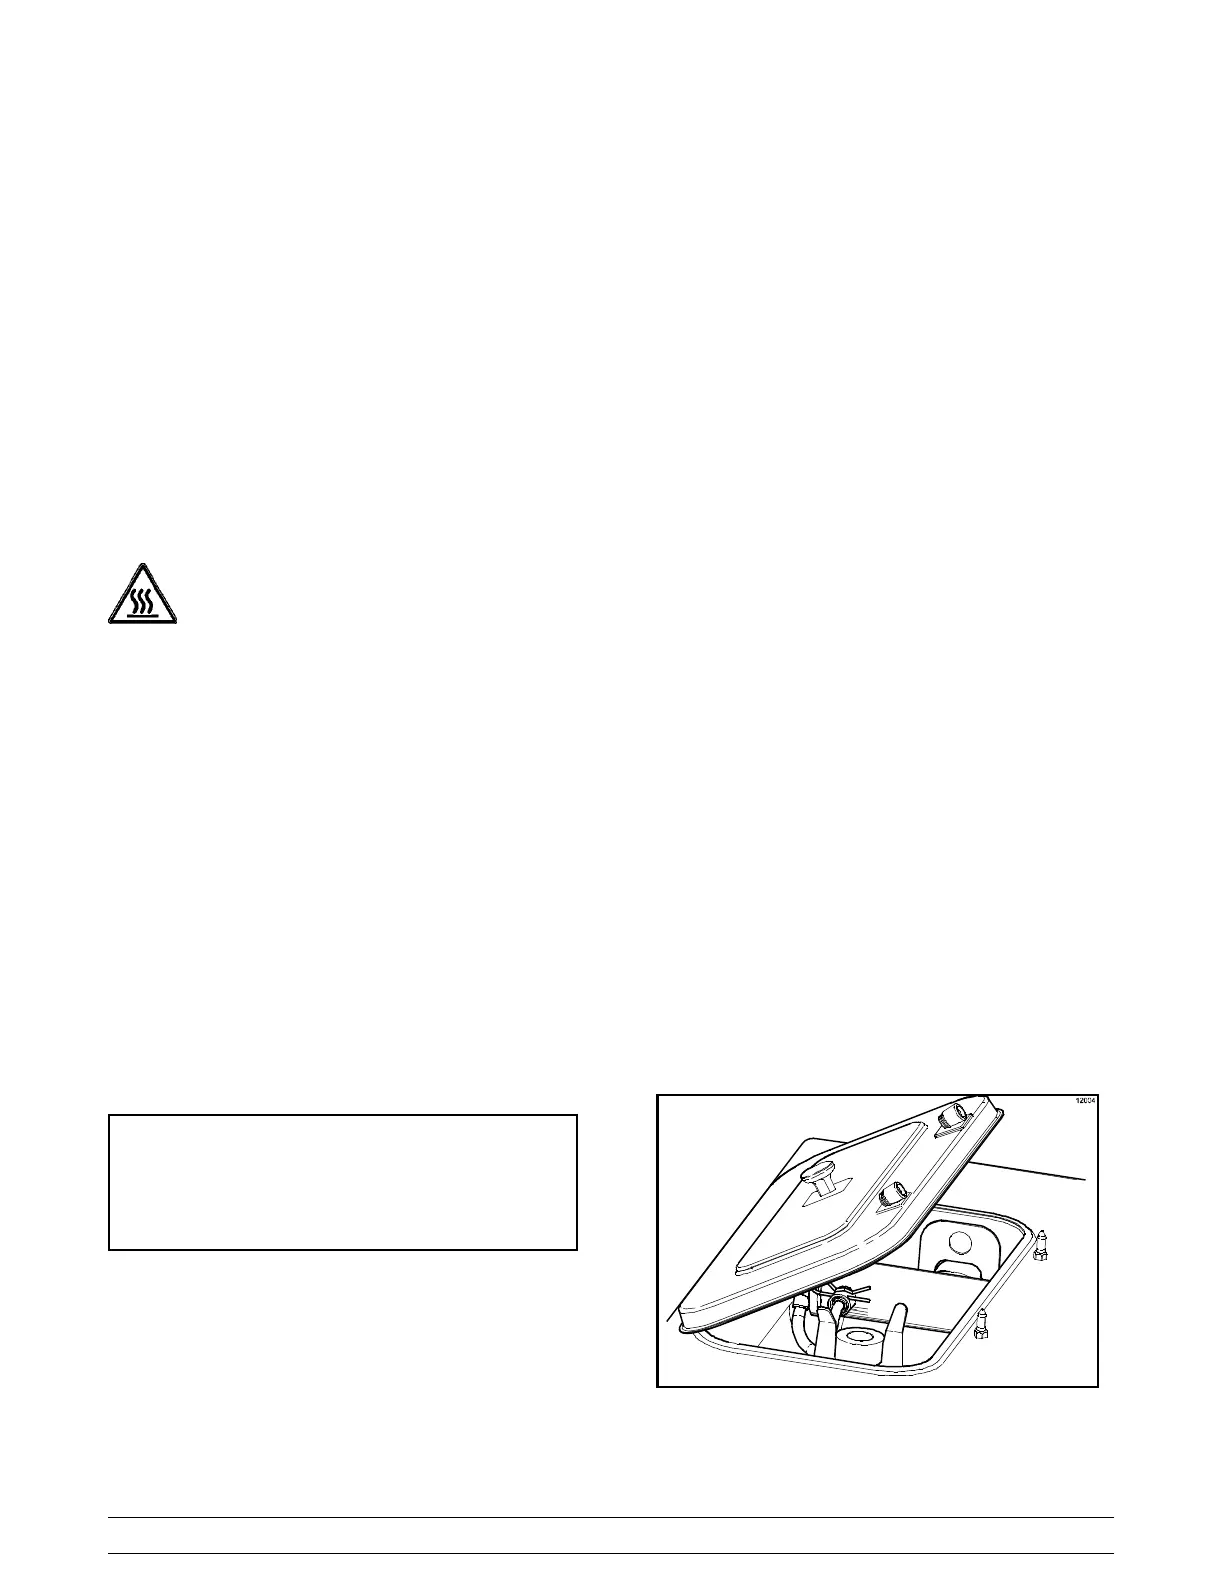
Step 1
Remove the hopper cover . Remove the shake cup
holder, front drip tray, splash shield, and all five drip
pans (two from the rear panel, one from the front panel,
and two from the side panels).
Make sure your hands are clean and sanitized
before performing these next steps.
Note: Pressing the CAL keypad will stop agitator
movement for 10 seconds. After 10 seconds have
elapsed, press the CAL keypad again to return to the
normal display.
Step 2
Remove the agitator from the mix hopper. Remove the
restrictor cap from the freezer door spout. Take the
agitator, hopper cover , shake cup holder , drip pans,
front drip tray, splash shield and restrictor cap to the
sink for further cleaning and sanitizing.
Take the syrup hole plugs, spout cap, and spout cap
o- ring to the sink for further cleaning and sanitizing.
Rinse these parts in cool, clean water.
Step 3
Prepare a small amount of cleaning/sanitizing solution
with an active chlorine concentrate of 100 - 200 PPM.
Brush clean the parts. Place the restrictor cap, front
drip tray, shake cup holder and splash shield on a
clean, dry surface to air- dry overnight or until the
heating cycle is complete.
Step 4
Prepare a small amount of cleaning/sanitizing solution
with an active chlorine concentrate of 100 - 200 PPM.
Sanitize the syrup hole plugs, spout cap, spout cap o-
ring, rear drip pan, agitator, and hopper cover .
Step 5
Important: Install the agitator back onto the
agitator drive shaft housing. Install the hopper
cover .
Figure 70