22
LOCK MENU - OPEN
TROUBLESHOOT
This is the best option when you have a suspected code
but the lock is not opening as expected. This could be the
result of a defective electronic component (ie. keypad
cable), faulty mechanical component (ie. drive nut,
solenoid), the current lock state (ie. penalty lockout, time
delay) or a simple invalid code.
The first step in the troubleshooting process will look for
issues such as communication problems and penalty
lockout conditions. If these can be remedied then the
Phoenix will begin to confirm the supplied code. If the code is determined valid then the
Phoenix assumes that the problem must be mechanical in nature and will use its built-in
JumpBox circuit along with its pre-programmed diagnostic routines to repair and open
the lock. Examples of these issues include stuck solenoids, stalled bolts and cross-
threaded drive nuts. In many of these cases the lock can be re-used after repair.
In-Depth - Lock Repair Process
“I understand the Phoenix might get it open but the tool can’t actually repair a lock, right?”
In some cases the Phoenix can indeed repair a mechanically defective lock. The best
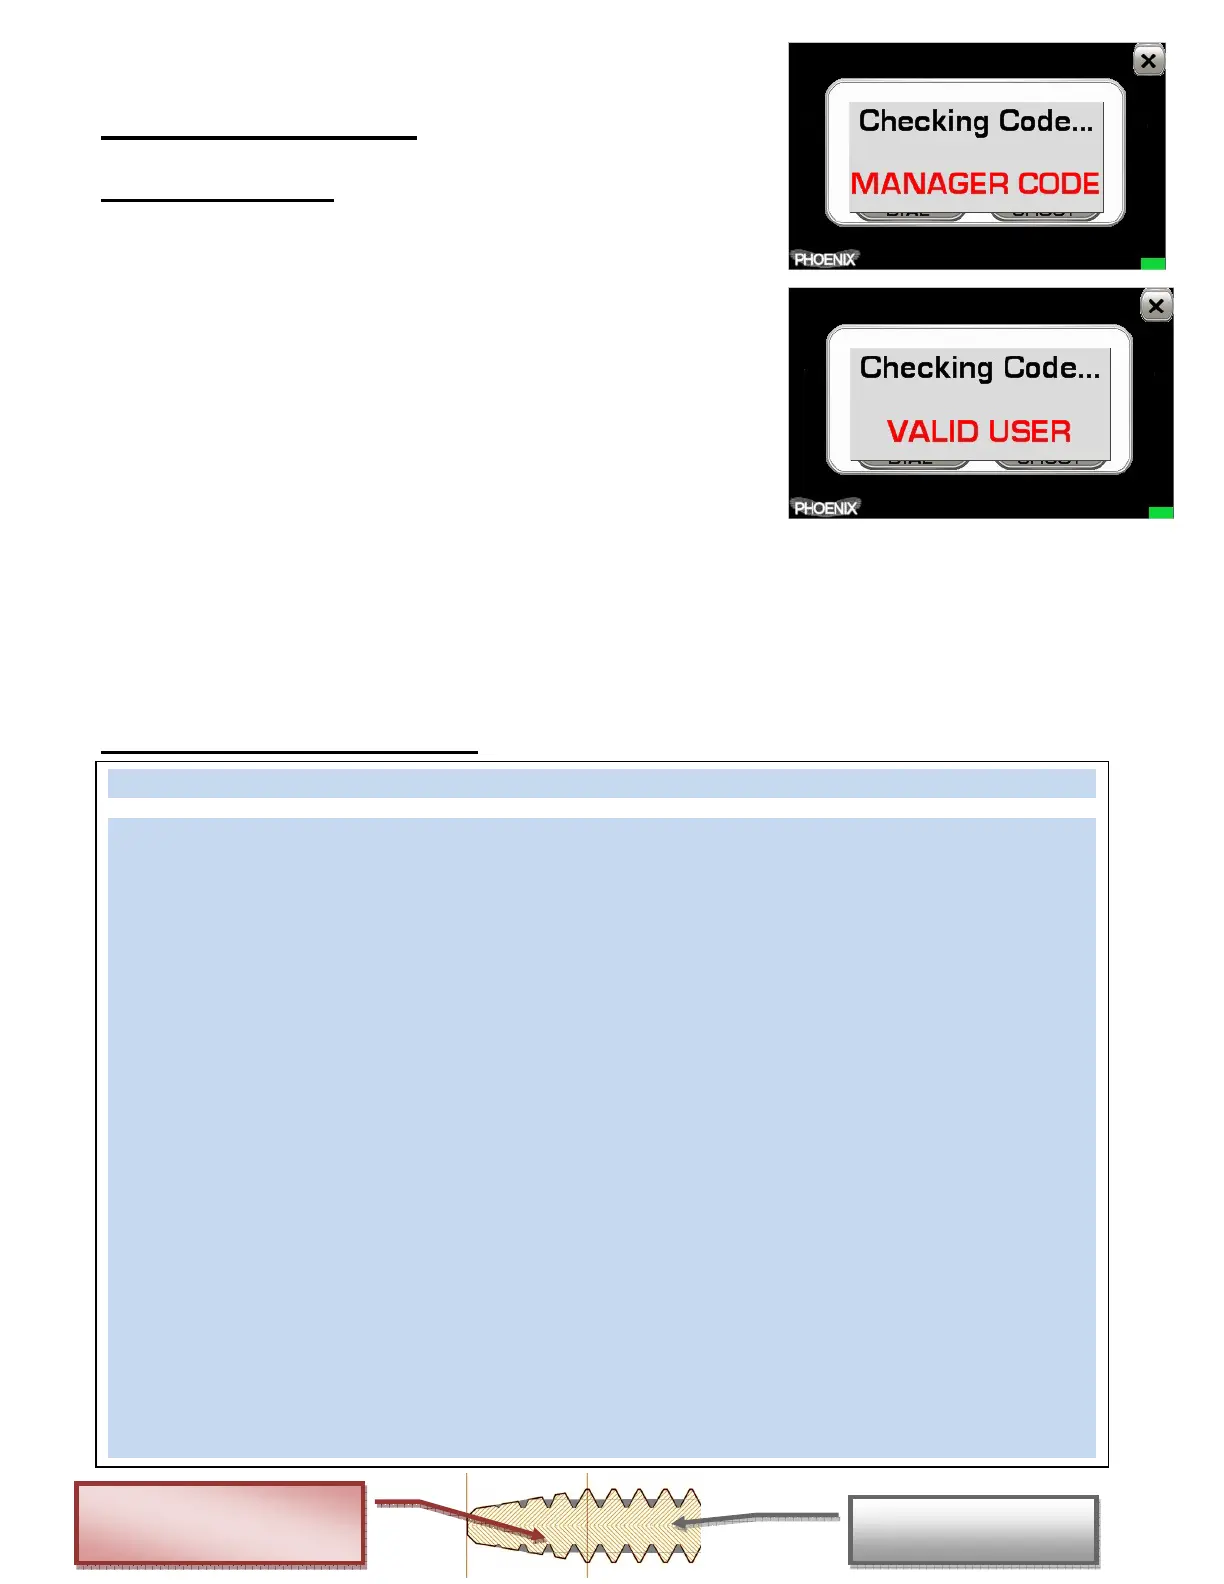
illustration of this physical repair process is a S&G 6120 series lock with a cross-threaded
drive nut. These locks exhibit a tell-tale faint click followed by a 2
nd
faint click when running
the code. This is caused by the design of the drive mechanism which uses a plastic drive
nut traveling on a threaded brass shaft to retract the lock bolt. For proper bolt extension
this design requires the threads on the end of the brass drive shaft to be tapered similar to
a hand tap. Normally this system works fine but with increased use a potential problem
arises. When closely examining the defective 6120 locks used in our e-lock drilling classes,
we noticed that the locks removed for cross-threaded drive nuts had a fine gray powder
built-up between the brass threads on the drive shaft. This powder was deposited over time
as the black plastic drive nut slowly wore. On the tapered threads this powder was enough
to fill the small valleys between threads and resulted in the drive nut jumping a thread on
one side of the driveshaft resulting in a cross-thread. By threading the nut off by hand and
wiping or spraying away the fine powder the locks functioned perfectly. Countless
“defective” 6120’s have now been put back into service using this repair method either by
hand or with the Phoenix tool. The Phoenix tackles a cross-thread by first using it’s
JumpBox circuit to spin the motor OUT rather than in (just as you’d do by hand). If needed,
it also pulses the motor to create an impact-like effect which dislodges the seized nut. Once
the nut is free, the tool uses it’s JumpBox to rotate the motor in high speed pulses to
dislodge any built-up powder between the threads. It then does a sequence of “soft
openings”, lightly retracting the bolt and gauging the resistance. This process is repeated
until the Phoenix feels that the drive nut is operating smoothly and without resistance.
S&G 6120 Driveshaft