
B
Brandy AlvaradoAug 14, 2025
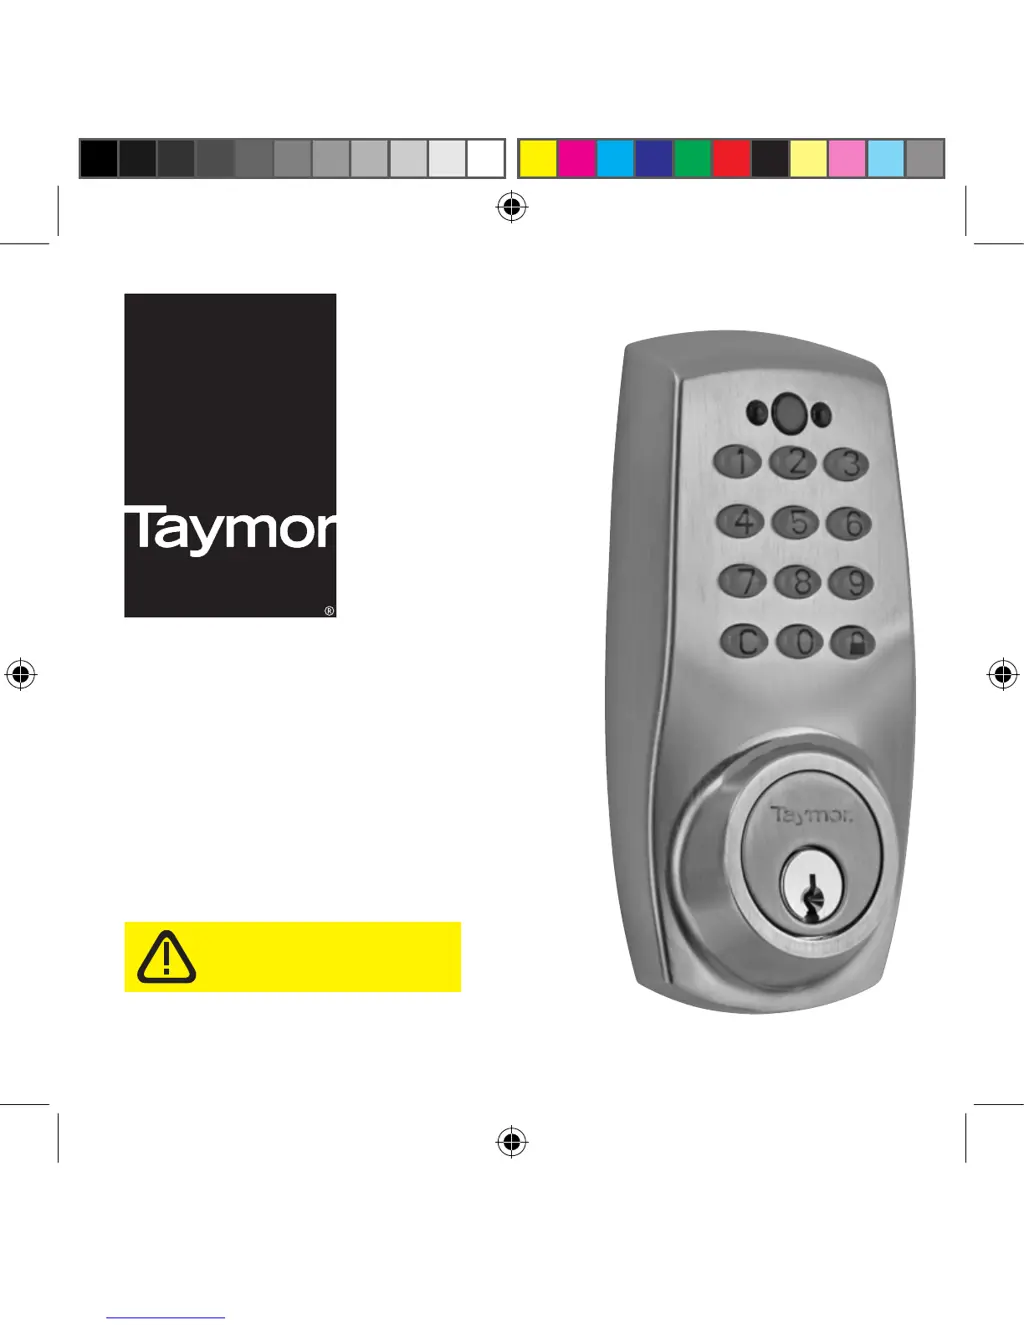
Why is the Taymor Concierge 300 keypad not responding?
- CCaitlin PerezAug 14, 2025
If the Taymor Computer Hardware keypad is not responding, first ensure the batteries are correctly installed. If a Yellow LED light is flashing, it indicates low battery; replace them. Also, verify that the cable is securely connected to the port.