Appendix B: Using the Remote Interface
SPG600 & SPG300 Sync Pulse Generators User Manual B-9
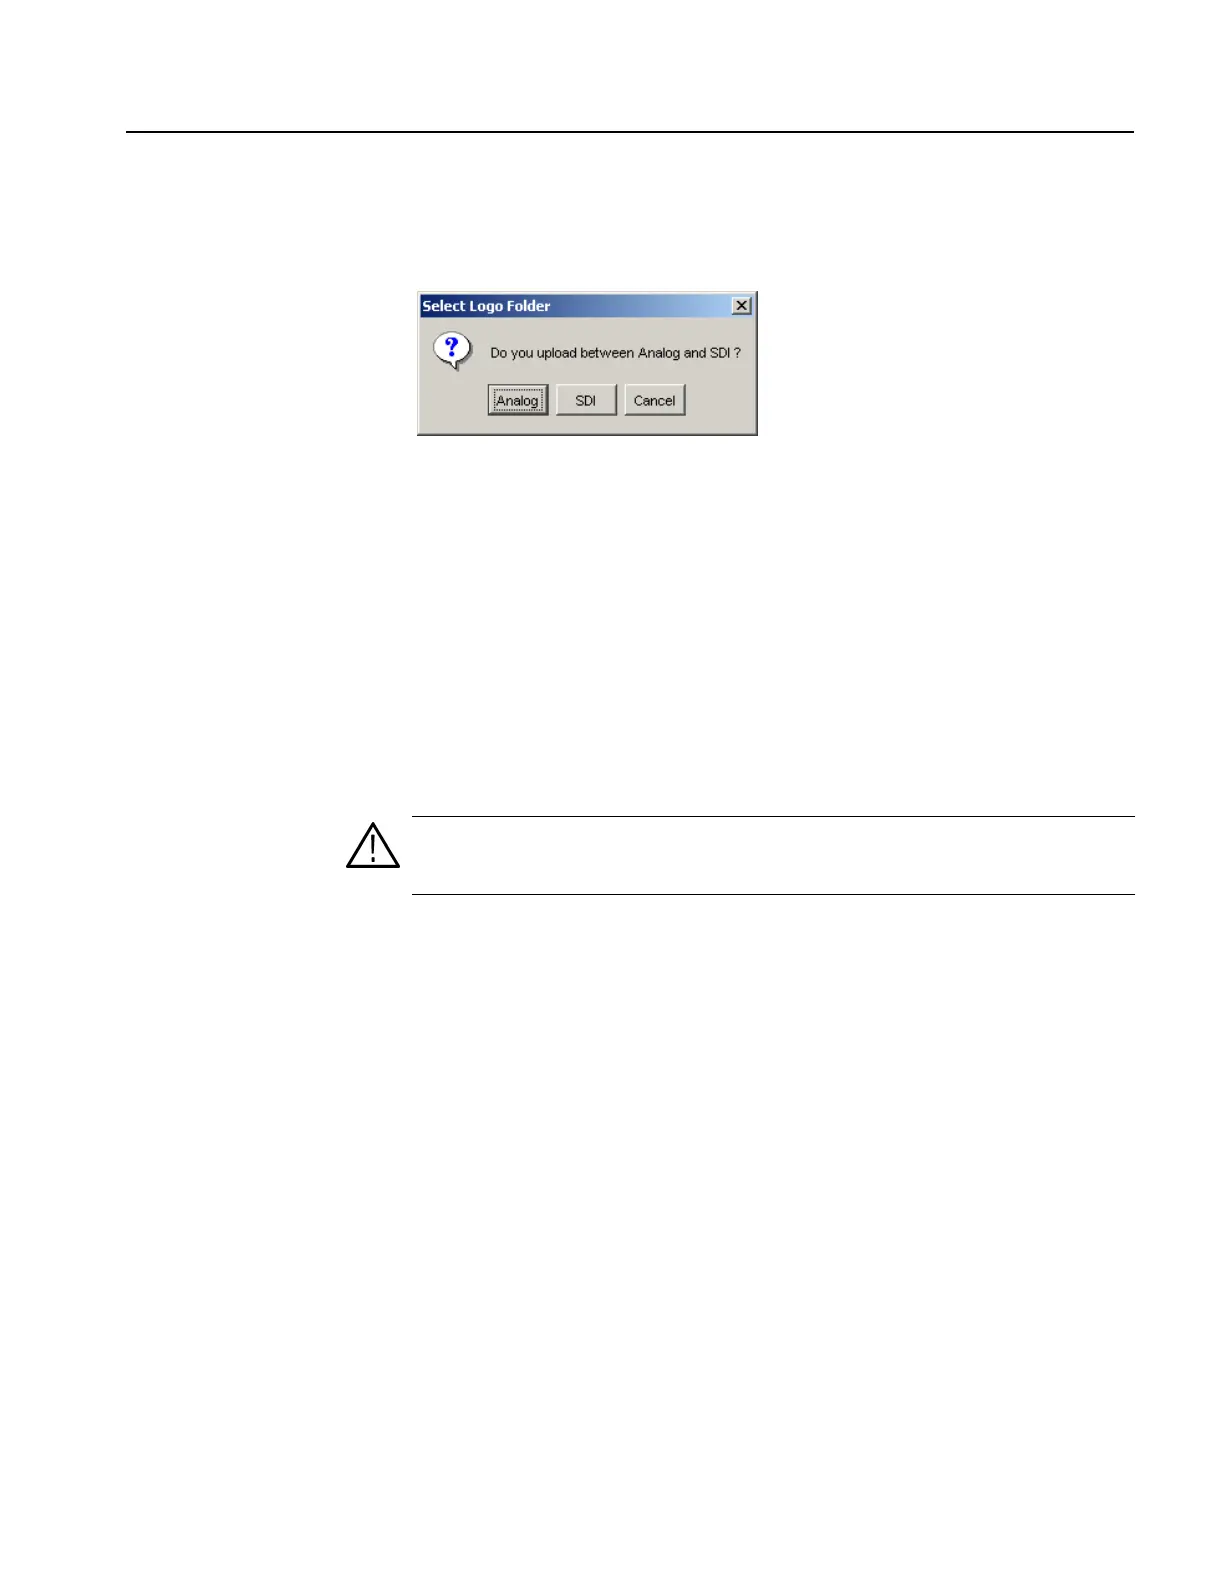
3. Click the PC to SPG button. The Select Logo Folder dialog box appears as
shown in Figure B-6.
Figure B-6: Select Logo Folder dialog box
4. In the dialog box, select the destination folder for the logo file you are going to
upload to the sync pulse generator. The Open dialog box appears.
5. In the dialog box, select the logo file (*.log) that you want to upload.
6. Click the Open button.
If you want to delete a existing logo file, select the logo file in the tree view and
then click the Delete button.
For a signal file:
1. Click the Video tab on the Java applet window.
2. Click the File Transfer tab to open the setting panel for file transfers (see
Figure B-5).
3. Click the DNL File Upload button. The Open dialog box appears.
4. In the dialog box, select the signal file (*.dnl) that you want to upload.
5. Click the Open button.
CAUTION. Do not upload or use any signal files from the TG700/TG2000 signal
generator or created by the SDP2000 software. These signal files are not
compatible with the sync pulse generator.
 Loading...


