Getting Started
1-12
TCPA300/400 Amplifiers and TCP300/400 Series Current Probes Instruction Manual
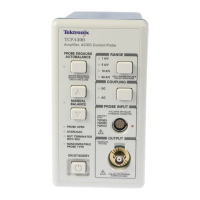
To degauss and autobalance a current probe, perform these steps:
1. Verify that the current probe is connected to the amplifier.
2. Remove the current probe from the conductor under test.
3. Lock the probe slide closed (see Figures 1--5 and 1--6).
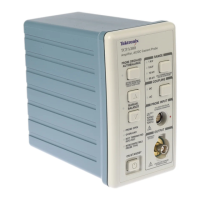
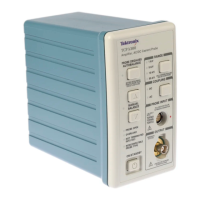
4. Press the amplifier PROBE DEGAUSS AUTOBALANCE button.
5. Wait about five seconds for the degauss procedure to complete.
The PROBE DEGAUSS AUTOBALANCE LED glows green when the
operation has successfully completed. If the LED is blinking orange, the degauss
operation is still in progress. If the LED is red, the operation failed, and the
cause of the failure needs to be found and fixed. For more information, refer to
the PROBE DEGAUSS AUTOBALANCE button discussion on page 2--2.
NOTE. The degauss procedure will fail if the amplifier is not properly connected
to an oscilloscope having 50 Ω input impedance. If this occurs, the NOT
TERMINATED INTO 50 Ω LED lights on the amplifier front panel.
After you have completed the oscilloscope adjustments and the amplifier
degauss/autobalance procedure, your system is ready to measure current.
DC Measurements
To measure DC current, perform these steps:
1. Verify that the amplifier and the oscilloscope input coupling are set to DC,
and the input impedance is set to 50 Ω.
2. Lock the probe closed without a conductor passing through it.
3. Adjust the ground reference of the oscilloscope to move the trace to the
desired graticule line.
4. Press the amplifier PROBE DEGAUSS AUTOBALANCE button.
The NOT TERMINATED INTO 50 Ω LED is lighted if impedance is not 50 Ω.
If this is the case, make necessary changes. (For example, use a 50 Ω termina-
tion.)
5. After the degauss/autobalance routine completes, adjust the ground reference
(if necessary) using the amplifier MANUAL BALANCE controls.
 Loading...