Application Examples
8. Push the Cursor
2 option button.
9. Turn the multipurpose knob to place the second cursor on the data output
transition.
The Δt readout in the Cursor Menu is the p ropagation delay between the
waveforms.
The readout is valid because the two waveforms have the same
horizontal scale (seconds/division) setting.
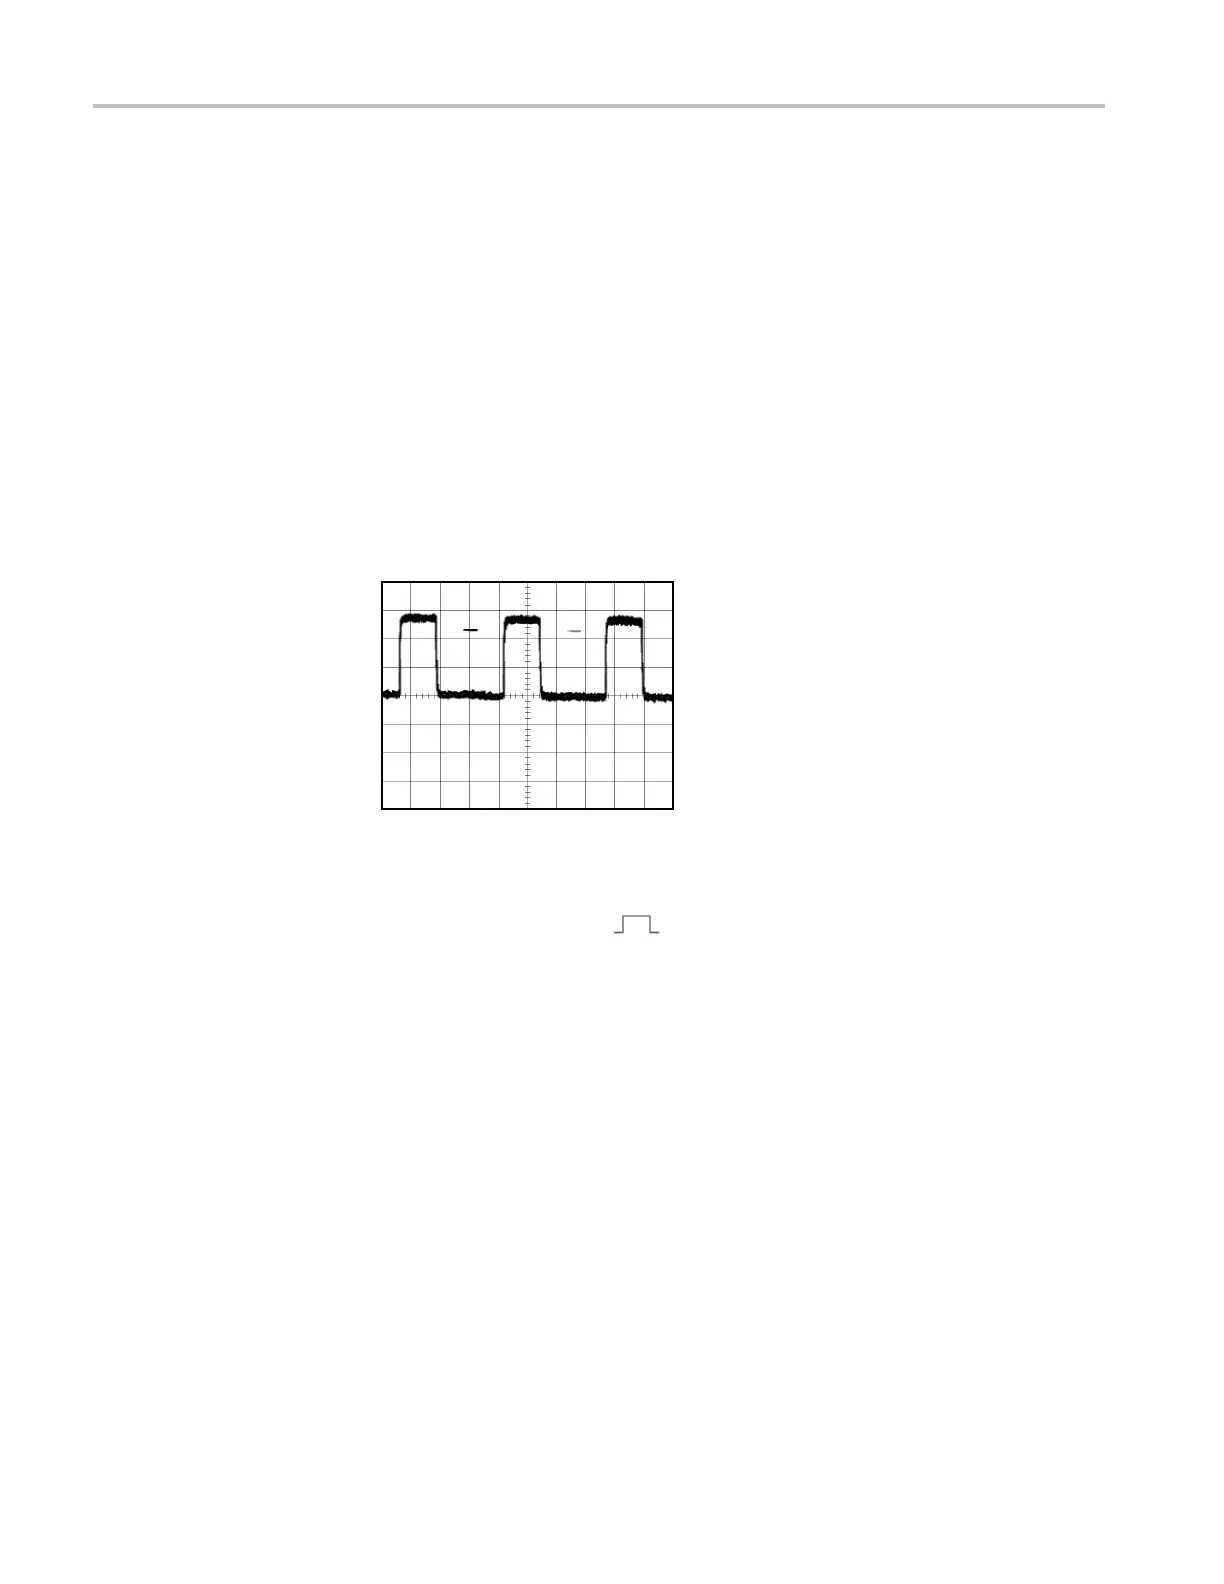
Triggering on a Specific Pulse Width
You are testing the pulse widths of a signal in a circuit. It is critical that the pulses
all be a specific width, and you need to verify that they are. Edge triggering shows
that your signal is as specified, and the pulse width measurement does not vary
from the specifi cation. However, you think there might be a problem.
To set up a test for pulse width aberrations, follow these steps:
1. Push
the AutoSet button to trigger a stable display.
2. Push the single cycle
option button in the AutoSet Menu to view a
single cycle of the signal, and to quickly take a Pulse Width measurement.
3. Push the Trig Menu button to see the Trigger Menu.
4. Push Type ► Pulse.
5. Push Source ► CH1.
6. Turn the trigger Level knob to set the trigger level near the bottom of the
signal.
7. Push When ► = (equals).
8. Turn the multipurpose knob to set the pulse width to the value reported by the
Pulse Width measurement in step 2.
9. Push More ► Mode ► Normal.
You can achieve a stable display with the oscilloscope triggering on normal pulses.
44 TDS2000C and TDS1000C-EDU Series Oscilloscope User Manual
 Loading...