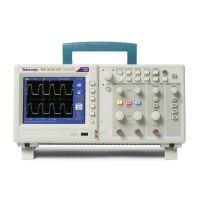
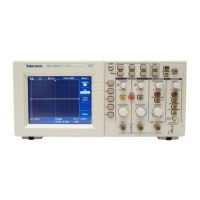
USB Flash Drive and Device Ports
Connecting to
aPrinter
When you connect the oscilloscope to a PictBridge compatible printer, the
oscilloscope and printer can be powered on or off. To connect the oscilloscope to
a PictBridge
compatible printer, follow these steps:
1. Insert one end of a USB cable into the USB Device port on the oscilloscope.
2. Insert the other end of the cable into the PictBridge port on a PictBridge
compatible printer. Refer to the product documentation for your printer
to locate t
he port.
3. To test the connection, set up the oscilloscope to print as described in the
next proc
edure.
NOTE. The printer recognizes the oscilloscope only when the printer is powered
on.
If the oscilloscope asks you to connect to a printer and a printer is connected, you
need to power on the printer.
Printing a Screen Image
To set up a PictBridge compatible printer, follow these steps:
1. Power on the oscilloscope and the printer.
2. Push the Utility ► Options ► Printer Setup ► PRINT Button and select
the Prints option.
3. Set the Ink Saver option to On, the default setting.
4. Push the - more - page 2 of 3 and - more - page 3 of 3 option buttons to set
up the printer. The oscilloscope queries the printer, and only displays options
and values that the printer supports.
If you are not sure which setting to choose, select Default for each option.
5. To print a screen image, push the
print front panel button.
The oscilloscope takes a few seconds to capture the screen image. The
settings of your printer and print speed determine how long it takes to print
the data. Additional time may be required according to the format selected.
NOTE. You can use the oscilloscope while the printer prints.
TDS2000C and TDS1000C-EDU Series Oscilloscope User Manual 73

 Loading...


