Where the value 1440 is the capacity of the diskette (1.44 MB in this example).
4. Get into the PC-Doctor directory ( type
CD C:\PCDR
and press
Enter
)
5. Copy the PC-Doctor files to the bootable diskette using the following
command:
XCOPY C:. A:.
After completion of this procedure, you should have a bootable diskette containing
PC-Doctor.
5.3.5.3 Running PC-Doctor
PC-Doctor is a DOS-resident program that can be run from either hard disk or from
the bootable diskette you previously created.
1
. From the C:\ prompt change directory (type
CD C:\PCDR
) and press
Enter
2
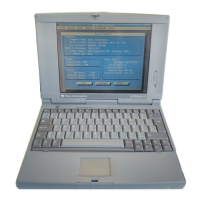
. The Diagnostics Program loads into system memory, and the LCD displays the
diagnostics Header.
n
Note:
There are a number of command-line switches that can be entered
when starting up PC-Doctor to enable automatic virus scanning, enable
loopback testing of serial/parallel ports, work from the remote menu if per-
forming remote operations, etc. To get a listing of the available command-
line switches, startup PC-Doctor with the following command:
PCDR /? and press Enter
.
n
Note:
If PC-Doctor detects a virus, it will stop with an error message. You
must then use one of the standard virus detection and removal programs to
remove the virus.
5.3.5.4 Quitting PC-Doctor
To exit PC-Doctor, Select the
Quit
pull down menu and then select the
Quit to DOS
option.
n
Note:
For additional information, press
F1
twice to access the online Refer-
ence manual for PC-Doctor.
Troubleshooting
5-9
 Loading...