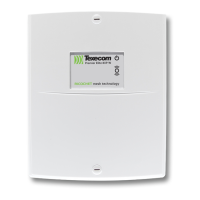
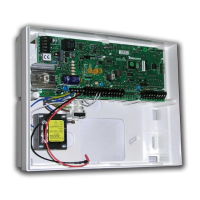
Premier Elite 8XP-W & 32XP-W Installation Manual
INS467-4 23
Premier 412/816/816 Plus & 832 PV1.00>
Premier 412/816 V11.10 & Later, Premier 832 V4.10 & Later
Follow these instructions to learn devices to the system, once completed follow the relevant section
of the control panel manual to programme zones and user attributes.
Option Switch Settings
For this version of firmware all option switches 1,2 & 4 should be OFF.
Expander Settings
The expander should be set to address 1.
Detectors are assigned to zones as follows:
1. Select engineer’s mode by entering the engineer code followed by / then .
2. Enter to select the Assign Radio Device menu, if an error tone is generated then the
receiver is not installed or configured correctly.
3. Enter the two digit zone number that you want to assign the detector to e.g., .
4. Press the learn switch or short the learn pins and insert the battery. The panel will generate an
acceptance tone and the detector is now assigned to the selected zone.
5. Program the zone type and attributes as required. Note: The Zone Wiring must be
programmed as “Double EOL”, if a tamper response is required from the detector.
6. Repeat steps 2 - 5 for other detectors.
 Loading...
