INTERIOR FEATURES AND COMPONENTS
97
9
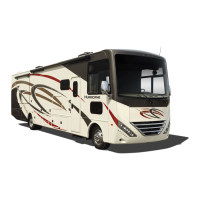
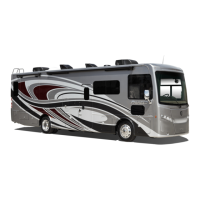
THOR MOTOR COACH | MADE TO FIT
Motorhomes may
be equipped with an
over-cab bunk operating
switch panel similar
to this illustration. Use
a key to activate the
control, then press and
hold the rocker switch
to either raise or lower
the powered bunk.
The key lock prevents
unintended bunk
operation.
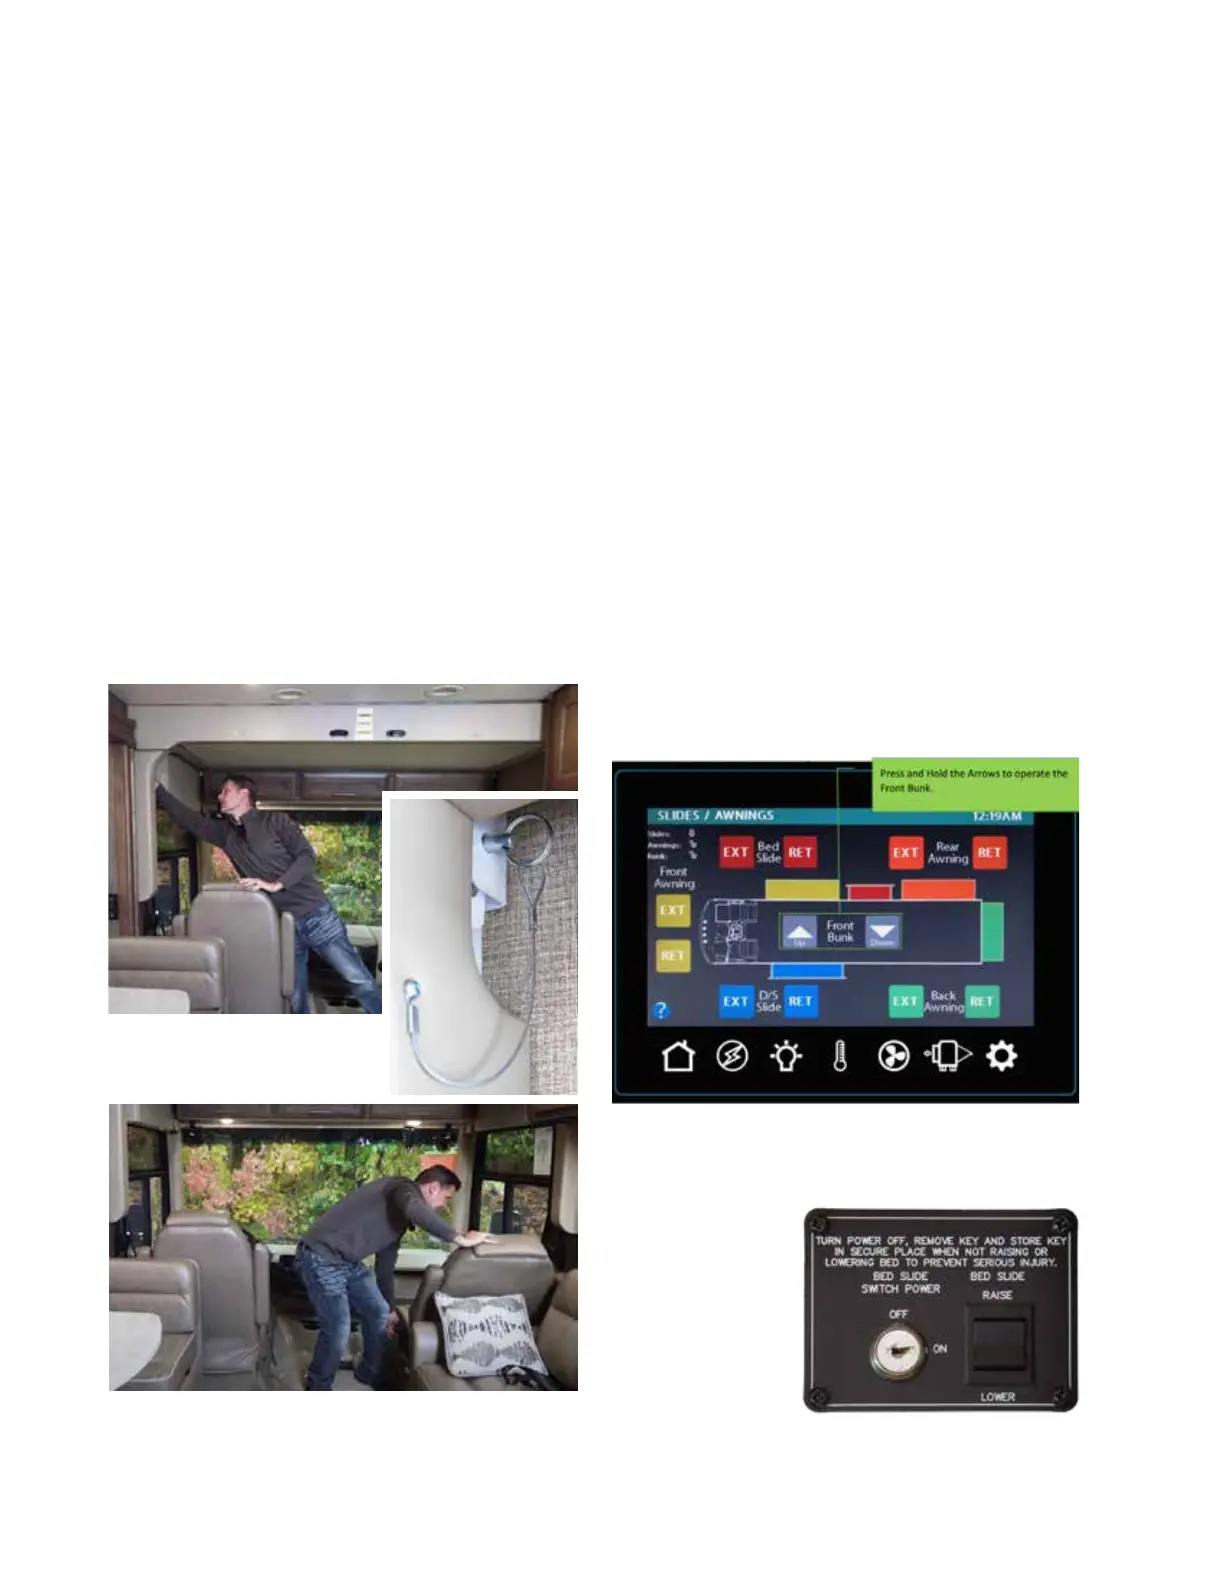
Figure 2. Recline both front seat backs before lowing the powered
over-cab bunk.
Figure 1. Remove both left and
right-side travel safety pins.
Figure 3. With multiplex systems, the powered over-cab bunk operating
controls are usually located on the Slides/Awnings Menu. Some
multiplex systems will also include bunk controls on a convenient wall
switch.
To lower the powered over-cab bunk:
1. Level and/or stabilize the motorhome with the on-board
hydraulic leveling system or electric stabilizing jacks.
2. Turn the chassis engine OFF.
3. Ensure the Parking Brake is ENGAGED.
4. Turn ON the master battery switch.
NOTE: If the auxiliary battery(ies) are low, it may be
necessary to connect to shore power or operate the
generator to ensure sucient 12-volt power to operate
the powered over-cab bunk system.
5. If the motorhome is equipped with windshield and
cab side window privacy shades (powered or manual),
pull down or install the shades before lowing the bunk.
6. Remove the safety pins, both le and right side (Figure 1).
7. Fully recline the driver’s and passenger’s seat backs
(Figure 2).
8. On the Multiplex Slides/Awnings Menu screen, PRESS
AND HOLD the operating switch to lower the over-cab
bunk. Hold the switch until the bunk is completely
lowered, and continue to hold the switch for a few
additional seconds. is operation helps to keep the
operating motors synchronized (Figure 3).
9. Locate and extend bunk ladder, then securely place
ladder hooks into ladder brackets on the front rail of
the bunk.
To raise the powered over-cab bunk:
1. Remove all non-bedding items from the bunk before
raising. Ensure bedding remains well away from gear
tracks.
2. Raise over-cab bunk until it stops; continue to hold the
control switch for 3 additional seconds.
3. Install the travel lock pins.
4. Lower the powered over-cab bunk down onto travel
lock pins; continue to hold the control switch for an
additional 3 seconds. This operation helps keep the
motors synchronized.
5. Return the front seats backs to their full up-right position.
 Loading...