11-4
Twist Owner’s Manual
OM_TWIST_0811RevA
CHAPTER 11: CASTERS AND FORKS
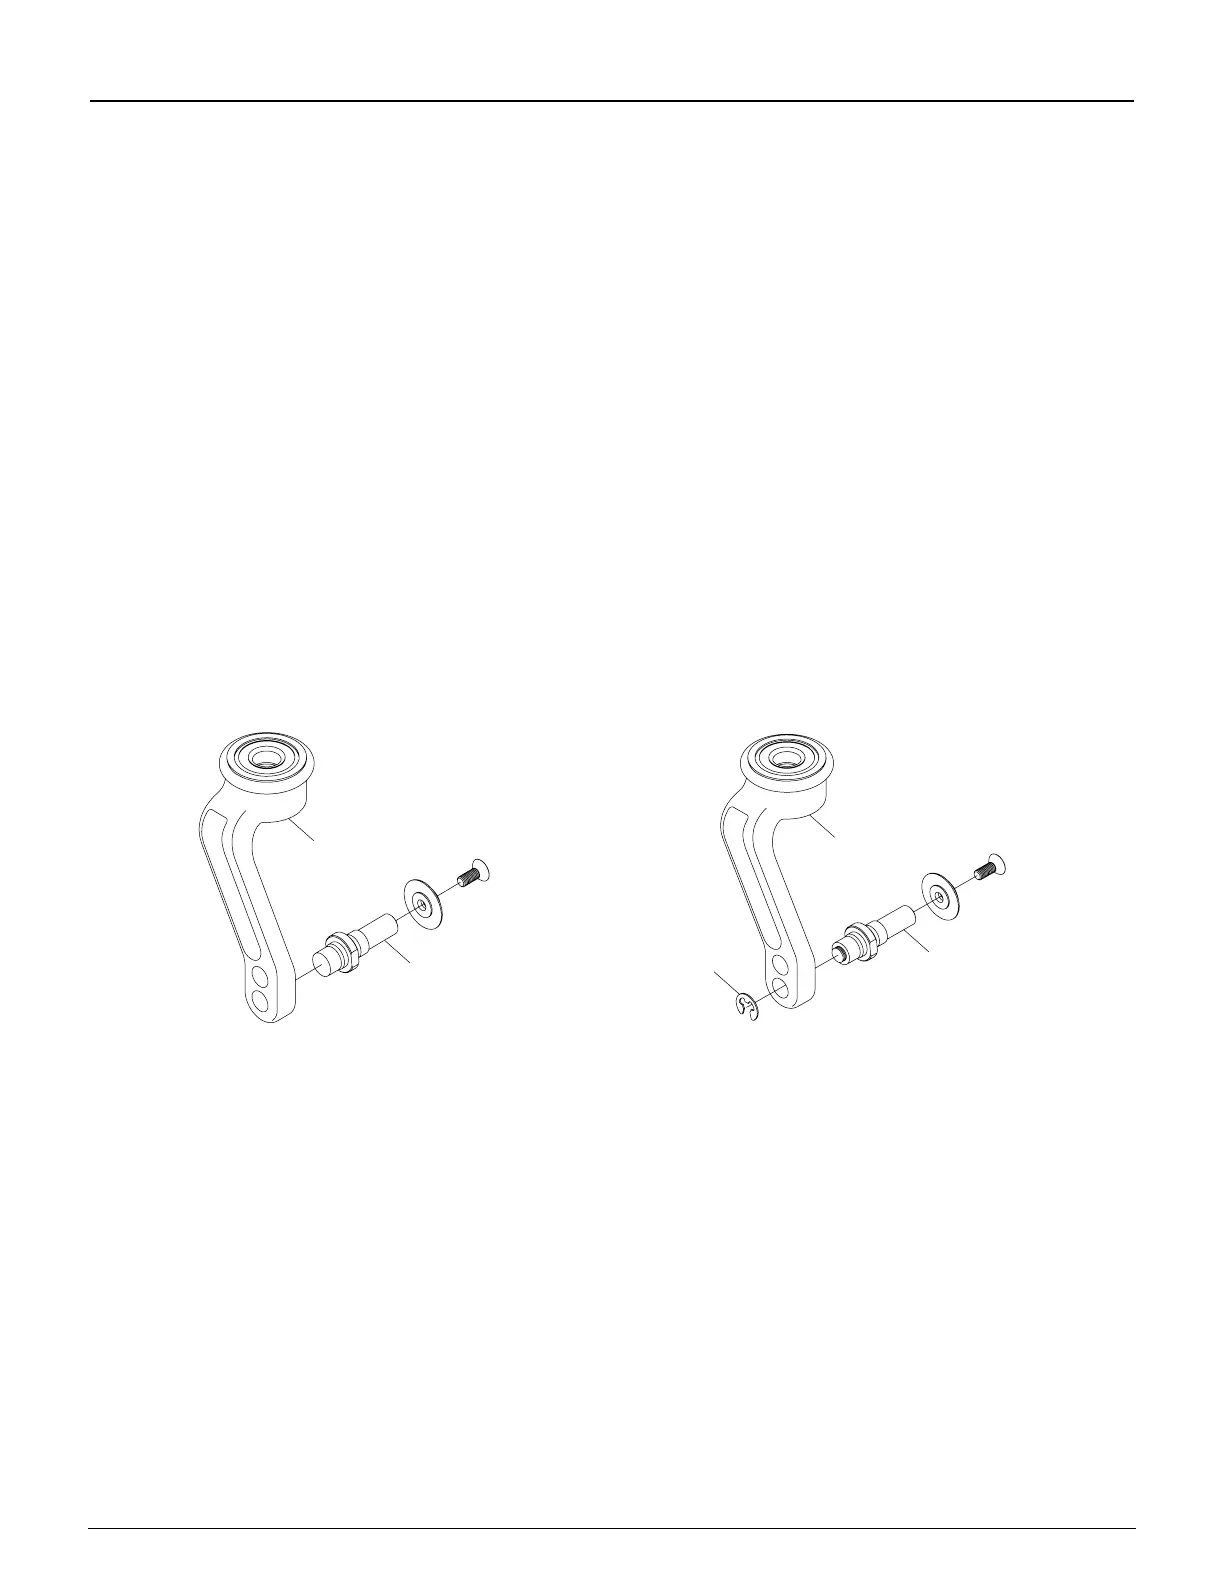
If your axle assembly resembles Figure 11-5:
1. Remove the caster. See “Slipstream Single-Sided Forks – Replacing Casters” on page 11-2.
2. Using the shaft of the screwdriver, remove the E-Ring by pressing downward across the open portion of the
E-Ring. The E-Ring will spring off of the axle, you must wear protective eyewear.
3. Using the 5/8” Open End wrench, remove the axle from the Mono Fork.
4. Place the axle in the alternate axle hole and securely tighten.
5. Using the shaft of the screwdriver, replace the E-Ring by pressing downward across the closed portion of the
E-Ring, snapping the E-ring into place.
6. Replace the caster. See “Slipstream Single-Sided Forks – Replacing Casters” on page 11-2.
7. Follow Steps 1 through 6 on the opposite fork.
I WARNING
Always use identical axle holes on both sides of your chair.
If you ignore this Warning, you may fall, tip over or lose
control of the wheelchair and seriously injure yourself or others or damage the wheelchair.
I WARNING
The threads on the screws that secure the casters to the fork and the axles are treated with Vibra-TITE
®
VC-3, a
locking and sealing coating, to reduce the possibility they will become loose. You should be able to remove and
reinstall these screws and axles approximately four times without reapplying the coating. If you repeatedly remove
and reinstall these screws or axles, TiLite requires that you reapply Vibra-TITE
®
VC-3 after every fourth adjustment.
If
you ignore this Warning, you may fall, tip over or lose control of the wheelchair and seriously injure yourself or others
or damage the wheelchair.
Figure 11-4
Mono Fork Axle 1 Assembly
Figure 11-5
Mono Fork Axle 2 Assembly
MonoFork
Axle
MonoFork
Axle
E-Ring
Floating Casters
Tools needed:
• 3/16” Allen Wrench
• 1/8” Allen Wrench
• Wood Block (1” Minimum)
• Drafting Triangle
• Ruler
Note: TiLite designs its wheelchairs to be exible for improved maneuverability and increased ride comfort. However,
this exibility requires that your chair be set up properly. The following procedure will enable you to set up
your TiLite rigid wheelchair so it will perform to its potential.
1. Place the wheelchair on a smooth, level surface.
2. Make sure that all tires are properly inated, that the camber tube is properly centered on the frame side to side,
that the camber tube is straight relative to the rear of the frame, that the toe-in/toe-out is correctly set up, and the
angle adjustable casters are square to level surface.
3. Loosen, but do not remove, the Allen screws in the camber tube clamps as shown in Figure 11-6.
4. Loosen, but do not remove, the Allen screws in the footrest binder clamps as shown in Figure 11-7.