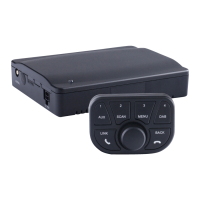
TINY AUDIO C10 User Guide
7
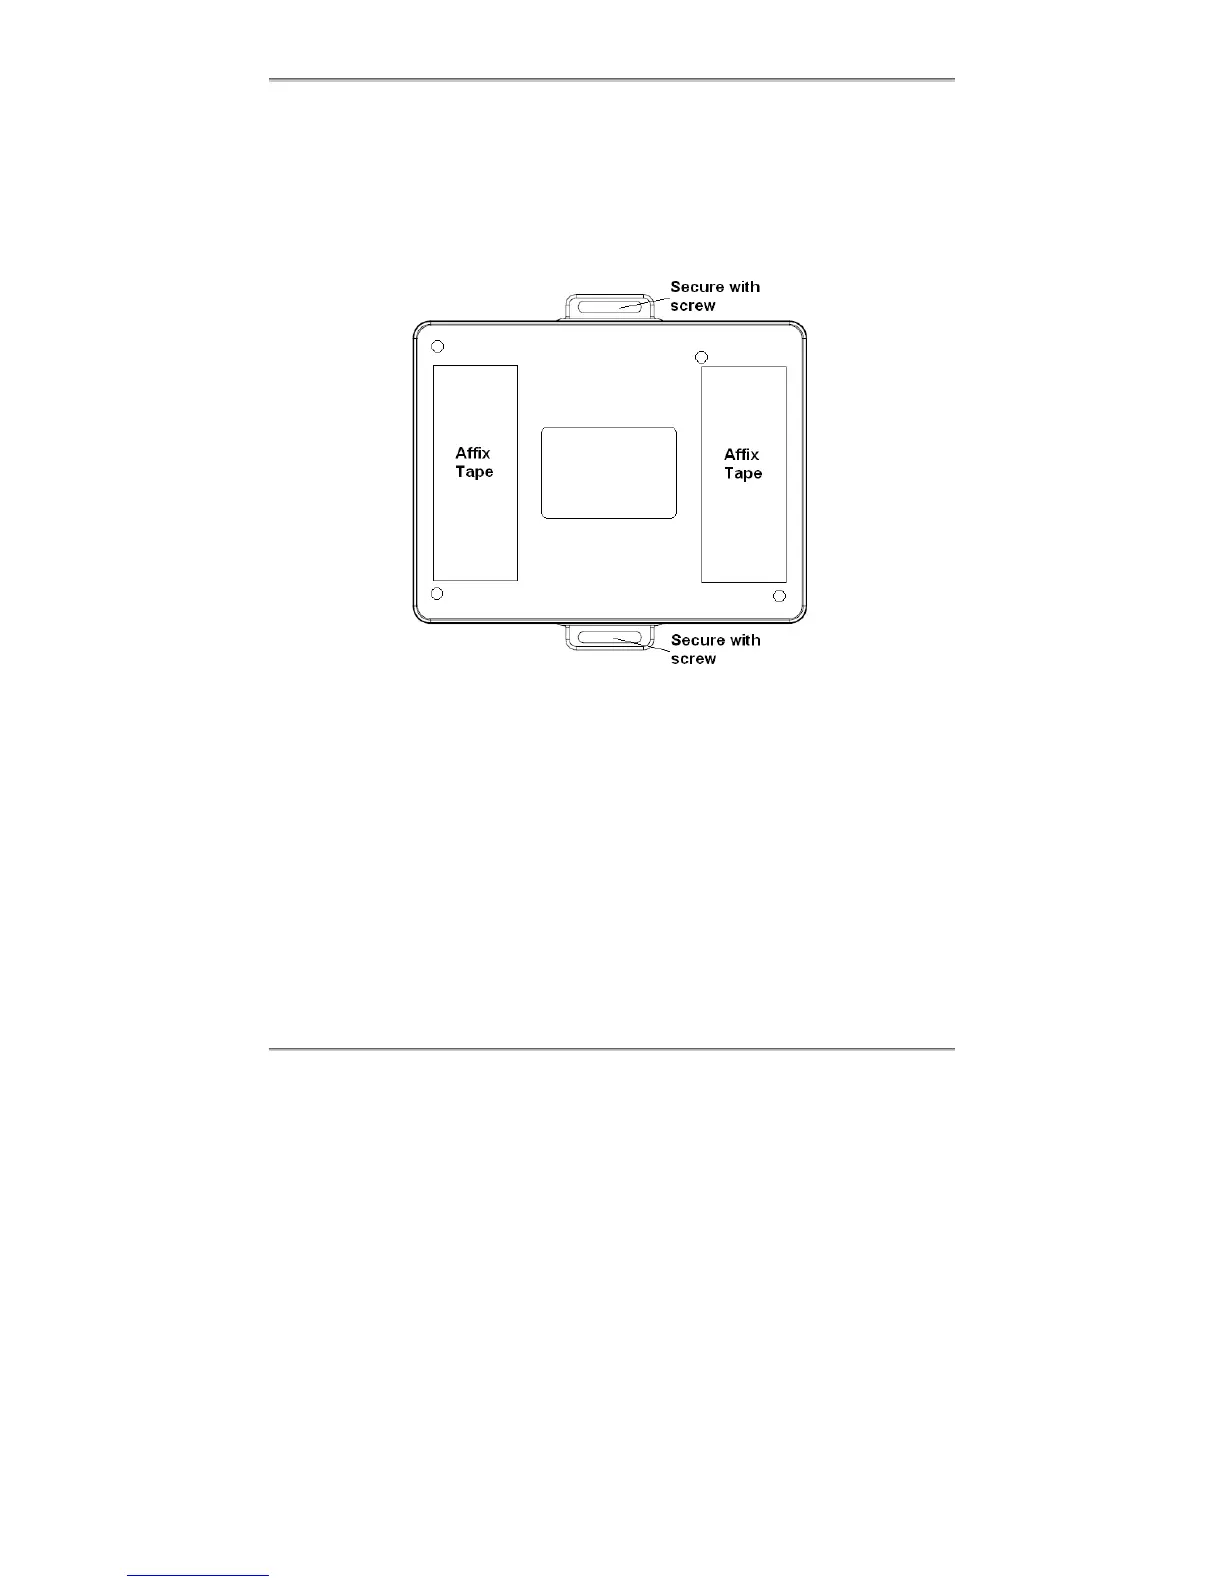
Securing TINY AUDIO C10, Step by Step
To secure TINY AUDIO C10 on a chosen store location using the supplied dual lock tapes
and/or screws, do the following:
1. Locate the positions on the back of TINY AUDIO C10 and the chosen store location
(e.g. in the middle and under the car’s glove compartment) where you want to apply
the dual lock tapes.
2. Clean both surfaces, the affix tape positions on TINY AUDIO C10 and the chosen store
location, with alcohol if available and wipe dry before you start.
3. Remove one side of the backing from each of the two pieces of dual lock tapes, and
adhere the tapes onto the back of TINY AUDIO C10 on the marked positions in 1.
4. Remove the other side of the backing and adhere TINY AUDIO C10 to the chosen
store location with TINY AUDIO C10’s cables and connectors to the back.
5. Carefully, remove TINY AUDIO C10 from the store location with dual lock tapes
separated, so that TINY AUDIO C10 and store location each has 2 half pieces of the
tapes.
6. Apply the pressure evenly to all 4 half pieces on TINY AUDIO C10 and the store
location, so that the tapes adhere to both surfaces securely.
7. Wait 8 hours, and then adhere TINY AUDIO C10 to the store location by joining the 4
half pieces of the tapes together.
8. Alternatively, or in addition, secure TINY AUDIO C10 with the supplied screws.