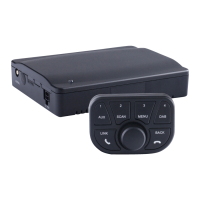
TINY AUDIO C10 User Guide
14
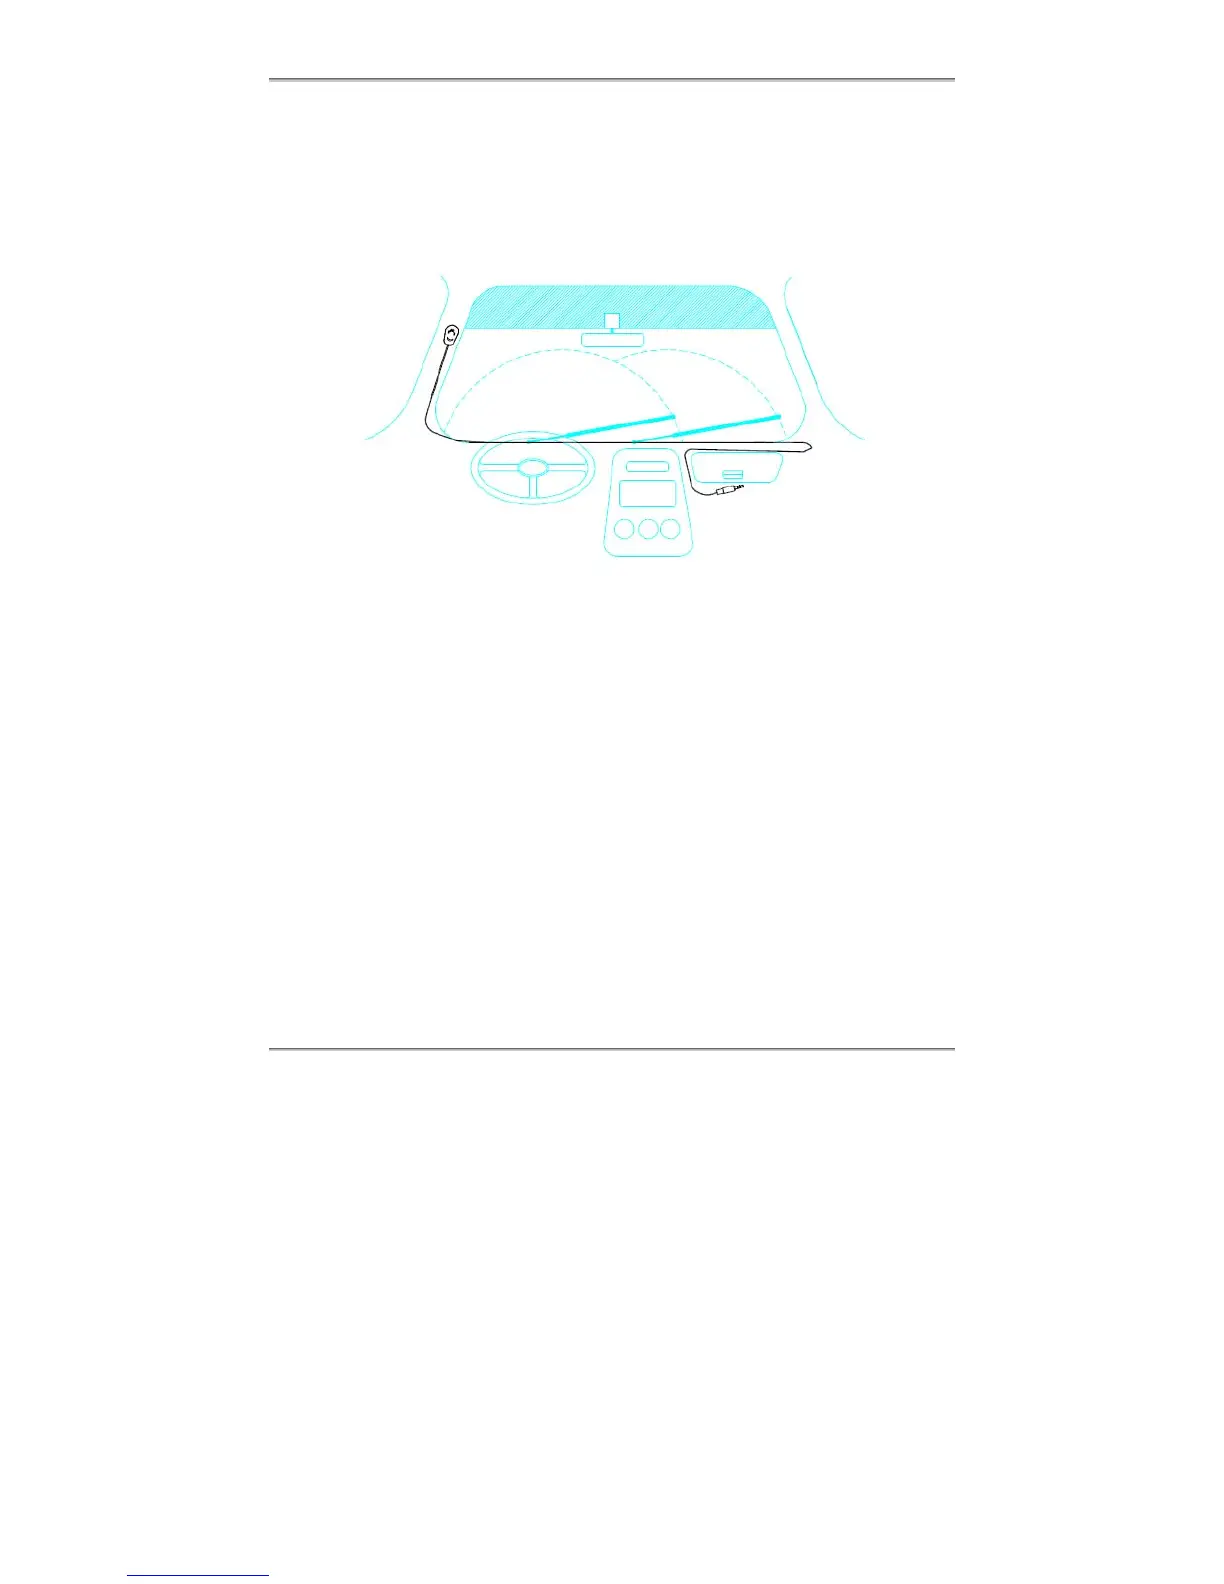
Main microphone Installation
TINY AUDIO C10 comes with an external microphone to be used for the Hands free
function. To install the microphone, follow the diagram and procedure below. Once the
microphone is installed and TINY AUDIO C10 is started, refer to the section on USING
THE HANDS FREE FUNCTION to use the function.
Steps:
➀ Attach the microphone
Gently peel off the adhesive separator on the backside of the microphone, then,
press and bond the microphone onto the A-Pillar on the driver side as shown.
➁ Route the microphone cable
Route the microphone cable on top of the dashboard to the passenger side, then
route the microphone cable to where TINY AUDIO C10 is installed – e.g. in the
middle and under the car’s glove compartment. Make sure the microphone cable
does not interfere with the safe operation of steering wheel, air bags, and seatbelts
or other equipment.
➂ Plug into TINY AUDIO C10
Plug the end of the microphone cable into TINY AUDIO C10’s main microphone
cable connector.
A Pillar
➀
➁
➂