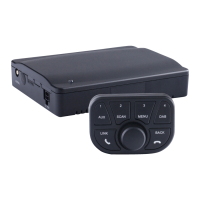
TINY AUDIO C10 User Guide
5
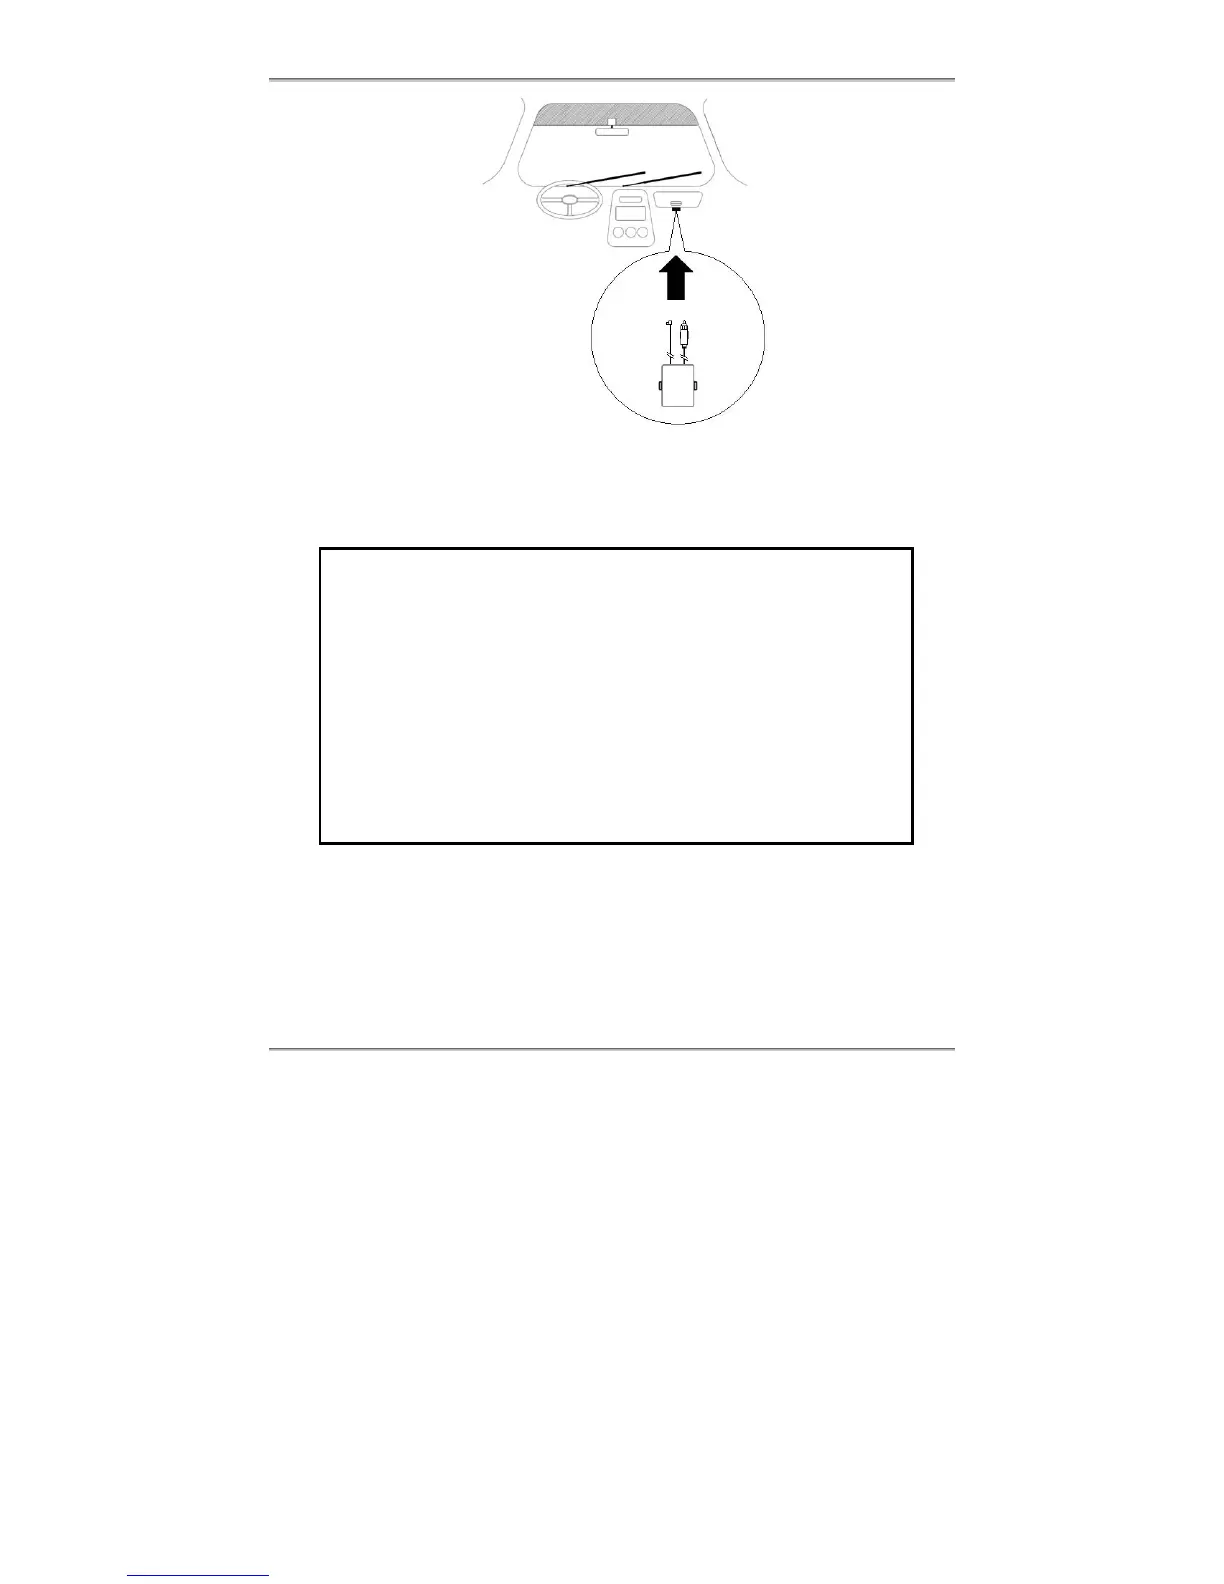
3. Secure TINY AUDIO C10 with the supplied dual lock tapes and screws. Please
refer to the installation section on Securing TINY AUDIO C10, Step by Step.
4. Install the DAB antenna; please refer to the installation section on Antenna
Installation.
ATTENTION
1. We have fully tested DAB Antenna, if supplied, to work with TINY
AUDIO C10. If you use a third party’s DAB antenna, the
performance may suffer.
2. For TINY AUDIO C10 to work with the active antenna, the antenna
power must be set to ON; for TINY AUDIO C10 to work with a
passive antenna, the antenna power must be set to OFF.
3. Anytime you need to disconnect/connect the antenna from TINY
AUDIO C10, please unplug TINY AUDIO C10 from the cigarette
lighter first to avoid possible damage to the antenna.
4. Damage resulted from incorrect installation of the antenna is not
covered by the warranty.
5. Minimize coiling loops of excessive power cable and antenna cable, and do not
secure them on TINY AUDIO C10. Please refer to the installation section on
Installation do and don’t.
6. Install the main microphone cable; please refer to the installation section on Main
microphone installation.
Antenna
Cable
Power
Cable