106
20.2. Installing the Software
Step 1. Load the supplied CD-ROM into the PC's CD-ROM drive.
Step 2. Double-click the "setup_a9k.exe" icon in the software folder.
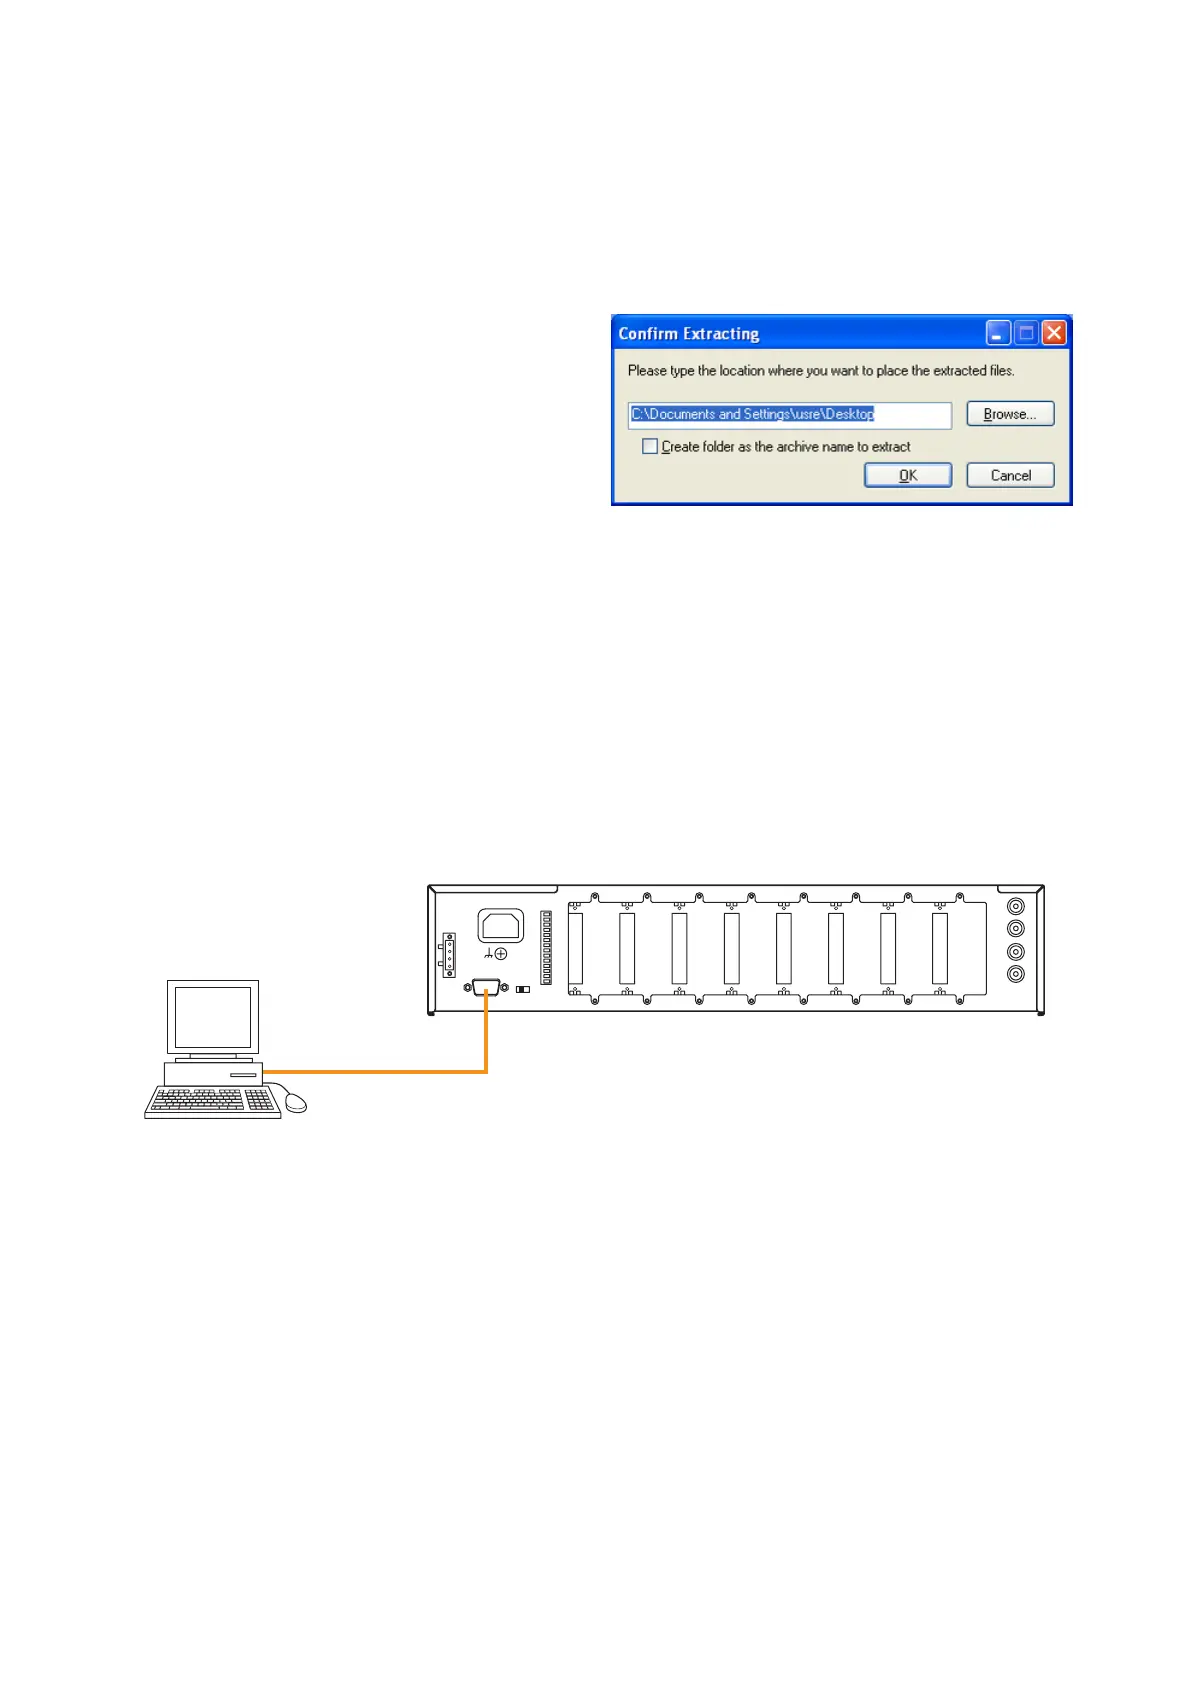
Step 3. Designate the folder into which the 9000 series maintenance software is extracted, and click the "OK"
button.
Note
After installation completion, only the
software icon is created in the folder
designated in the screen at right. The
software execution file is moved into the
automatically created C:/ProgramFiles/TOA
folder after being extracted.
Step 4. After installation completion, confirm the "MaintCtrl.exe" icon is created in the folder designated in
Step 3.
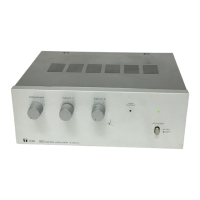
20.3. Connecting the Unit to the PC
Connect the unit's RS-232C port and the PC's RS-232C port with a 9-pin straight cable (male - female).