24
Executing Automatic alignment
Set the alignment target. Since the range over which the grade is set automatically is within
about 10° of the width in the X and Y directions of the instrument, place the instrument so as to
be within that range
1 Press the Automatic alignment key on
the RC-300W. Select [ALIGNMENT]
and press the [ENT] key to finish input.
2 Using the arrow keys, select the grade
axes that is roughly aligned to the
alignment target (Y+, X-,Y-, X+).
Press the [ENT] key to finish input.
3 Begin auto-alignment after
transmission completed. You will know
transmission has been received as the
scanning laser will be activated and
starts searching for the target.
If the error code [RETRY] is displayed,
make sure the alignment target and
instrument are correctly positioned as
described in the previous section, type
of the target, and repeat the above
procedure from step 1.
F
X
Y
R
.P
.
M
P
O
W
E
R
R
C
-
3
0
0
Highlight indicates
grade axis selected.
Sample display : Y + direction is selected.
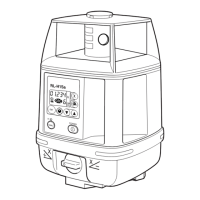
Scanning laser
goes down first.
Target
The scanning
laser locates the
center of the
target then the
RT-5SW
precisely adjusts
its grade axis to
that location.
Within about 150m (492ft)