14
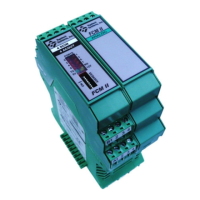
Chapter 3 Installing the MultiLoad II/RCUII DIV2
Tools Required 3.1
Installation
3.1.1
- ¼” Flat Head screw driver is required for tightening cover screws.
Servicing and Repair
3.1.2
- #2 Philips screwdriver for circuit board removal.
- ¼” socket wrench for CPU circuit board removal and a 5/16” socket wrench for display board
removal.
- #2 Philips screwdriver for removal of keypad plat screws.
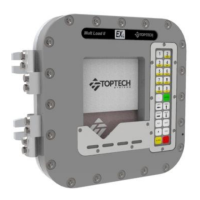
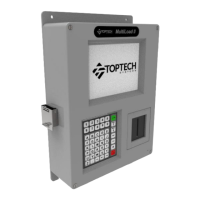
Cover Closure and Bolt Replacement 3.2
When closing the cover, gently lift on the bottom of the cover when in position for starting one or two of
the right corner screws. This is done to assist the alignment of the cover and base holes for starting the
screws. The enclosure cover is secured to the housing by four 6mm slotted/Philips screws. When the
screws are removed, the front cover will swing left and hang from its hinges. The screws are captive
and will remain with the cover.
Cable Entries 3.3
Two 1” NPT conduit hubs are provided for the installation of conduit and cables.
No hubs are provided with the 5 hole base.
Mounting the MultiLoad II/ RCU II DIV-2 Enclosure 3.4
The DIV-2 enclosure should be located in a shaded area. Direct sunlight can increase internal
temperature to greater than 140°F or 60°C.