69
Display Subassembly Removal and Replacement 7.3
Part Number: DIV-2- Display Subassembly: 4720
Backlight power cable: 2224
Removal:
1. Disconnect the flat display cable (after releasing the cam lock –see 7.3.1), display power cable
and the keypad cable.
2. While supporting the display subassembly, remove the four mounting screws.
3. Do not attempt to disassemble the display subassembly. Return entire subassembly to
Toptech for repair after receiving an RMA number.
Installation:
1. While supporting the display subassembly, install the four mounting screws.
2. Connect the keypad cable, display power cable and the flat display cable.
3. Verify routing and clearance of the cable
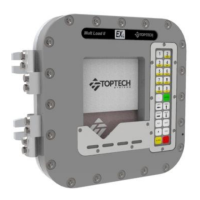
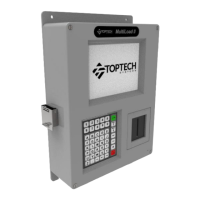
Figure 7.4 ML II/ RCU II Div2 Unit Cover Display Assembly
Flat Display Cable Connector: Remove and Connect
7.3.1
Part Number: Display Interface Cable: 1250