-11-
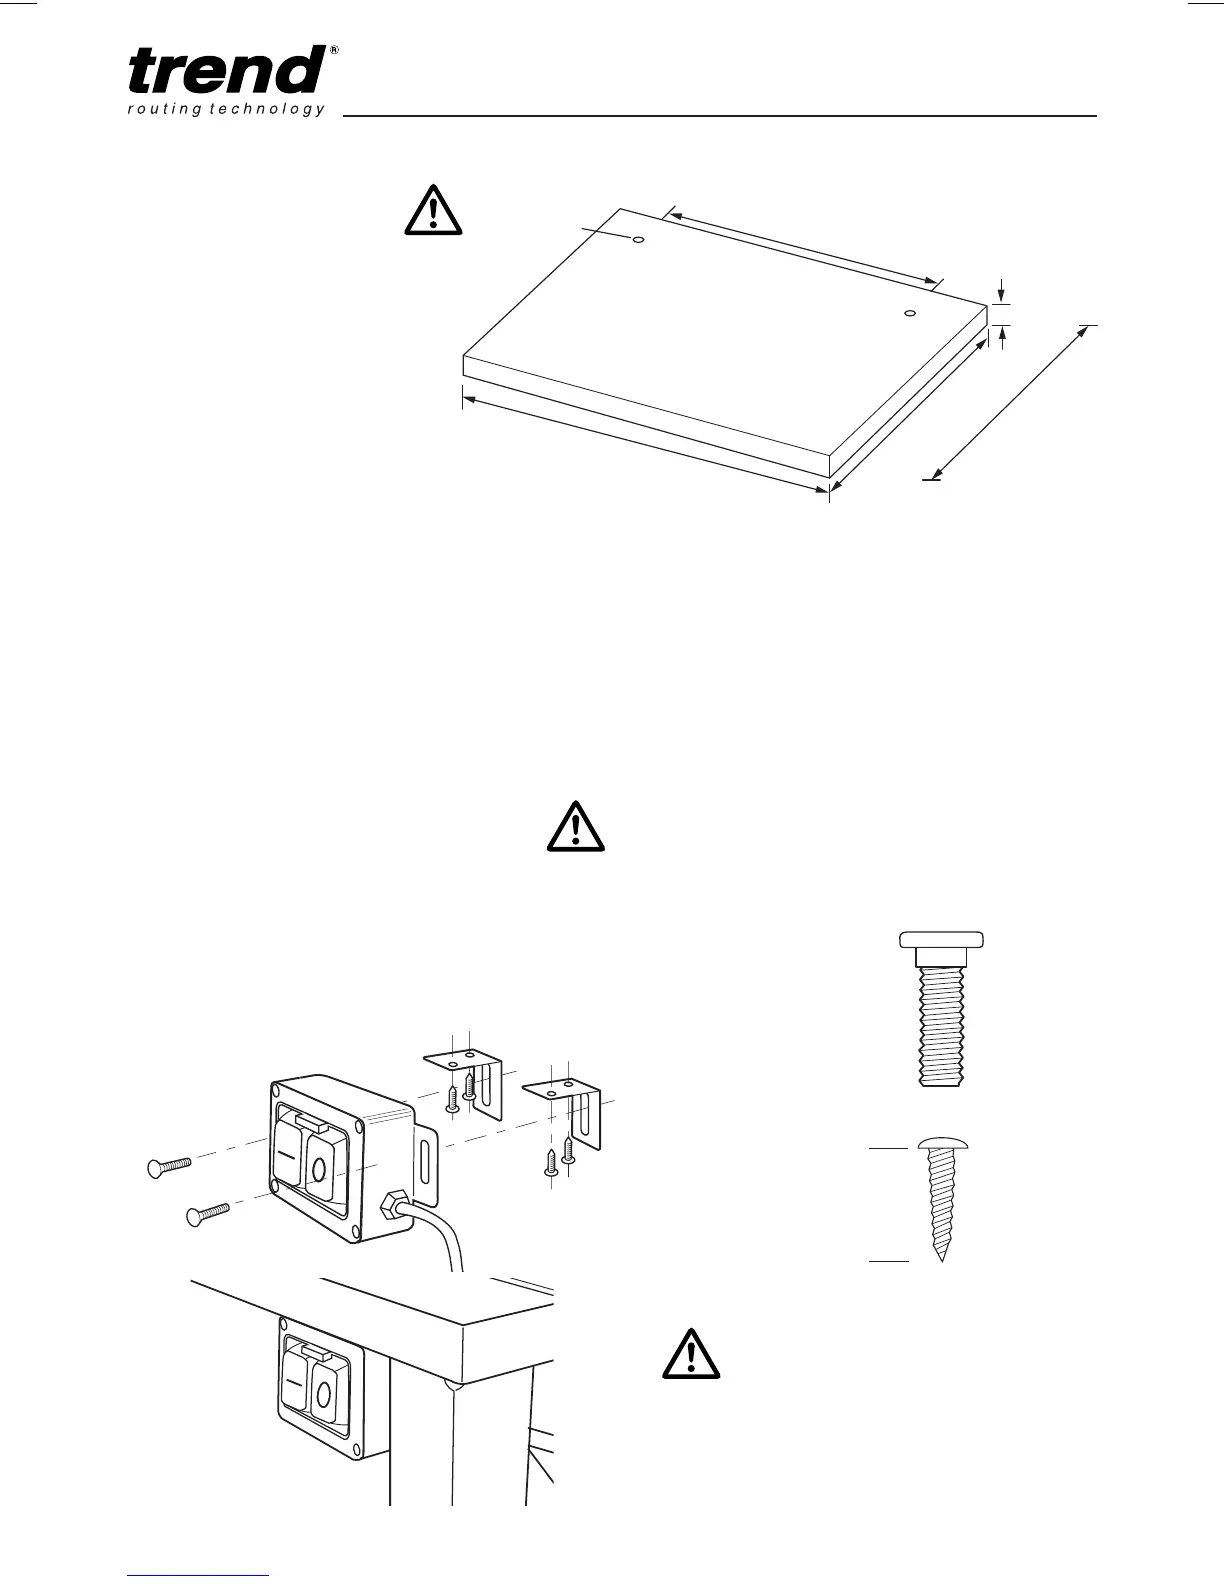
User Made Accessory
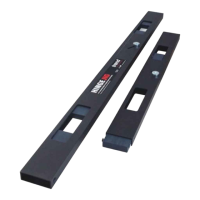
Workboard Mounting
The table has two holes in the mitre
fence extension to accept fixings
for a user made accessory work-
board. The workboard can then be
used to mount other routing jigs, so
using the WRT
as a workbench.
Boards can be secured using M8
bolts and M8 nuts (not included).
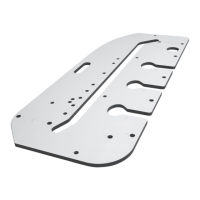
18mm
600mm
450mm
9mmØ
200mm
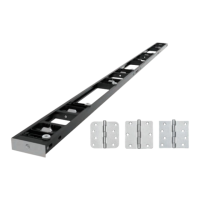
Mounting No Volt Release Switch
The switch can be positioned at the front of
the table or on the right hand side.
Fit brackets to underside of table top first using the
self tapping screws and a Phillips
®
No.2 screwdriver.
Then mount switch to brackets, fit the left hand bolt
assembly first.
x4
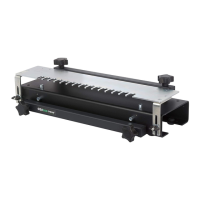
CAUTION: Ensure workbench is sta-
ble and secure.
Max.
16mm
x2
Use Phillips
®
No.2 screw-
driver.