© Copyright 2015 TRENDnet. All Rights Reserved.
Policy Route
This page allows you to bind your WAN connection to one LAN interface.
1. Log into your router management page (see “Access your router management page”
on page 23).
2. Click on Advanced, and click on Route Policy.
3. Click Add to configure settings and click Apply to save settings.
WAN Connection: Select in the pull down menu your WAN interface.
LAN Connection: Select the interfaces you would like to bind.
Enable dynamic routing on your router
Advanced > RIP Settings
You may want to setup your router to route computers or devices on your network to
other local networks through other routers. If other routers support dynamic routing
such as RIP (Routing Information Protocol), you can enable this feature on your router
to automatically learn the required routes to reach those networks. It is required that
the same dynamic routing protocol and version is also enabled on the other routers in
order your router and the other routers to exchange information about the network.
Note: Configuring this feature assumes that you have some general networking
knowledge.
1. Log into your router management page (see “Access your router management page”
on page 23).
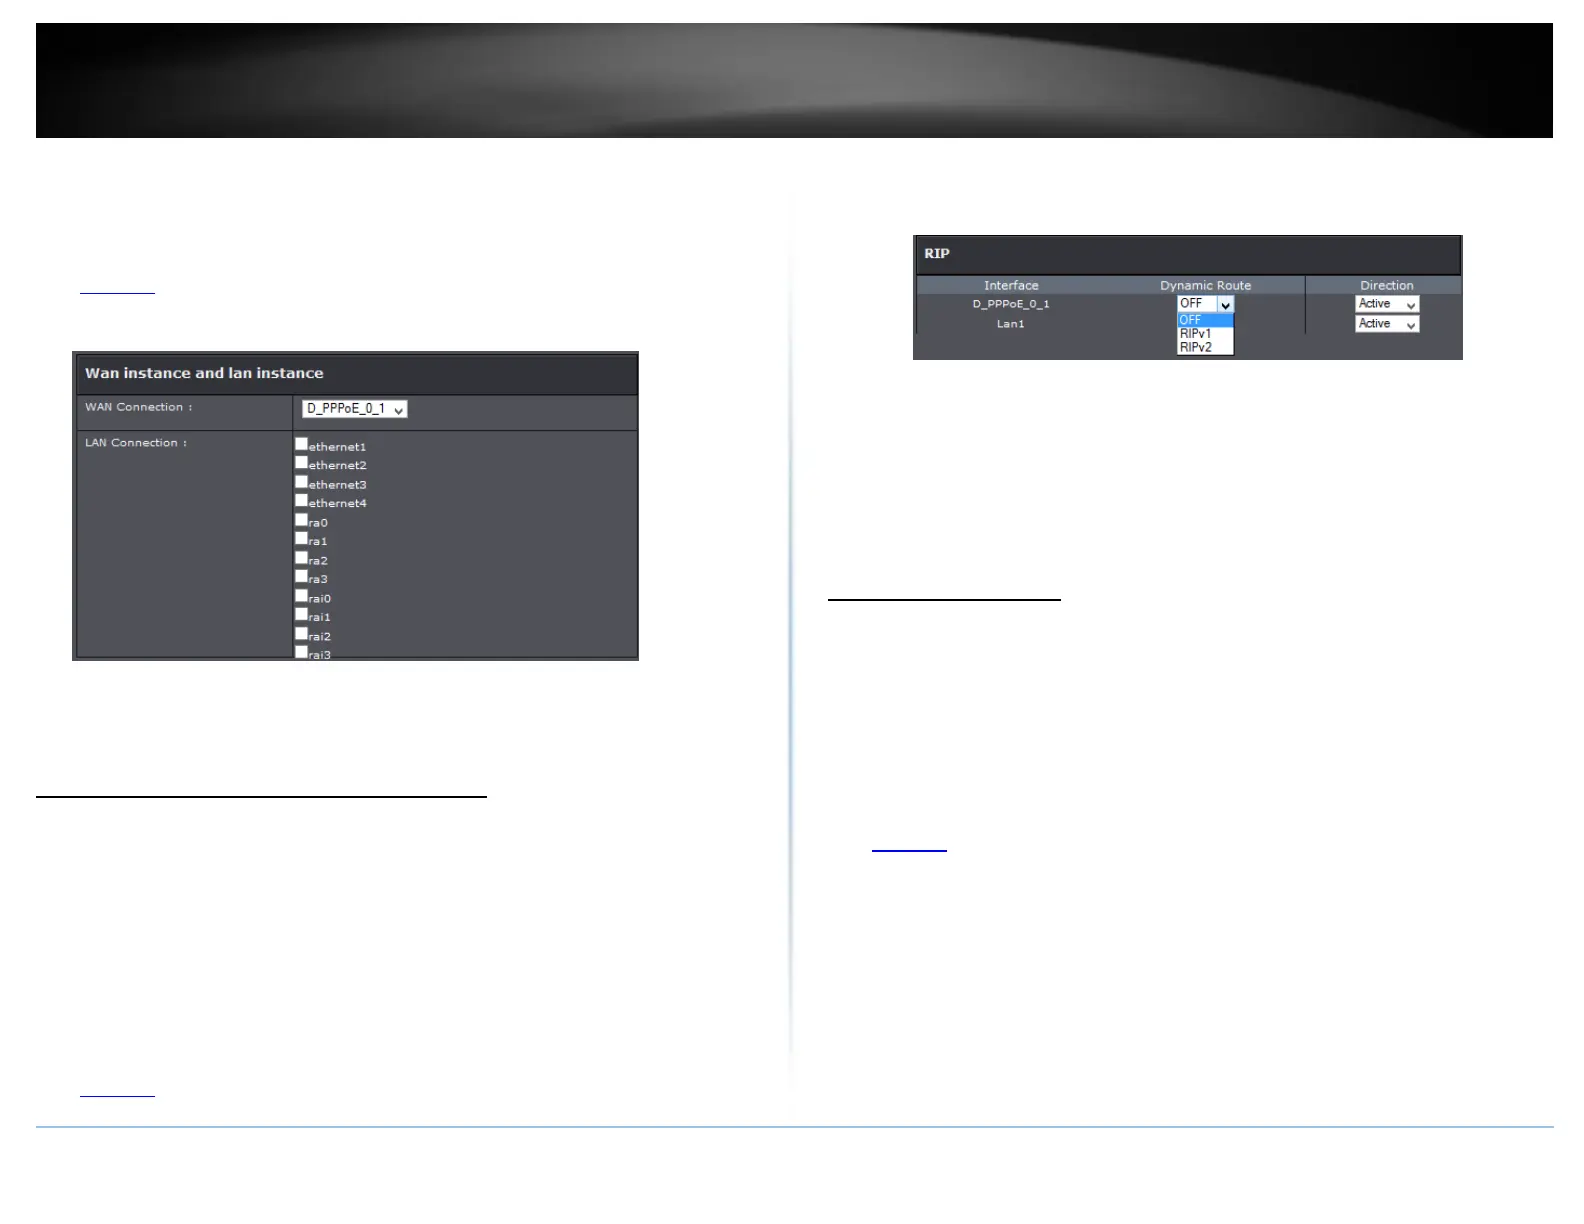
2. Click on Advanced at the top of the page, click on Routing, and click on RIP.
3. Select the Inteface to configure then select appropriate dynamic routing protocol and
version communicate with other routers. Click Apply to save settings.
RIPv1: Enables sending and receiving or exchange of routing information
dynamically between your router and other routers to build routes to your network
and other networks using the RIP version 1 protocol.
RIPv2: Enables sending and receiving routing information dynamically between
your router and other routers to build routes to your network and other networks
using the RIP version 2 protocol
Setup Port Mapping
Advanced > Port Mapping
Port mapping allows you to group interfaces for traffic control. Traffic is isolated from
group to group. Therefore, traffic coming from an interface of a group can only be
flowed to the interfaces in the same group.
By default, all interfaces belong to the Default group. You can create new groups and
move interfaces to other groups. However, an interface can only be a member of one
group.
1. Log into your router management page (see “Access your router management page”
on page 23).
2. Click on Advanced, and click on Network Tools and Port Mapping.
3. Under Port Mapping section select Add.
4. Click New to add a new group and select the interface from the Available Interfaces
section.
5. Click the <- button to add the selected interface into the group. Or click the -> button
to remove selected interface from the group.
6. Click Apply to save settings.
 Loading...