TRUE ICE
TEC_TM_171 | REV. G | EN 02/28/2024 Page 63 of 72
truemfg.com
Maintenance & Servicing (cont.)
Sanitizing
1. Prepare a solution of 1.5 fl oz (44mL) chlorine bleach (5.25%
sodium hypochlorite) to 3 gal. (11.4 L) of warm water. Use
half of the solution to sanitize all the removed parts from the
cleaning procedure.
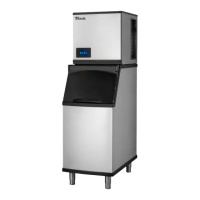
2. Remove parts for cleaning. See below.
A. Water Curtain: Remove by placing one hand over the top
lip of the curtain and the other hand on the side of the curtain.
Gently flex the curtain on the side toward the center while
gently pulling the top outward.
B. Damper: Remove by pushing the damper down until
horizontal, pull forward gently until it stops and then push
down until it stops and pull forward.
C. Sump: Reach under the sump and pull off the drain hose.
Then place fingers between the left or right bulkhead wall and
the side of the sump. Place the other hand over the lip of the
sump. Push the sump with your fingers toward the opposite
bulkhead wall while pulling the sump n the same direction
with your hand until it comes out of the snap bracket. Repeat
the process on the other side and remove the sump.
D. Evaporator Area Cover: Remove by pushing up from the
inside of evaporator section.
E. Water Distributor: Remove by grabbing the two distributor
tabs and lifting up slightly then pull forward.
3. Soak all the parts in the solution for one minute and then
allow them to air dry.
WARNING!
Do not rinse the parts with clean water after
sanitizing. Let them air dry.
4. With a spray bottle, heavily spray all food zone areas with the
sanitizing solution. These areas include the following:
• Side walls
• Plastic evaporator top frame (where distributor is installed)
• Plastic evaporator sides and bottom
• Water pump base
• Water pump tubing
• Sump drain tubing
• Water level air column
• Base (area above the sump, under the evaporator)
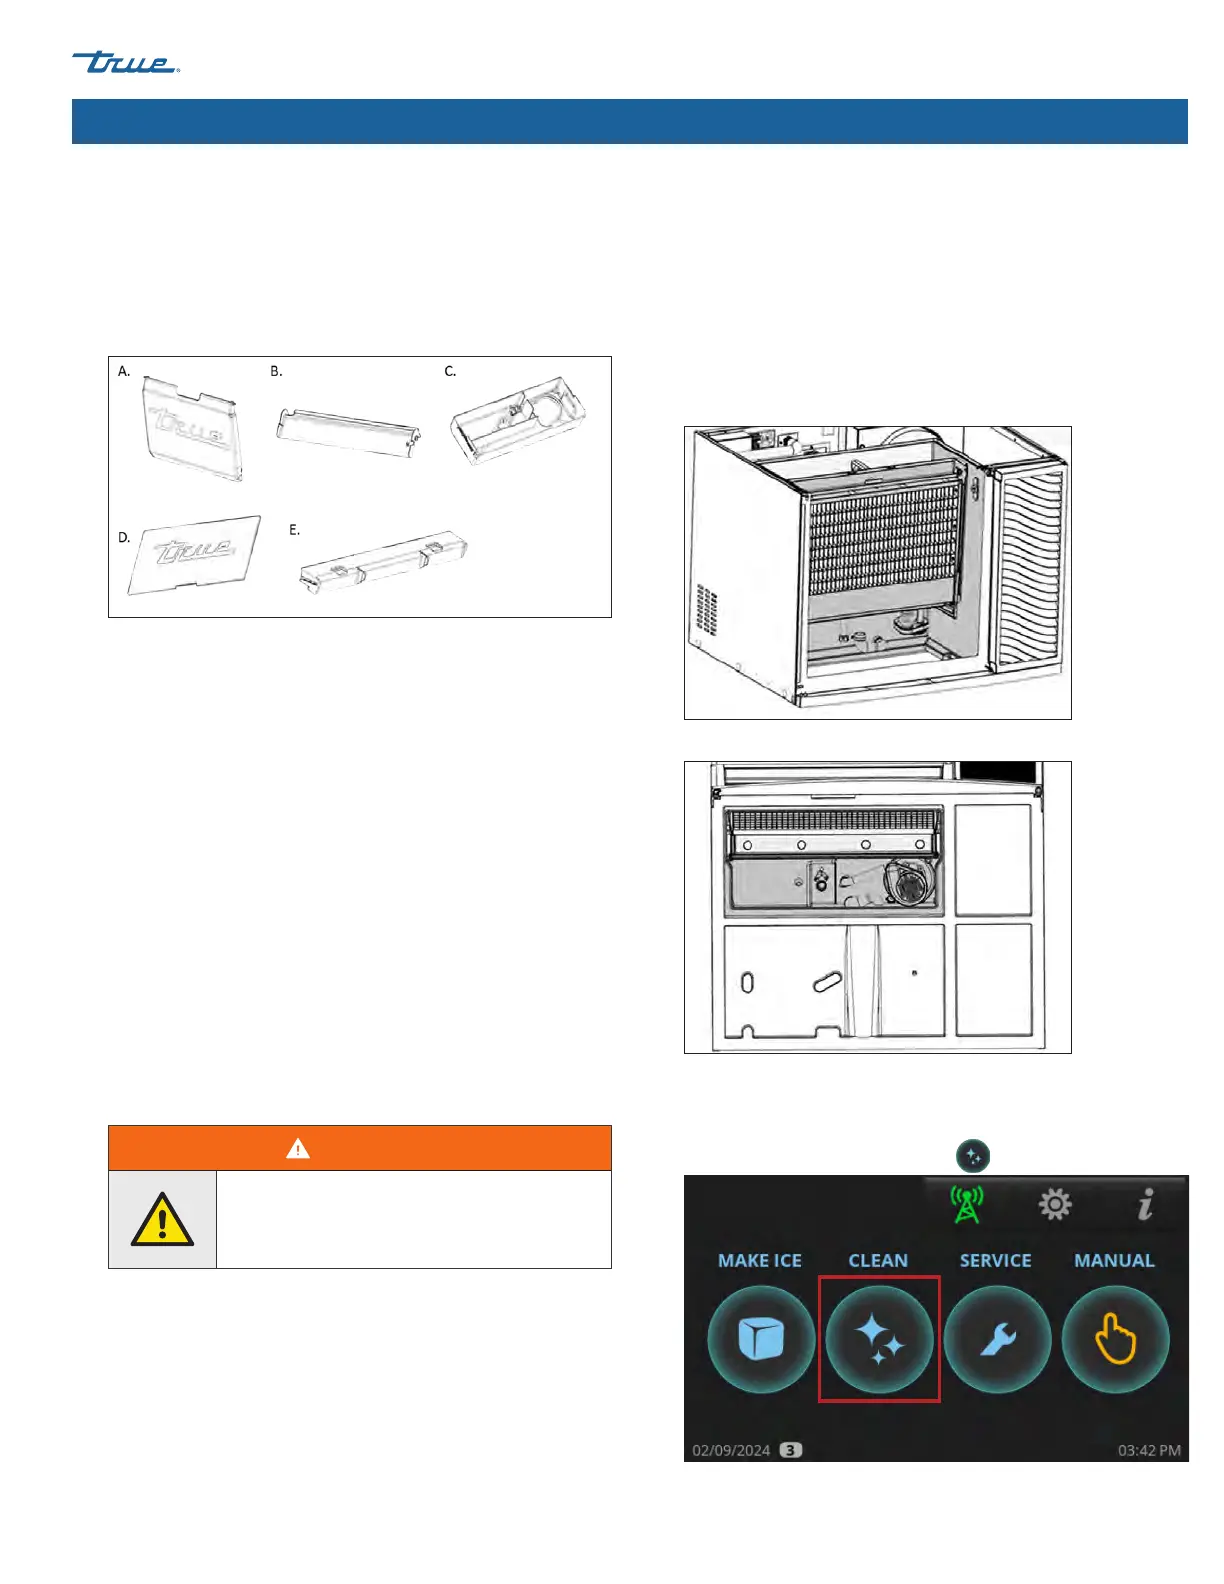
Front View
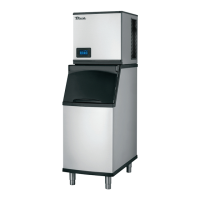
Bottom View
5. Reinstall the sanitized components and wait 10
minutes.
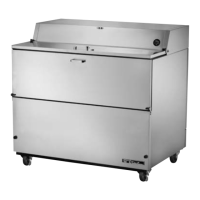
6. In the home screen, press CLEAN .