J
johnmaldonadoSep 3, 2025
How to remove gray line on the blank label of TSC Printer?
- JJill MooreSep 3, 2025
If your TSC Printer shows a gray line on the blank label, try to resolve it by: * Cleaning the print head. * Cleaning the platen roller.
How to remove gray line on the blank label of TSC Printer?
If your TSC Printer shows a gray line on the blank label, try to resolve it by: * Cleaning the print head. * Cleaning the platen roller.
What to do if my TSC Printer displays 'Carriage Open'?
To address a 'Carriage Open' error on your TSC Printer, close the print carriage.
How to fix label skew on a TSC Printer?
If the label feeding is not stable (skewed) when printing with your TSC Printer: * If the label is moving to the right, move the label guide to the left. * If the label is moving to the left, move the label guide to the right.
How to troubleshoot a TSC Printer when the power indicator is off?
If your TSC Printer's power indicator is not illuminating, please check the following: * Ensure the power cord is properly plugged into both the printer and the outlet. * Make sure the printer is switched on.
Why is my TSC Printer skipping labels when printing?
If your TSC Printer is skipping labels when printing, take these steps: * Check if the label size is set up correctly. * Calibrate the sensor using Auto Gap or Manual Gap options. * Clear the GAP/Black mark sensor with a blower.
How to fix a paper jam on a TSC Printer?
If your TSC Printer shows a 'Paper Jam' error, try the following: 1. Calibrate the media sensor. 2. Set the correct media size. 3. Remove any stuck labels from inside the printer mechanism.
Why is my TSC Printer not printing anything on the label?
If your TSC Printer is not printing on the label, follow these steps: * Load the media and ribbon according to the instructions. * Verify the ribbon is properly installed with the inked side facing the correct direction. * Calibrate the gap/black mark sensor.
How to improve print quality on a TSC Printer?
If you are experiencing poor print quality with your TSC Printer, consider the following: * Reload the supply. * Clean the print head and platen roller. * Adjust the print density and print speed. * Run a printer self-test and check the print head test pattern for missing dots. * Change to a proper ribbon or label media. * Adjust the printhead pressure adjustment knob. * Ensure the release lever latches the printhead properly.
| Resolution | 203 dpi |
|---|---|
| Max. Print Width | 104 mm |
| Interface | Ethernet |
| Scanning Method | Thermal Transfer/Direct Thermal |
| Supported Barcode Types | 1D Barcodes |
| Power Supply | AC 100-240V, 50/60Hz |
| Operating Temperature | 5°C to 40°C |
| Storage Temperature | 60°C |
| Humidity | 25-85% non-condensing |
| Weight | MH241/MH241T/MH241P: 15 kg MH341/MH341T/MH341P: 15 kg MH641/MH641T/MH641P: 15 kg |
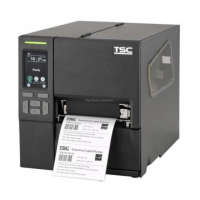
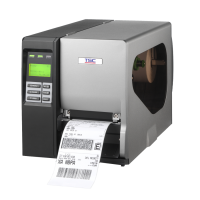
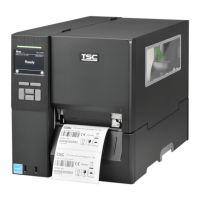
Detailed specifications for MH241, MH341, MH641, MH241T, MH341T, MH641T, MH241P, MH341P, MH641P models.
Procedures for unpacking the printer and verifying included items.
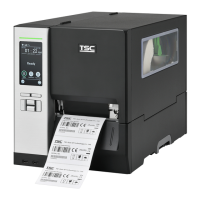
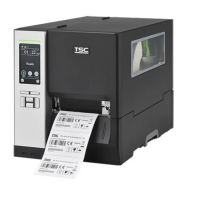
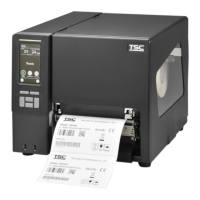
Identification of external components of the MH241, MH241T, and MH241P series printers.
Details on controlling the printer via its interface and buttons.
Steps to physically set up the printer, including connections.
Step-by-step guide on how to load the ribbon into the printer.
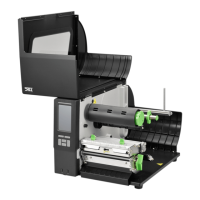
Instructions for loading different types of media into the printer.
Process for loading fanfold or external media supplies.
Guide for loading media when using the peel-off feature.
Instructions for loading media with the optional rewinder for MH241P.
Instructions for loading media with the optional rewinder for MH241/MH241T.
Adjusting the ribbon tension using the designated knob for optimal print quality.
Fine-tuning printer mechanisms to prevent ribbon wrinkles and improve print output.
Steps to launch and begin using the TSC Console software.
Guide for configuring the printer's Ethernet connection via TSC Console.
Instructions for connecting the printer via Wi-Fi and adding it to TSC Console.
Steps to reset the printer's Wi-Fi module to factory default settings.
Using TPH Care to check print head condition and set dot failure thresholds.
Overview of various printer functions configurable through the software.
Configuring actions to perform after printing is completed.
Methods for accessing the printer's LCD menu using touch or keys.
Introduction to the 6 main categories available in the printer's menu.
How to access and switch between TSPL and ZPL2 command sets via the menu.
Configuration options for the TSPL printer command set.
Configuration options for the ZPL2 printer command set.
Procedures for calibrating the printer's media sensors.
Settings for configuring printer communication interfaces like Serial, Ethernet, Wi-Fi, Bluetooth.
Accessing advanced printer settings like language, initialization, and security.
Managing files and checking memory status on the printer.
Tools for diagnosing printer issues, including print head and sensor checks.
Building and managing a list of commonly used printer settings.
Solutions for when the printer's power indicator light is not illuminated.
Troubleshooting steps for common printing failures or lack of print output.
Resolving problems related to ribbon loading, paper feeding, and paper jams.
Solutions for file transfer errors and poor print quality.
Addressing issues with print position, alignment, and skipping labels.
Diagnosing and resolving problems with the LCD, sensors, and cutter.
Solutions for printhead wrinkles and related print quality issues.
Fixing incorrect printer time and printout positioning problems.
Guidelines for cleaning the printer to maintain performance and extend life.
Procedures for sanitizing the printer to prevent the spread of viruses.
List of recommended tools for printer maintenance and cleaning.
Step-by-step cleaning instructions for various printer parts.
Regulatory compliance information related to FCC and Industry Canada standards.
Details on UL, CSA, and other safety certifications for the printer.
Essential safety precautions and warnings for operating the printer.
Information regarding EU radiation exposure limits and installation guidelines.