36
http://www.tyan.com
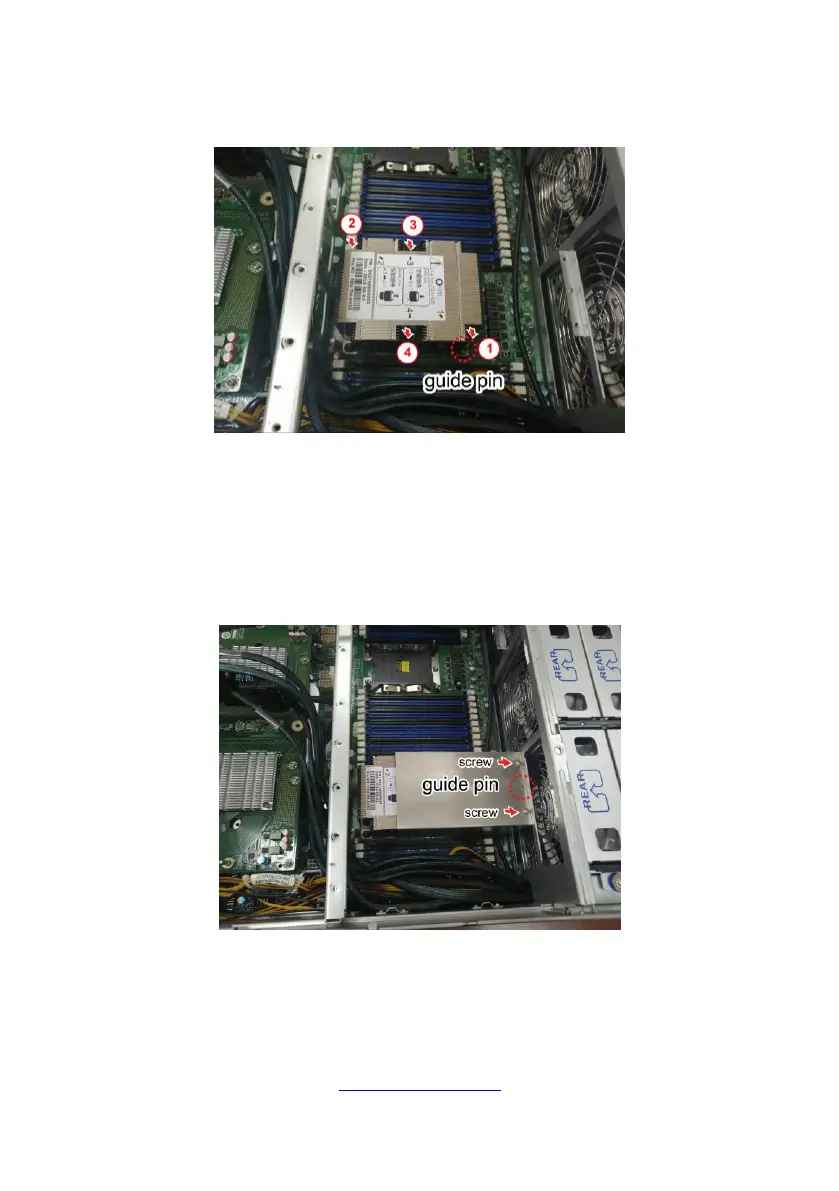
4. Carefully flip the heatsink. Align the heatsink with the CPU socket by the guide
pins and make sure the guide pin is located in the correct direction. Then place the
heatsink onto the top of the CPU socket.
5. To secure the heatsink, use a T30 Security Torx to tighten the screws in a
sequential order (1234).
NOTE: When disassembling the heatsink, loosen the screws in reverse order
(4321).
6. Repeat the procedures described earlier to install the second processor and
heatsink.
7. Place the air duct on top of the heatsink and screw it to the chassis.