The Wrist 3 has the slipring for infinite
turning of the tool mounting bracket.
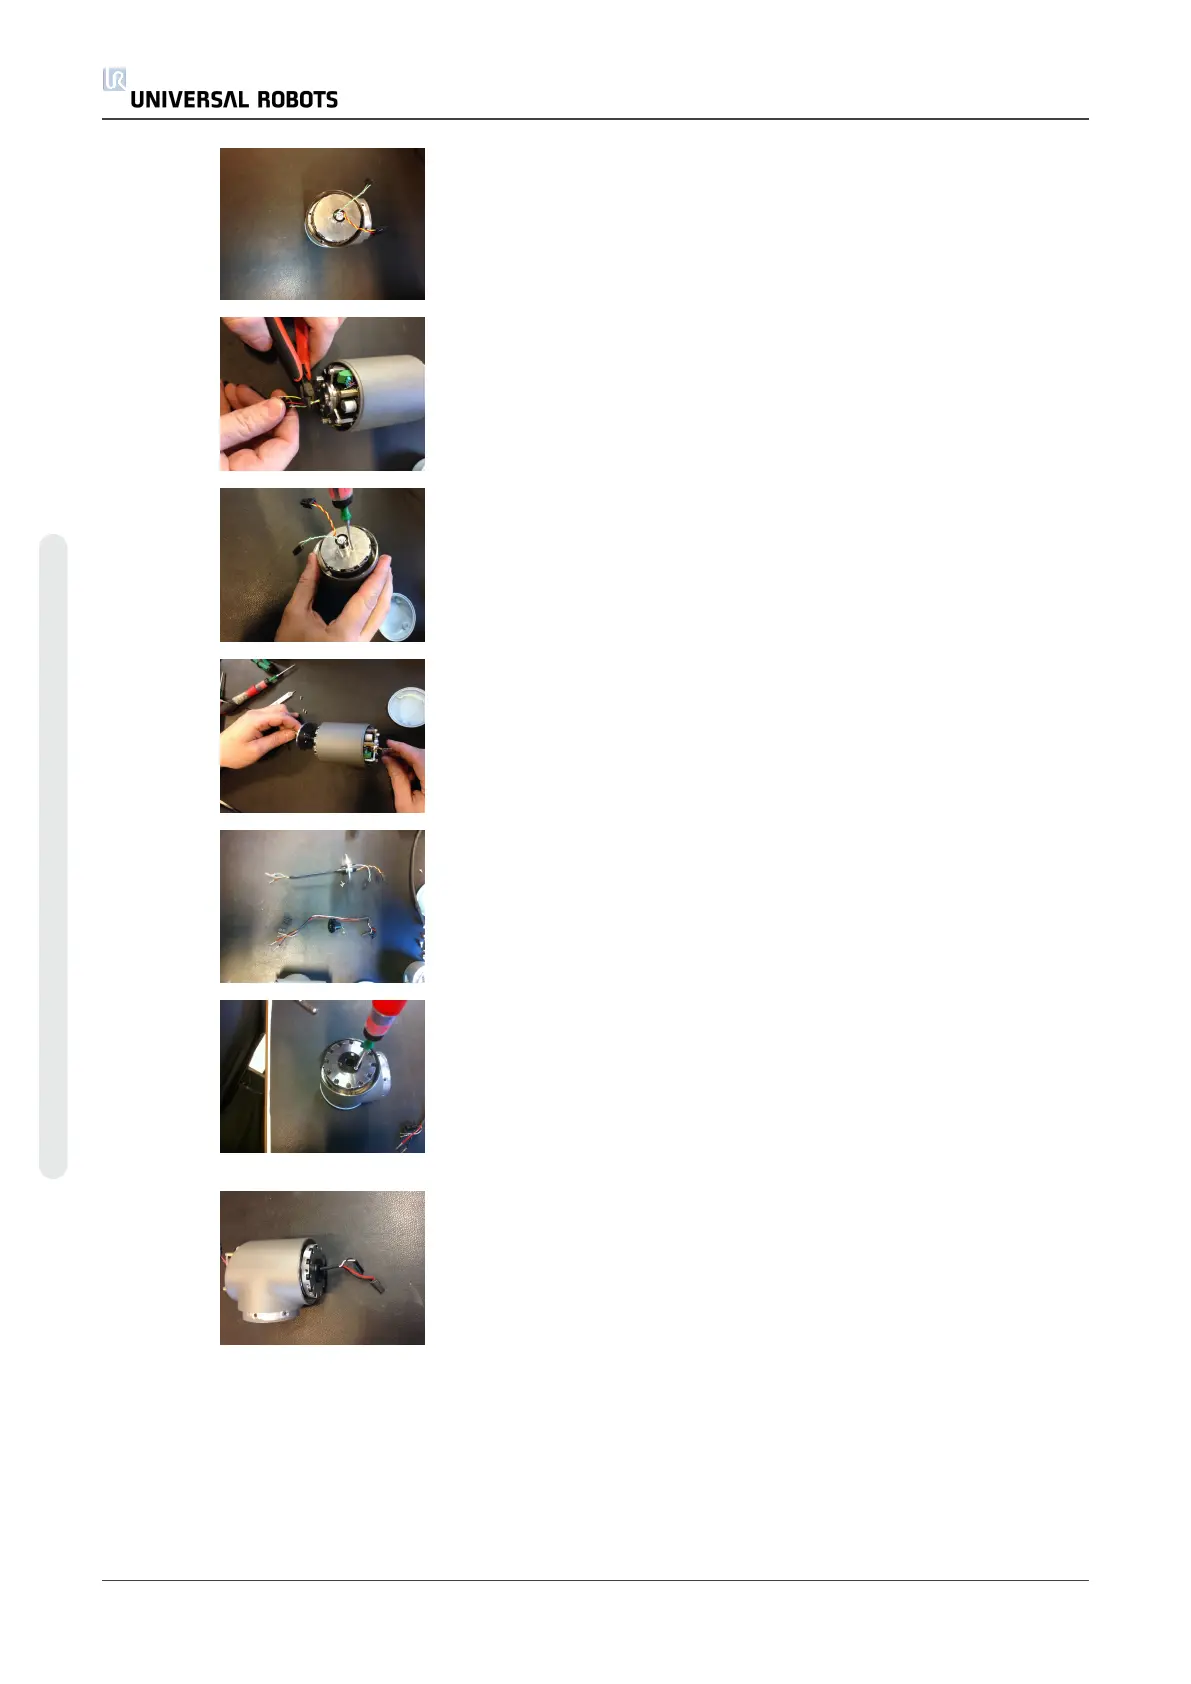
Cut the wires for the slipring
Unscrew the Slipring
(Use a T8 screwdriver)
Remove the Slipring gently
The removed slipring with screws
Parts for wrist 1 and wrist 2
Attach the plastic protection.
(Use a T6 screwdriver, Torque 0,32Nm)
Put the wires through the joint and attach
and assemble the connectors for the
communication and power.
There is no cable tie for this joint.
NB! Pull gently in each wire to be sure the
connector is attached correct in the
plastic part of the connector.
Adjust the joint orientation. See: Instructions for Calibrating a Joint
Changing the joint ID See Change joint ID
UR3 50 Service Manual
5.Service and Replacement of Parts
Copyright © 2009–2021 by UniversalRobotsA/S. All rights reserved.