20
METHOD 3- ACCESSING THE NAS STORAGE VIA WEB INTERFACE
1. In your Browser's Address or Location bar, enter "http://" and the MX3600 Server’s IP Address.
Alternatively, enter http://myxerver, as this is the default hostname of MX3600, if you have not
changed the name.
If the HTTP port number of the NAS has been changed (default is 80), you
must define the port number when you connect. For example if HTTP port
has been changed to 8080, then you need to type in:
http://192.168.1.25:8080.
To connect via the Internet, additional setup is required. See the chapter on Accessing MyXerver™ over
the Internet.
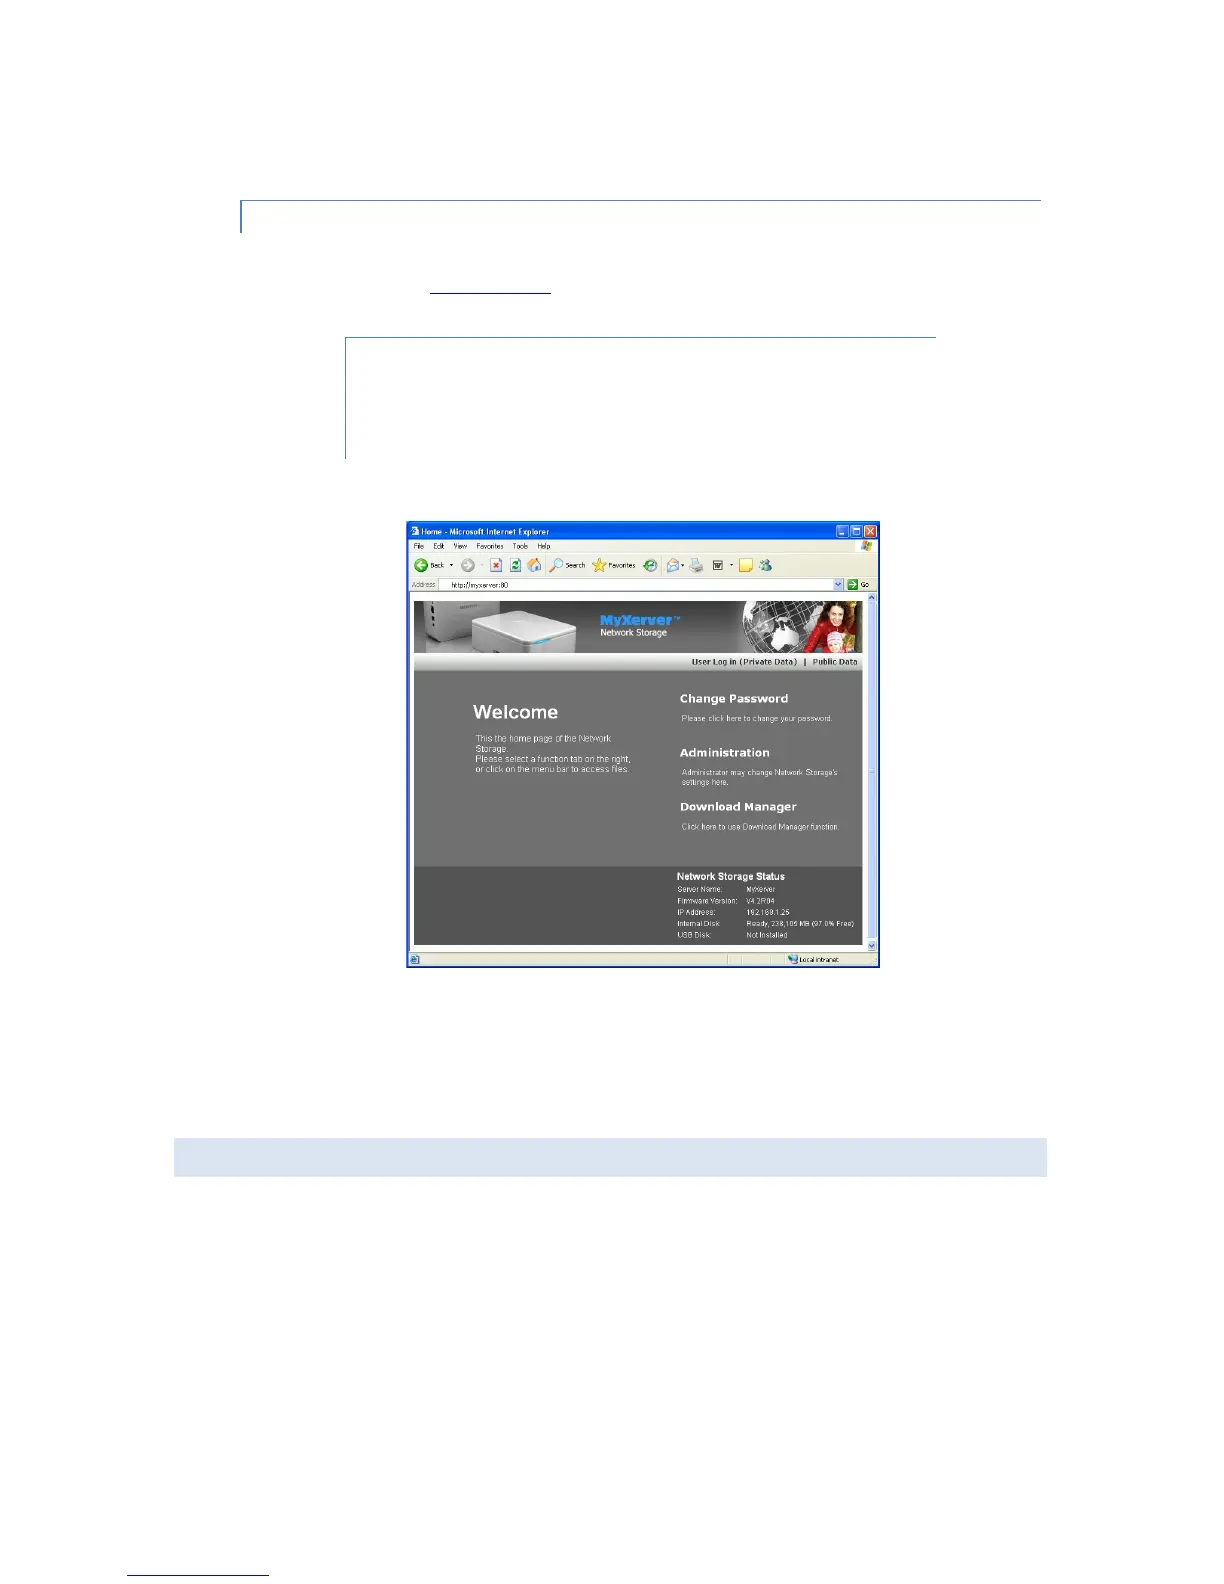
2. To browse the files and folders on the MX3600, click on either the Private Data or Public Data on the
main screen. To browse the contents of Private Data, you will need to login with a user name and
password. Default user is admin and password is empty.
3. To view or download a file, click on its name. To download any file, right-click its name and choose
"Save target as..."
C. CHANGING PASSWORD
Although the Administrator of the NAS must create your user name and initial password, you can then
change your own password whenever you wish, as follows:
1. On the Home page of the web interface, click on the Change Password.
2. The following screen will be displayed.