Uponor recommends following the process described
below to guarantee the best possible installation results.
Stage Procedure Page
1 Prepare for installation 22
2 Install Uponor Smatrix Base/Base PRO
controller
26
3 Connect a slave module (optional) 27
4 Connect a star module (optional) 28
5 Install Uponor Smatrix Base/Base PRO
thermostats and sensors
40
6 Install optional Uponor Smatrix Base
timer (Base only)
56
7 Install Uponor Smatrix Base PRO
interface (Base PRO only)
60
8 Finish installation 66
Follow the process described below to install the
Uponor Smatrix Base PRO Interface I-147.
Stage Procedure Page
1 Placement of interface 60
2 Startup guide 62
4.2 Prepare for installation
Before starting the installation:
• Verify the contents of the package with the packing
list.
See also section 3.3 Uponor Smatrix Base/Base
PRO components for identification of components.
• Check whether an external temperature sensor is to
be installed with a compatible thermostat.
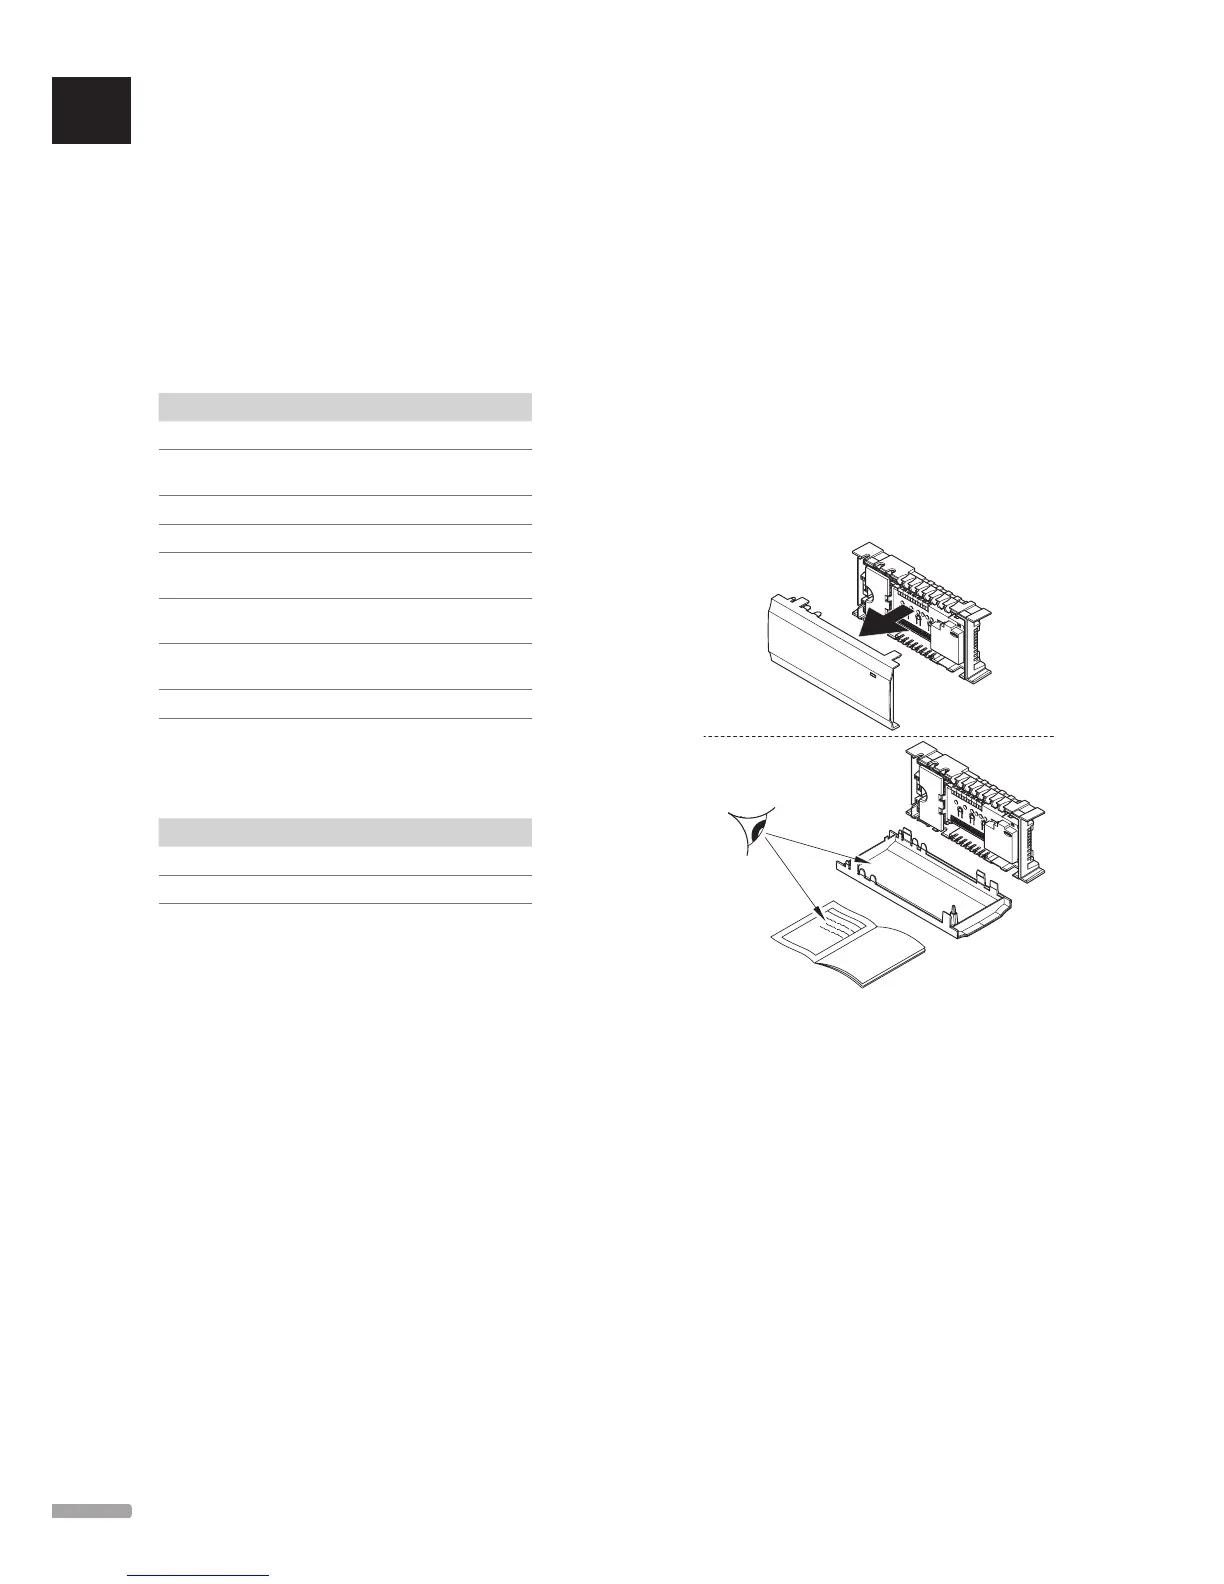
• Study the wiring diagram in the end of this manual
or inside the controller cover.
To determine where to best place the Uponor Smatrix
Base components, follow these guidelines:
• Ensure that the controller can be installed close
to the manifold pair. Note that each manifold pair
must have its own controller.
• Ensure that the controller can be mounted close
to a 230 V AC wall socket, or if required by local
regulations, to a junction box, connected to the
mains power.
• Ensure that installed Uponor Smatrix Base/Base
PRO components are protected from running or
dripping water.