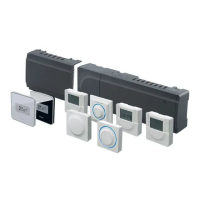
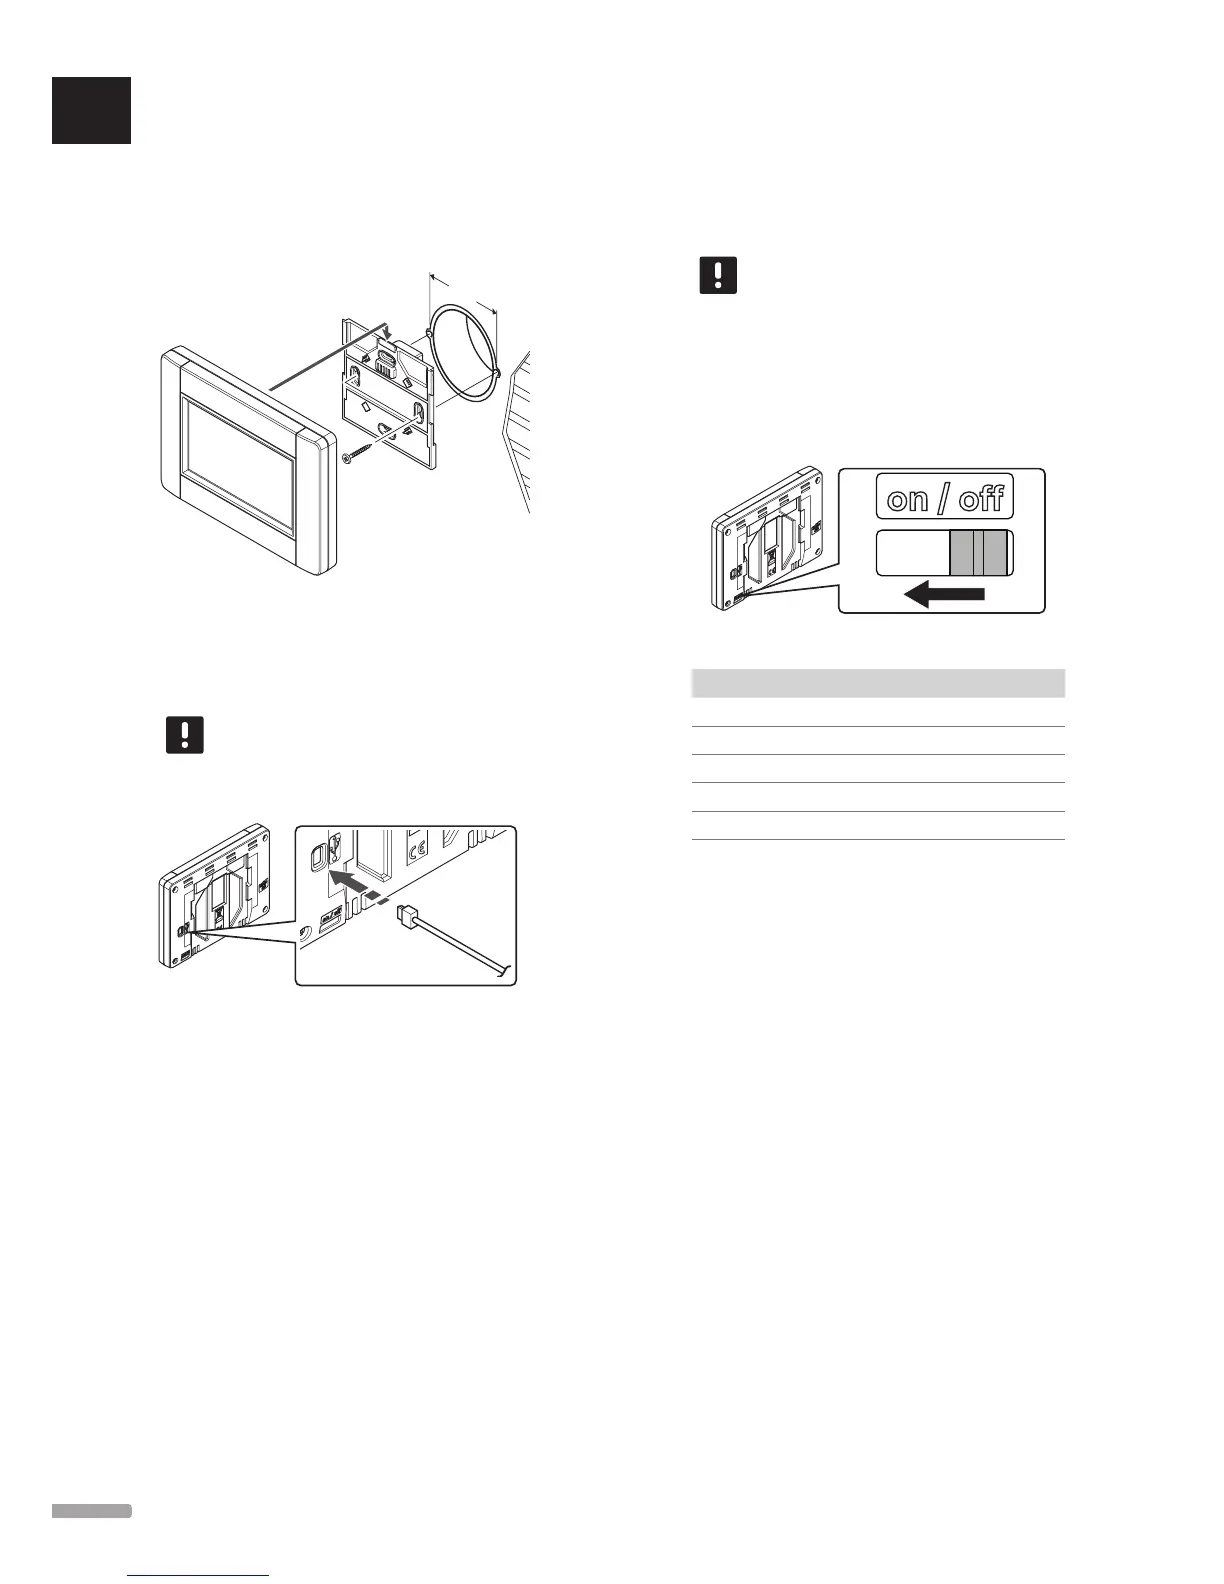
The illustration below shows mounting hole positions on
the wall bracket, and how to attach the interface.
60 mm
8.4 Charger cable
The interface should always be charged attached to the
wall bracket, but if needed a standard mini-USB cable
can be used.
NOTE!
Communication with the controller can only
occur when connected to the wall bracket.
The illustration below shows where to attach the cable.
8.5 Startup guide
When starting the interface for the first time, or after
a factory reset, a startup guide is shown in the touch
screen display.
NOTE!
Set the controller is in system device
registration mode before powering up the
interface.
The power switch is located on the lower left corner on
the back of the interface. The interface will power up
when connected to a power source.
The startup guide uses the following order:
No Description
1 Set language
2 Set regional settings
3 Set date and time
4 Set system to heating and/or cooling
5 Register the interface to a controller
All these settings are accessible in the interface menu
system.